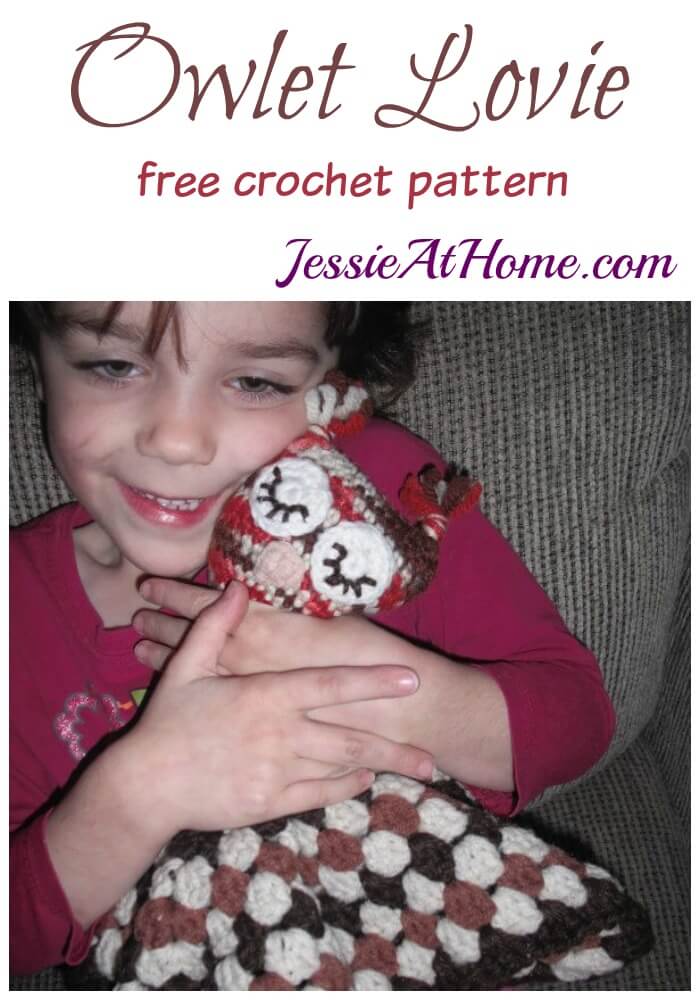
Owlet Lovey is here! As I told you when I announced my teaming up with Craft Hope, I have a tutorial for you! I’ve always found lovies rather adorable. The mix of blankie and stuffie is just too cute for words. So, without further ado, here is my little tutorial for a crocheted owlet lovey.

Owlet Lovey
US H (5.0 mm) Crochet Hook
Worsted Weight Yarn ~ Machine washable is recomended ~ I used some Red Heart Super Saver from the stash my grandmother gave me!
Stuffing
Stitches and abbreviations used
Ch ~ chain
Sc ~ single crochet
Hdc ~ half double crochet
Sl st ~ slip stitch
Dc ~ double crochet
Rnd ~ round
Cl ~ cluster (3dc in same st/sp)
Sk ~ skip
St ~ stitch
Sp ~ space
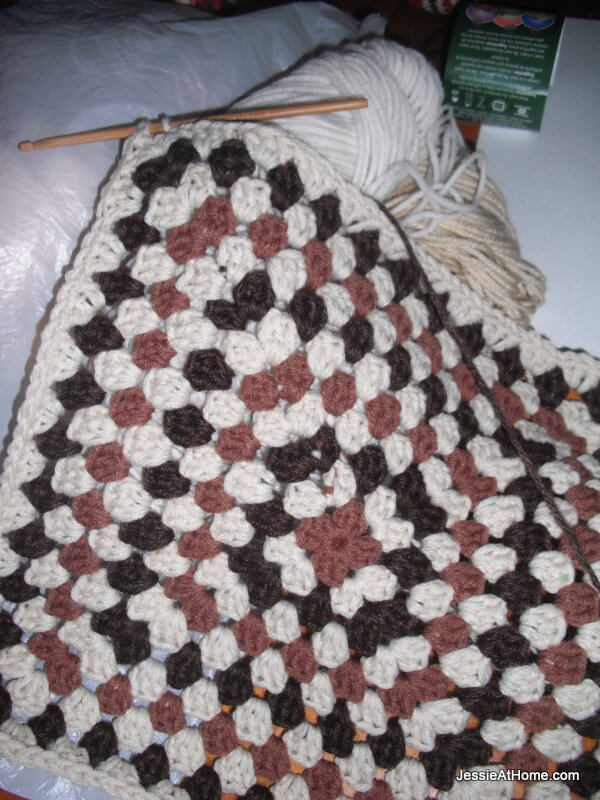
I recommend using a smaller hook to crochet the owlet head, so that it is crocheted rather tightly and will hold in the stuffing.in the sample pictured I did not do that, but for any more I make I will.For the blanket body, a “regular” tension is just fine.
Owlet Lovey head
I’ve included directions for 2 sizes, use whichever size makes you happy! For the sample pictured I used the smaller size
Ch15 (20)
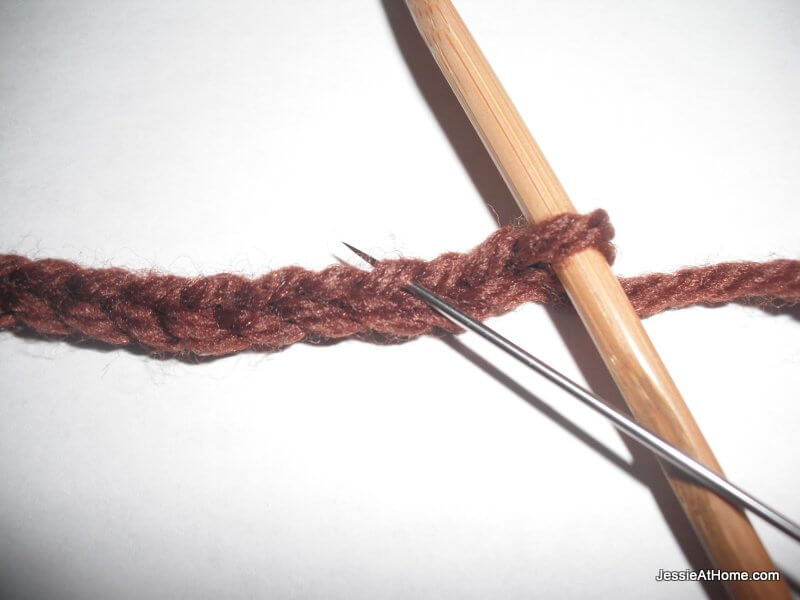
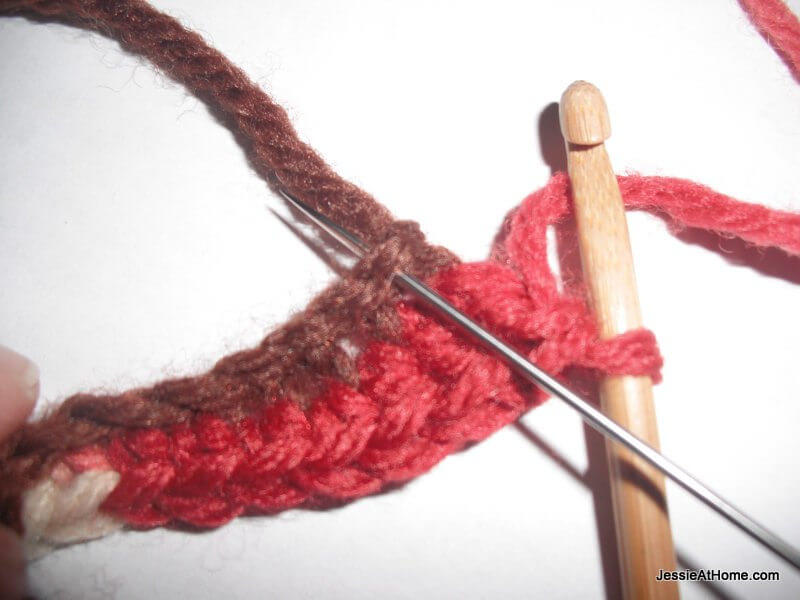
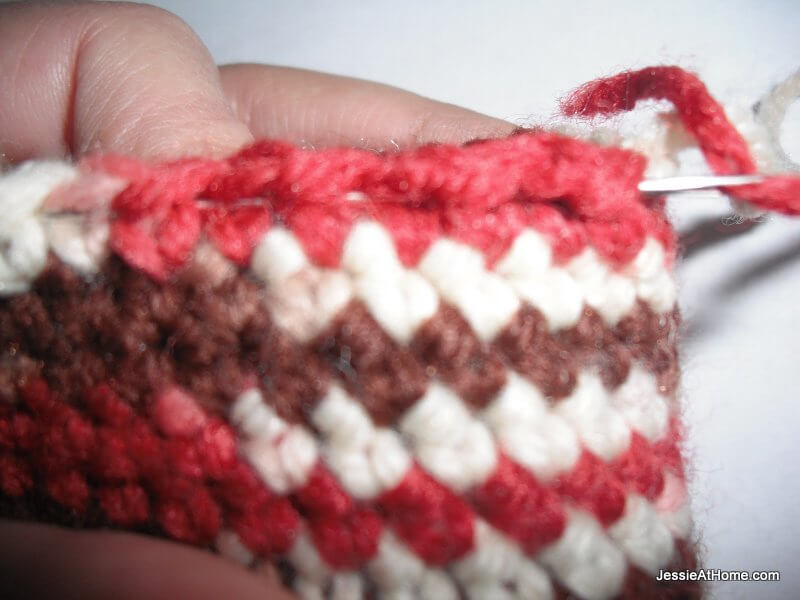
Rnd 1: Working in back loops of chs, dc in third ch from hook (see where the needle is pointing), hdc, sc in each of next 9 (14)chs, hdc, 2dc in last ch, turn work and switch to working in the other loop of each ch (look at the needle again,) dc, hdc, 9 (14)sc, hdc, dc, sl st to top of last ch from beginning ch15.
Rnd 2: Work in both loops of each st from here on out. Ch3, dc in same st, dc, 2hdc, 7 (12)sc, 2hdc, dc, 2dc in next st, dc, 2hdc, 7 (12)sc, 2hdc, dc, sl st to top of beginning ch3
Rnd 3: ch1, sc in same st and each st around, do not connect (30 (40)sc)
At this point start working in continual spirals, it’s simple! Just sc in ch1 at beginning of rnd 3 and continue to sc in each st around and around.
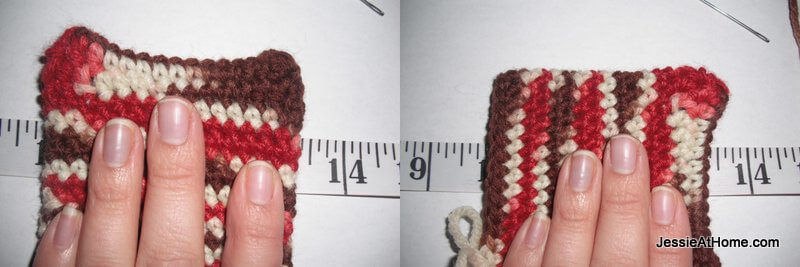
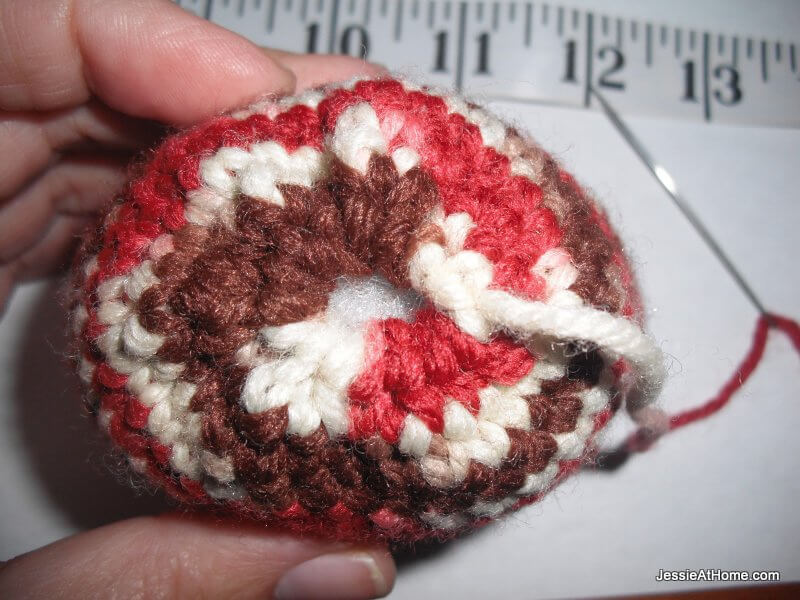
Work this way until piece is as long as it is wide (measure left to right, then measure top to bottom at the center of the piece, as in the pictures.) Stop at a side, and sl st into next st. Clip yarn leaving a 10” tail and end off.
Stuff owlet head tightly. Thread tail onto a yarn needle. Weave the yarn in and out around opening of owlet head, and pull tight to close the bottom.
Eyes ~ make 2
Ch3, sl st into first st to form a ring (or use a magic loop)
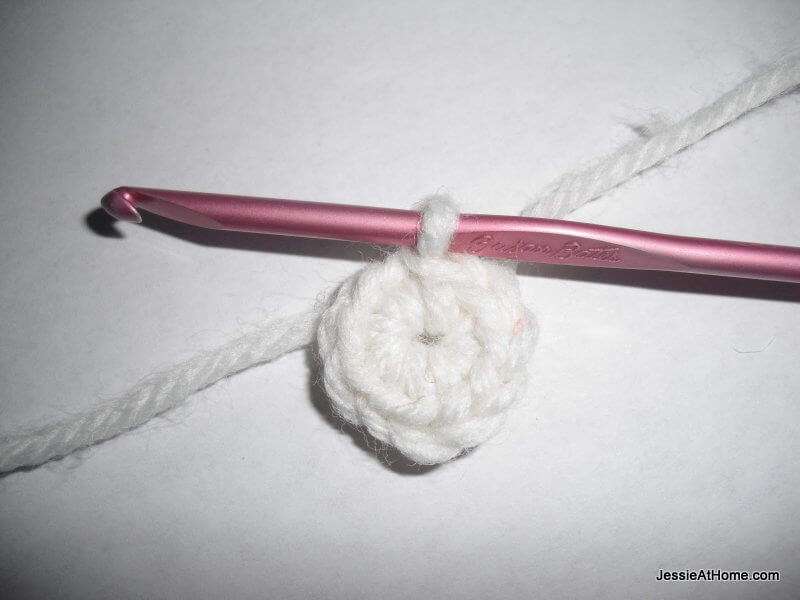
Rnd 1: ch1, 10sc into ring, sl st into top of first sc
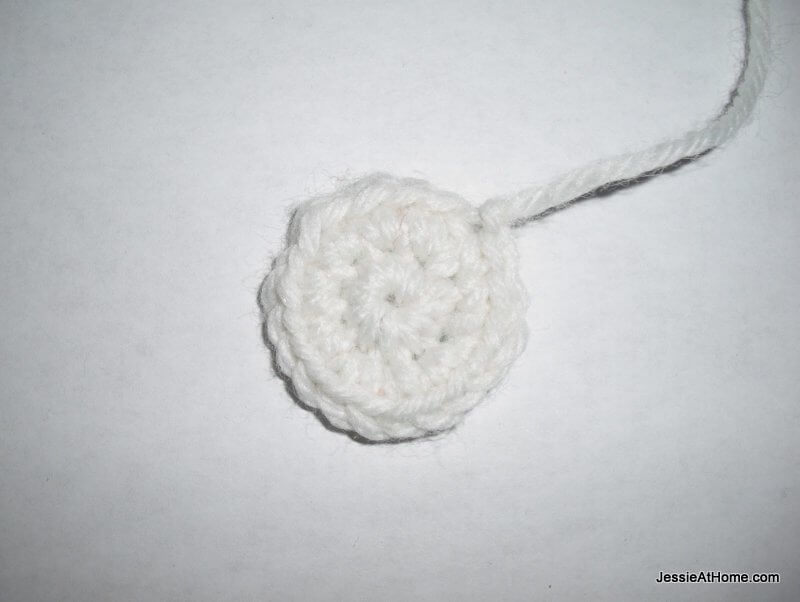
Rnd 2: ch1, 2sc in each st around, sl st into top of ch1, clip yarn leaving a 10” tail and end off. (20sc) Cut a long piece of dark yarn and stitch in eyelashes. Use yarn tail to stitch eyes onto owlet head.

Beak
Ch3, 2dc in first ch, 2ch, sl st into first ch (same one with the 2dc), clip yarn leaving a 10” tail and end off. Use tail to sew beak onto the owl head.
Blanket ~ start off with a long tail (12 or more inches) to use to attach the owlet head later.
Cluster Stitch ~ 3dc in the same st or sp
Ch3, join with a sl st to make a circle
Rnd 1: Ch4, (cl, ch) 3 times, 2dc, sl st to 3rd ch of beg ch4
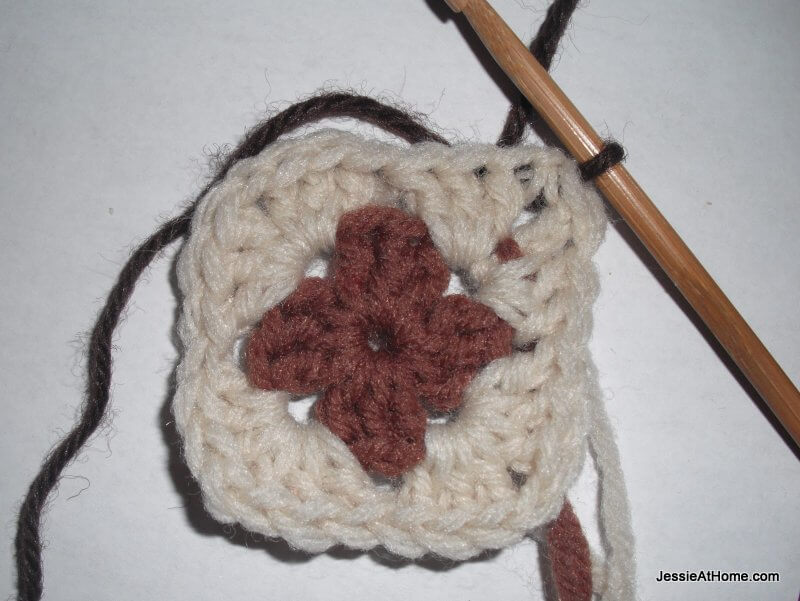
Rnd 2: sl st into ch sp, ch4, cl in same ch sp, (cl, ch, cl in next ch sp) 3 times, 2dc in next ch sp, sl st to 3rd ch of beg ch4
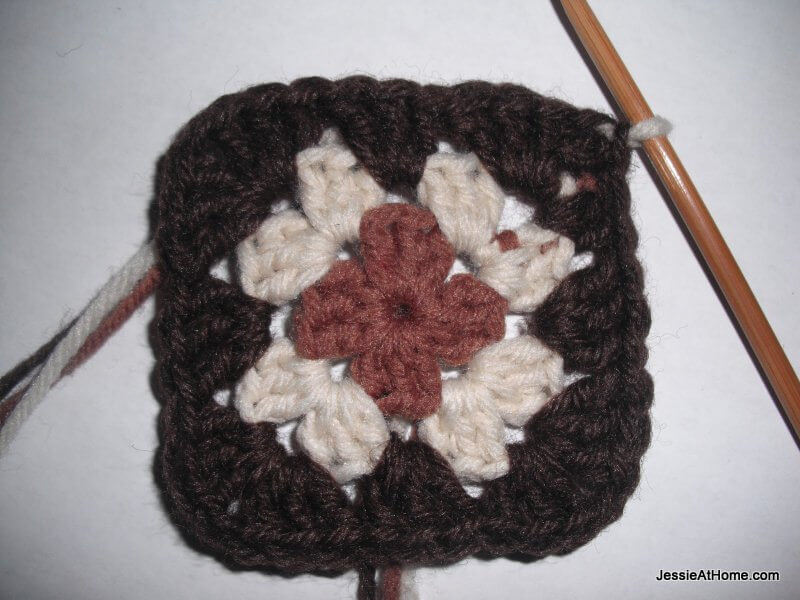
Rnd 3: sl st into ch sp, ch4, cl in same ch sp, * sk cl, make cl in between cls, sk cl, (cl, ch, cl) in next ch sp, rep from * 2 more times, sk cl, make cl in between cls, sk cl, 2dc in next ch sp, sl st to 3rd ch of beg ch4
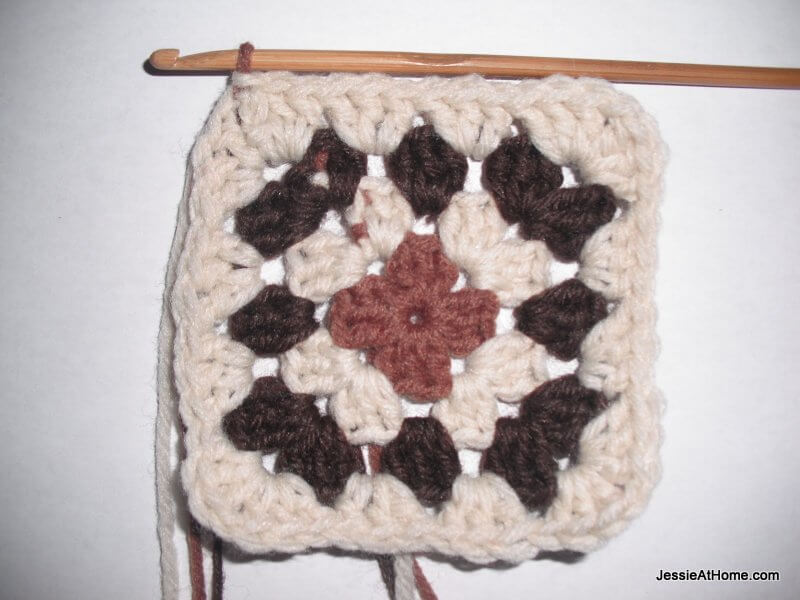
Rnd 4: sl st into ch sp, ch4, cl in same ch sp, *(sk cl, make cl in between cls) 2 times, sk cl, (cl, ch, cl) in next ch sp, rep from * 2 more times, (sk cl, make cl in between cls) 2 times, sk cl, 2dc in next ch sp, sl st to 3rd ch of beg ch4
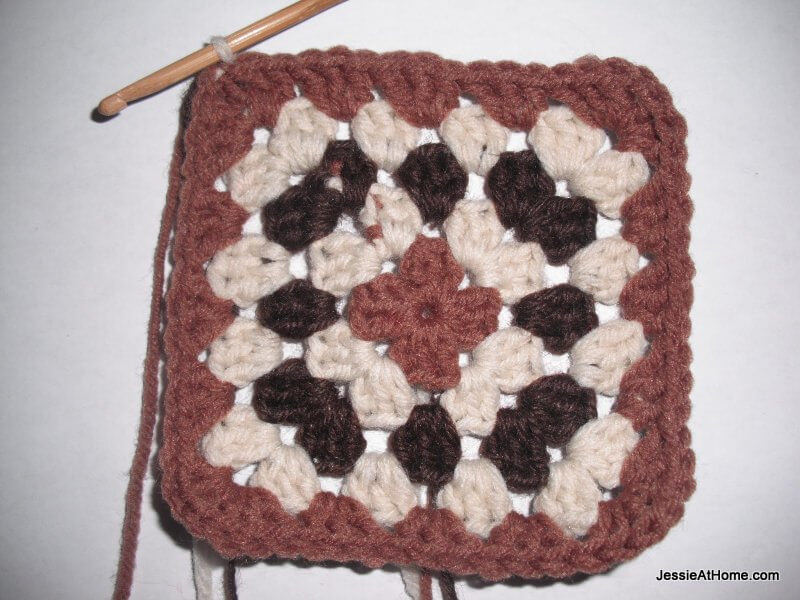
Rnd 5: sl st into ch sp, ch4, cl in same ch sp, *(sk cl, make cl in between cls) 3 times, sk cl, (cl, ch, cl) in next ch sp, rep from * 2 more times, (sk cl, make cl in between cls) 3 times, sk cl, 2dc in next ch sp, sl st to 3rd ch of beg ch4
Continue with more rounds in this manner until the blanket is the size you want.
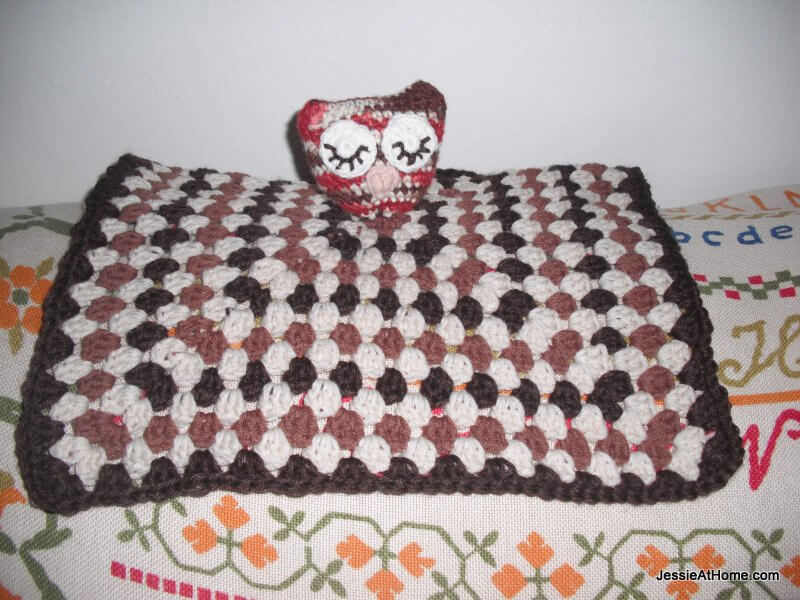
Use the tail from the start of the blanket to sew on owlet head. Weave in all the ends.
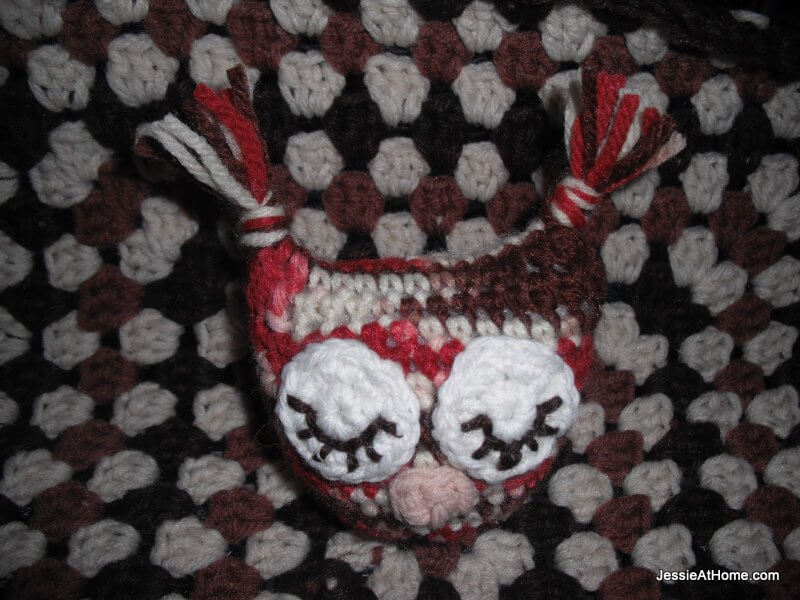
If you want to add to your little ears, it’s easy enough! Just cut several 10″ pieces of yarn, and use a hook to pull them through the point of one of the ears. Then tie and overhand knot, pull tight, and clip yarn to desired length. If you are worried it will come untied, then go ahead and thread up a needle with sewing thread and sew the knot together.
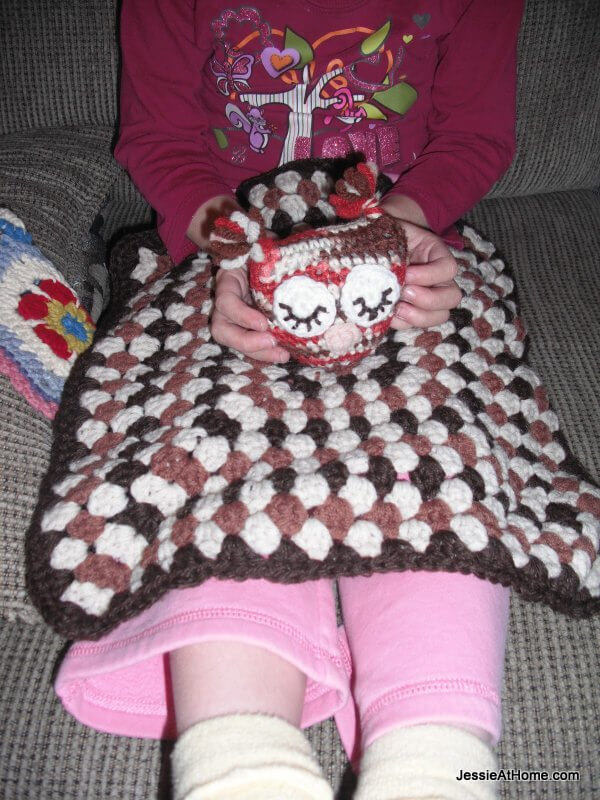
There you have it! Use it wisely (hee hee,) and enjoy!

Did you enjoy what you found here at Jessie At Home? Then sign up for my newsletter and like my Facebook page, so you’ll get all the updates on new tutorials, other posts, sales, and coming events.
If you have any questions, want to share pictures of your work, or just want to chat with Jessie and other crafty individuals, than join one of our free Zoom Sit & Stitches. Find them on our Events Calendar.

© Copyright 2012 Jessie Rayot / Jessie At Home®, LLC All my videos, patterns, charts, photos and posts are my own work, so you may not copy them in any way. If you want to share this information with someone, then share the link to this post.


What a cute pattern! I think my new niece or nephew arriving in April will receive this as a gift.
The Owlet Lovey is so cute! I am going to make one as soon as I decide on the color. Thank you
Oh My Goodness Jessie, this is such an adorable little owl & then to attach it to a lovey blanket!!! You have outdone yourself on this one in my book & I want to thank you for sharing it with all of us crafters.
In my search this morning for something new to crochet, first the word OWL got my attention so of course I had to click on the pattern. I have so many patterns in my TO DO FOLDER, so then as I am sitting here reading the pattern online, I notice the date at the top of the page! Long story short Jessie, my Mom’s birthday was Nov. 30 & she absolutely loved owls! My Mom passed several yrs ago but to this day, a white owl presents herself when my children (adults now) are most in need or “going through a rough time in their lives”. Coincidence? Our family doesn’t think so, especially since my kids live in different states & it is always a white owl! Sorry if this story seems a bit strange. So anyway, you can see why OWLS are special to me & my family. THANK YOU SO MUCH for sharing your pattern with us crafters!
This is a great little pattern; I’m working on it for my son. I need to point out, though, that your directions for round 2 of the eyes don’t make any sense. I figured “22c in each st around” means 2 sc in each stitch around (since that’s what you need to do to make a flat circle), but your stitch count is only 12sc and you mention slip stitching into the chain 2 at the beginning, when it’s only a chain 1. Not a big deal for me, but you might want to fix it for novices.
Wow, over 1000 people have seen this pattern, and you are the first to point that out. Thank you!! I did fix it. The 22c is 2sc, and the stitch count should be 20. I guess I had a few missed edits on the eye! Thanks again!
Hi jess i had a question and for some reason couldnt find how to make my own comment but i want to make your owl lovely and im using a weight light 3 yarn and wanted to know what size hook you would suggest for me to use
I like using a 4.5mm with size 3, but you may need to go up or down. You want the stitches in the head to be tight enough to hold in the stuffing.
I am attempting to make the owlet lovie for my first greatgrand child and I hit a snag. I thought I was an experienced crocheter since I have been crocheting for over 40 years. but on Rnd 2 i can’t seem to understand how you can put that many stitches in that row unless It should be joined somehow at rnd. 1. Please help me out here. I would be ever so grateful for your help. I was hoping to make this since my granddaughter is doing the nursery in owls. Thanks
Rnd 2: Work in both loops of each st from here on out. **Ch3, dc in same st** <-make sure the dc is in the same st as the ch3 dc, 2hdc, **7 (12)sc** <-make sure you do the correct number of sc, it is 7 if you are making the smaller head, and 12 if you are making the larger 2hdc, dc, **2dc in next st** <-these 2dc are in the same st dc, 2hdc, **7 (12)sc** <-again, be sure to use the right number here 2hdc, dc, sl st to top of beginning ch3 hope that helped. If not, go over to my Facebook group, join it, and post a photo so I can see what is going wrong. https://www.facebook.com/groups/199790856831573/
Hi there! Thank you so much for sharing your pattern! I love this owl blanket so much. I made it for a friend of mine, and added it to my etsy store too.
Brittany
http://bellusthreads.wordpress.com/2013/02/28/sleepy-owl-baby-set/
Thank you for sharing this owl pattern. I made this for a friend of mine who is expecting a lil girl in Nov. I used lavender, pink, and white. It came out absolutely adorable. When the time is right I will post pics and link your site (don’t want her to see it yet)
Ooo!!! I can’t wait to see, it sounds lovely. <3
absolutely adorable! Thank you for the pattern!
I love owls!!
This pattern is so adorable. I have all the yarn on hand so I am going to start one tomorrow. Thank you for sharing your talents with us.
would you have a doll hand puppet on a granny square blanket. I had the pattern in a magazine that was lost in a move. I would be forever grateful if I could find it to make one for my Great Granddaughter.
I’m sorry, I do not. I would check on Ravelry.com.
i do i lot of crocheting for children hospitals and i think this will be a good one for me to give the sick kids
That would be wonderful!!
The owlet, looks so cute. I’m trying to make the owl, but am stuck on row 2.
At the end of row 1, I have 37 stitches. Is this right?
Row 2, the way I have understood the instructions, uses only 34 stitches. So I have 3 stitches from row 1, left over. What am I doing wrong?
At the end of row 1 you should have 38 sts (the turning ch counts as a dc): so you will have the turing ch (counts as a dc) dc, hdc, 14 sc, hdc, 3 dc, hdc, 14 sc, hdc, dc, which equals 38 sts. I’m guessing you did this much right. Row 2 will end with 40 sts, as you work 2 sts in the first st (the starting ch which counts as a dc, plus another dc) 1 st in each of the next 18 sts, 2 dc in the next st, then 1 st in each of the next 18 st. This makes 40 sts. I don’t know what you are doing wrong, because I don’t know what you are doing.
Thank you Jessie. I got it. I read the 2hdc as being in the same stitch☺️
Im stuck still. If I chained 20 to start with how do I finish with 40 at the end of row 1? I don’t have stitches left for the second time doing the dc, hdc, 14 sc and so on. Is there an increase in 20 stitches I missed?
You work in each chain twice, first in the front loop of all of them, then in the unworked loop.
Love it and you posted it in time for me to make. Thank you and Merry Christmas!
I love your pattern. how many rounds did you do on this blanket? I love doing granny square throws for babies.
I don’t remember how many rounds I did, and I donated it, so I can’t check. I just went until I liked the size.