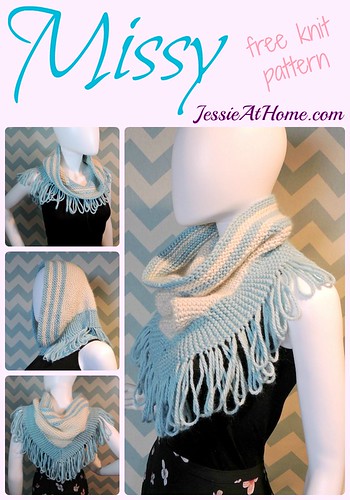
Missy
Knit Pattern
Easy Skill Level
Designed by Jessie Rayot
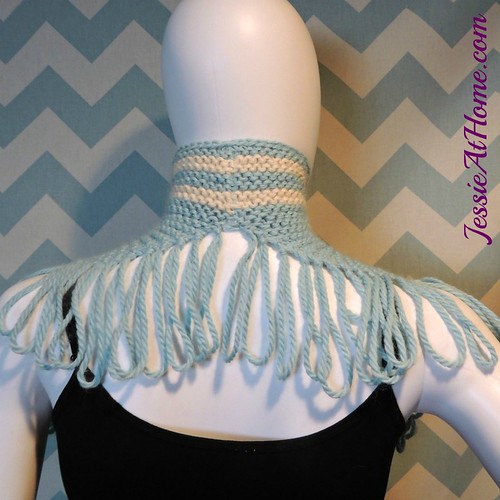
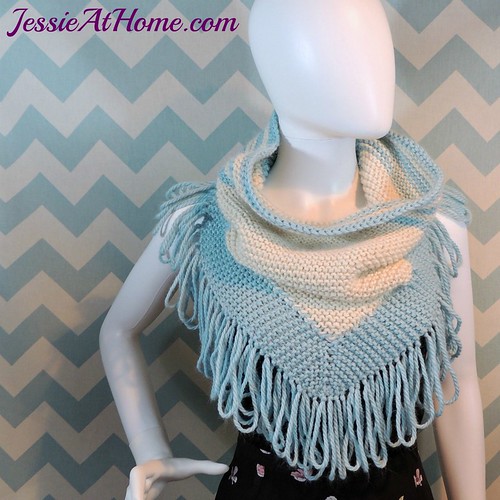
Missy is a fringed shawl point cowl in two colors. Worked in garter st, with easy to create increases and drop stitch fringe, this cowl is a quick and easy pattern. It can be worn with the point in front or back, or on the side, it can even be worn as a hood! Most of 2 skeins of Cloudborn Baby Alpaca Bulky yarn by Craftsy will be used to create your own chic cowl.
**Craftsy is having a 12 days of Craftsy Sale through December 12th, 2015, and pretty much everything is up to 50% off!

Size:
3″ deep in center back
17″ deep in center front
28″ around
Yarn:
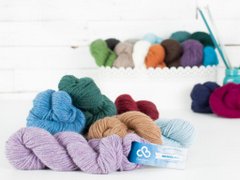
Cloudborn Fibers Baby Alpaca Bulky, 100% Baby Alpaca, 100 g/109 yds
Sky Blue, 1 skein: yarn A
Ivory, 1 skein: yarn B
Needles:
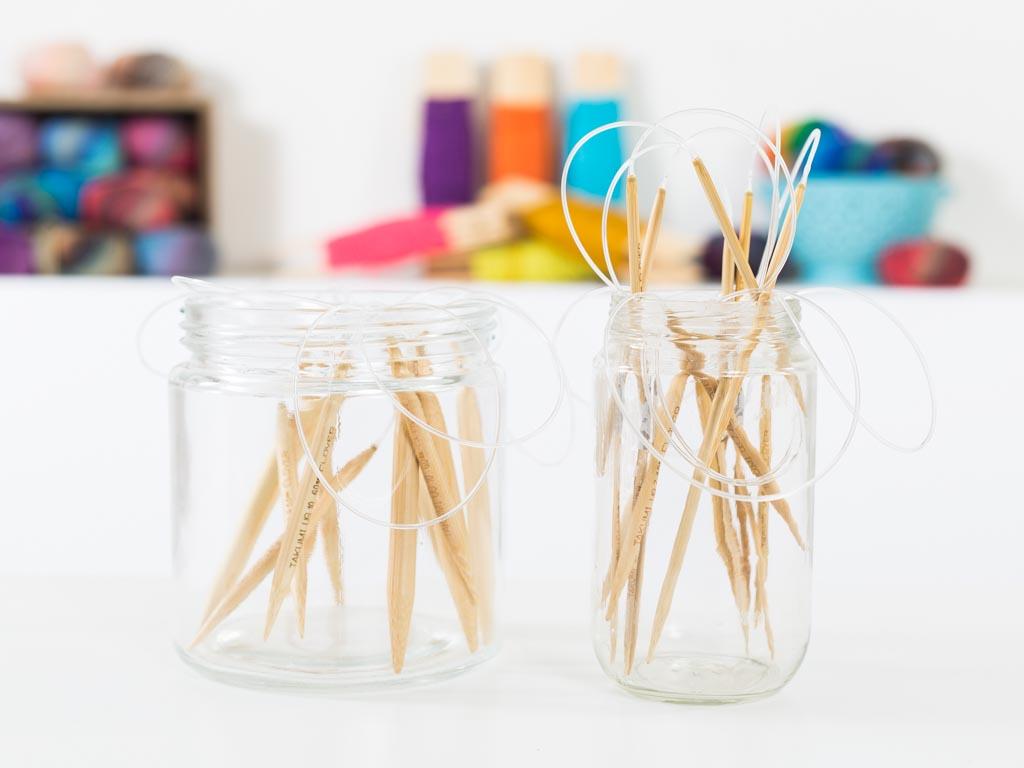
US 10/6.00 mm 16″ circular needles or size needed to obtain gauge
Gauge:
15 sts x 30 rows makes a 4″ square in garter st
Other supplies:
yarn needle
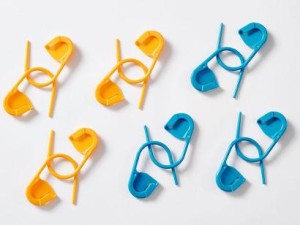
2 stitch markers
Stitches and Skills used:
k ~ knit
kfb ~ knit front and back
pm ~ place marker
sm ~ slip marker
sp(s) ~ space(s)
st(s) ~ stitch(es)
Getting Started:
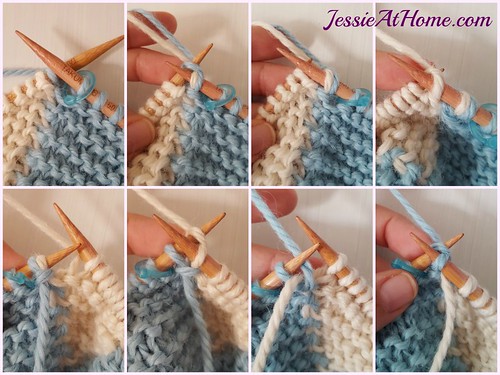
The Missy Cowl starts out with 1 color, then switches to 2. Once the second color is introduced, the increases are made by knitting one st with both colors held together, then on the next row the 2 colors are worked into individually. The increase is the only st worked with both yarns held together. Otherwise, all yarn A sts are knit with yarn A and all yarn B sts are knit with yarn B.
Here are some photos to help illustrate the color changes.
Pattern:
With yarn A, cast on 12 sts. *I recommend the long tail cast on. You will be dropping some sts, and whatever cast on you use will need to work for dropped stitches.
Row 1: K7, kfb, pm, k to end. ~ {13 sts}
Row 2~16: K to 1 st before marker, kfb, sm, k to end. ~ {28 sts}
Remove marker.
* On the next row, work sts up to the 2 color increase with one strand of yarn A. Work sts after the increase with another strand of A, such as the other end from the yarn ball.
Row 17: K13, pm, k next st with yarn A and B held together, with second strand of yarn A k1, pm, k to end. ~ {29 sts}
Row 18: K to marker, sm, k next st with yarn A and B held together, with yarn B knit yarn B loop on left needle, with other yarn A, k1, sm, k to end. ~ {30 sts}
Row 19: K to marker, sm, k next st with yarn A and B held together, with yarn B knit each yarn B loop on left needle, with other yarn A, k1, sm, k to end.~ {31 sts}
Repeat row 19until there are 104 sts on the needle: 14 A, 76 B, 14 A. While working the repeats of row 19, there will be 3 active yarn ends being used, 1 A on each end, and 1 B in the middle.
Remove markers while working next row.
Last Row: With same strand of yarn A, K until 5 sts remain, drop 5 remaining sts off left needle. Cut other strand of yarn A and cut yarn B, leaving long tails (at least 8″) for finishing.
Begin working in rounds.
Round 1: Drop first 5 sts off left needle, pm, p around. ~ {94 sts}
Round 2: K around.
Round 3: P around.
Switch to yarn B.
Rounds 4~7: Repeat rounds 2 and 3 twice.
Switch to yarn A.
Rounds 8~11: Repeat rounds 2 and 3 twice.
Switch to yarn B.
Rounds 12~15: Repeat rounds 2 and 3 twice.
Switch to yarn A.
Rounds 16~17: Repeat rounds 2 and 3 once.
Round 18: K around.
Bind off knit wise.
Slowly pull the 5 sts on either side of the tringle that were dropped. This will create the loops along the bottom of the cowl. As each loop is freed from all 5 sts, tie an overhand knot close to the cowl. It’s tempting to drop the sts all the way down and then go back and tie the knots, however, the sts next to the dropped sts will start to loosen as more sts are dropped, so tying neat knots will be easier if the sts are dropped in the above manner.
Weave in all ends.
Wear or give and enjoy!

If you enjoy what you have found here at JessieAtHome, please like my Facebook page to get all the updates on new tutorials, other posts, sales, and coming events.
If you have any questions or concerns, want to share pictures of your work, or just want to chat with Jessie and other crafty individuals, than join my Facebook group.
If you enjoy this free crochet pattern, please consider buying some of your supplies from one of these affiliate links. Thank you.
 |
 |
 |
©Copyright 2015 Jessie Rayot / Jessie At Home All my videos, patterns and posts are my own work. Do not copy them in any way. If you want to share this information with someone, share the link to this post. If you want to share on your own blog / website, then you may use the first photo in this post and link back to this post. You may not give away printed copies of this post. Thank you.
This post may contain affiliate links/ads. If you purchase something from a link in this post, I may be compensated.


After row 1 ending at 13 stitches, how does row 2 wnd up being 28 stitches?
The 28 sts is for when you have done all the rows (2 – 16). So at the end of row 16 you will have 28 sts.
Very pretty! Thanks for sharing in my link party!
This is gorgeous. I wanted to know whether anything would get messed up if I didn’t want to have the fringe? Also can items be sold from this patterns Thank you
The fringe is worked into the pattern, it’s not put on at the end. Finished items can be sold, but please give design credit and a link back to the pattern if selling on line.
I’m not understanding the 2nd strand part, it doesn’t look right when I do it. Also what is the starting point? Is it the point of the cowl? Or the neck? The side?
The starting point is the point. The strands are the different yarns, it’s explained in the getting started section
Hi.
I am a bit confused here…
It says: With A, cast on 12 sts.
* I recommend the long tail cast on. … etc.
Row 1…
Row 2-16…
Then it comes this note:
* On the next row, work sts up to the 2 color increase with one strand of yarn A. Work sts after the increase with another strand of A, such as the other end from the yarn ball.
Does this mean that I perform this right after I cast on the 12 stitches?
like this: With A, cast on 12 sts. On the next row work sts up to the 2 color increase with one strand of yarn A. Work sts after the increase with another strand of A, such as the other end from the yarn ball.
Did you read row 17? it states in row 17 where to start using the other strand of yarn. I’m not sure why you think you have to cast on more sts. You cast on first, then start row 1, then 2, and so on. No where does it say to cast on more sts.