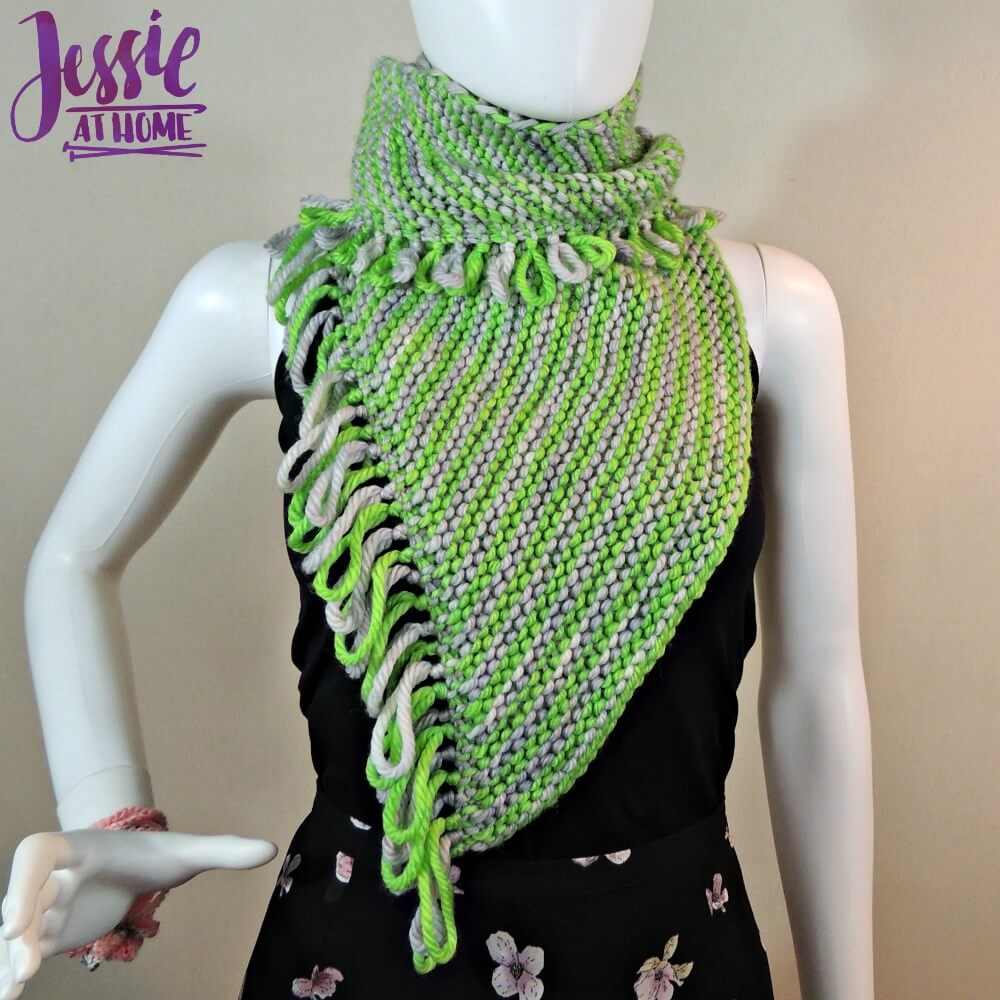
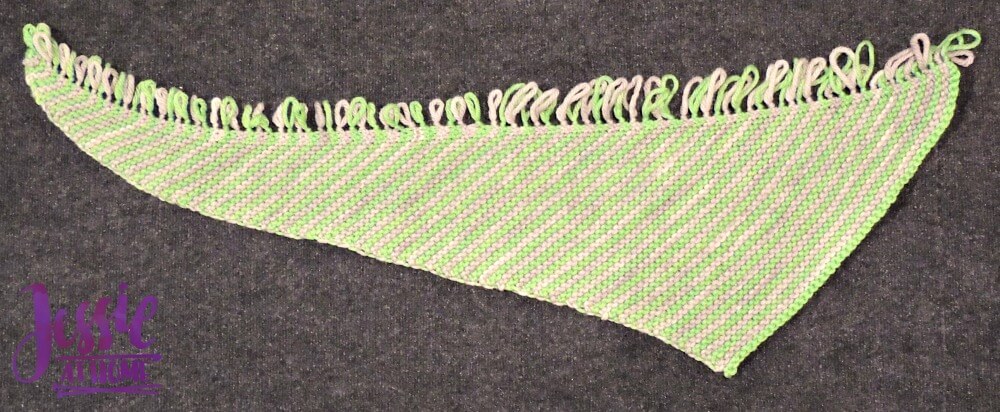
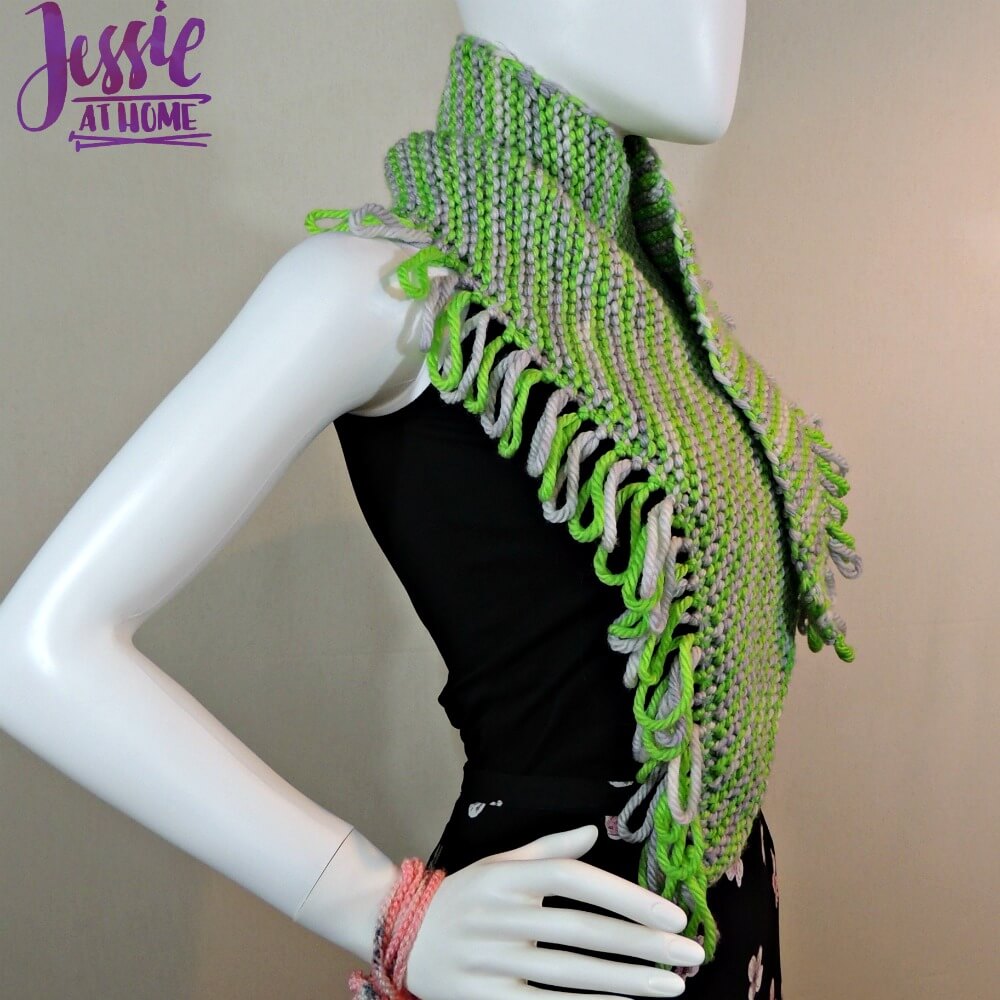
The Fringed Wedge Wraplet looks complicated, but it’s actually quite easy! The fringes are made at the end by dropping 3 stitches, so no attaching fringe at the end. It can be worn as a small wrap or scarf, and is perfect for keeping the chill off your neck with a v-neck coat.
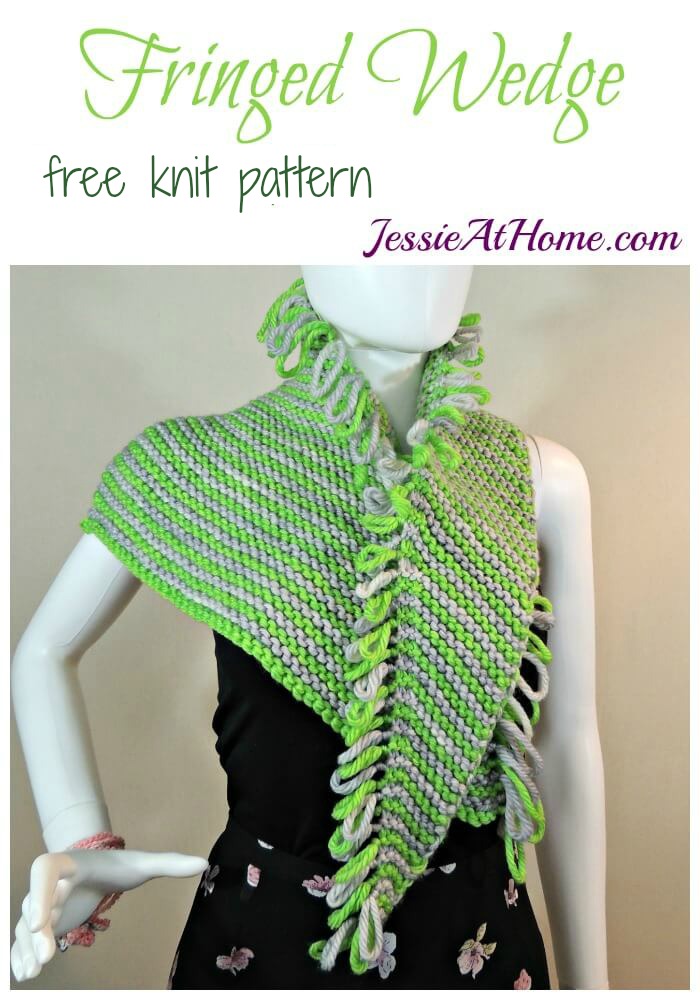

Fringed Wedge
Knit Pattern
Easy Skill Level
Designed by Jessie Rayot
Size:
43″ long
Yarn:
Frabjous Fibers / Wonderland Yarn: TweedleDeeDum (Bulky Weight Superwash Merino)
1 skein – 19 We’re All Mad Here
1 skein – 20 Goat’s Beard
Needles:
US-11, 8.00mm
Gauge:
12 sts x 24 rows = 4” [10 cm] in garter stitch
Other supplies:
yarn needle
Stitches and Abbreviations:
k – knit
k2tog – knit 2 together
kfb – knit front and back
sp(s) – space(s)
st(s) – stitch(es)
Getting Started:
Carry unused color along side, do not cut at color changes.
Pattern:
With first color, CO 5 using long tail cast on
Row 1 and all odd rows: Switch color, k all.
Row 2: K3, kfb, k1. – {6 sts}
Row 4: K3, kfb, k2tog. – {6 sts}
Row 6: K3, kfb, k2. – {7 sts}
Row 8: K3, kfb, k1, k2tog. – {7 sts}
Row 10: K3, kfb, k to end. – {8 sts}
Row 12: K3. kfb, k until 2 sts remain, k2tog. – {8 sts}
Repeat rows 9-12 to until 3 yards remains of first color.
Bind off row: Bind off all but last 3 sts, drop last 3 sts.
Finishing: Pull dropped stitches all the way down to create fringe. Tie a knot at the top of each loop where it meets the knitted work to keep the scarf from loosening. Weave in all ends.
Wear or give and enjoy!

If you enjoy what you have found here at JessieAtHome, please like my Facebook page to get all the updates on new tutorials, other posts, sales, and coming events.
If you have any questions or concerns, want to share pictures of your work, or just want to chat with Jessie and other crafty individuals, than join my Facebook group.
If you enjoy this free knit pattern, please consider buying some of your supplies from one of these affiliate links. Thank you.
| l |
[signature]


I am a beginner knitter but it seems there is a problem with the instructions – it only takes me up to 8 stitches and says to keep repeating rows 9-12?? I do not understand. Please Help!
Yes, that’s right. The pattern is written through row 12, then you continue the instructions for rows 9-12 over and over. The stitch count will grow as you do so.
Thanks for your prompt reply. As this is my first time following a pattern, I was literally repeating the steps as written. So I repeat the steps but keep adding on stitches & don’t limit myself to the number of stiches listed in the instructions. Sorry if I’m a bit thick. 🙂
No worries, how else will you lean and improve? 🙂