








Inside: Learn the Join As You Go Crochet technique to easily connect granny motifs while crocheting. Save time and effort now!
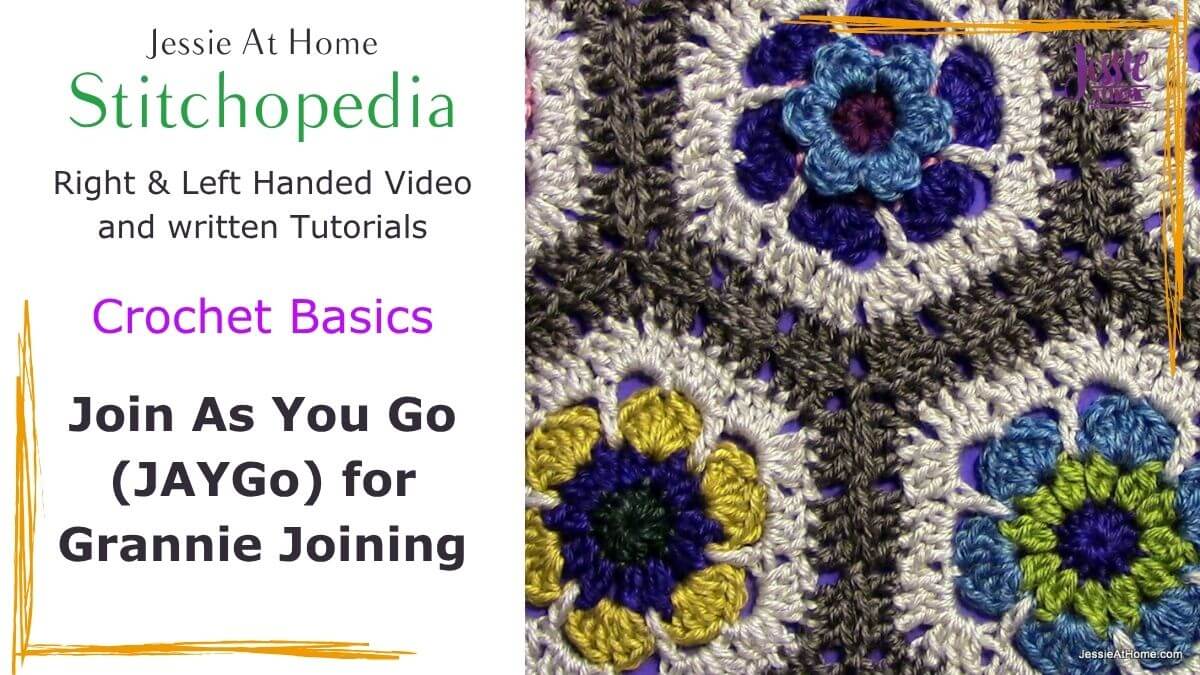
This is a great way to join your granny motifs while you work them, eliminating the extra time of joining them at the end, and cutting down on the number of ends you need to weave in! I have used hexagons in this tutorial, but you can use this method with any of your grannies that fit together!
This tutorial was originally published June 17, 2014, and the most recent update was on August 11, 2026.
Table of contents
How To Join As You Go for Granny Squares
Before You Start
First: It is important that all your corners are made with a chain-2. The first chain counts as the last stitch of the first side, and the second chain counts as the first stitch of the second side. This is how you know which side to join each chain into.
It’s also important that you have chain-1 spaces throughout the sides. The joining points will be the chain 1 spaces. Traditional Granny Stitches have 3 double crochets, then a chain-1 space. This is a great ratio for joining. This is what is being used for this tutorial.
Other motifs that have chain-1 spaces along the sides and chain-2 spaces for the corners can also be joined with this technique, sometimes with some adjustments, depending on the motif.
Joining
Make your first motif all the way through the end and weave in all your ends. Make the motif you are joining it to next, this time stopping before the last round. Make the last round as follows:
- Start the last round of the motif and work until you get to the first corner you need to join.
- Make the first ch of the corner as normal,
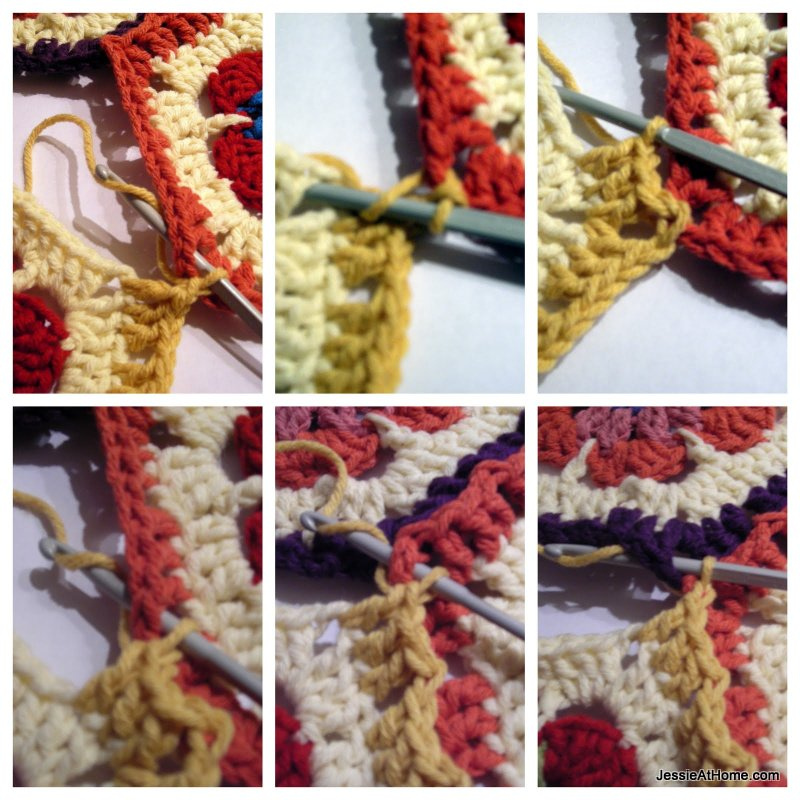
- Instead of making the second chain, slip stitch into the corner chain of the motif you are joining to. (this is seen in the first image below)
- Complete the next 3 double crochet, as seen in the second and third images.
- Connect the next chain by slip stitching into the coordinating chain of the motif being joined. (this can be seen in the fourth image)
- Repeat the last 2 steps until the next corner is reached.
- Replace the first chain of the corner with a slip stitch into the coordinating corner of the motif being joined (fifth image).
- Replace the second chain of the corner with a slip stitch into the coordinating corner of the next motif you are joining to (if there is another) and continue as before. (last image)
- Once you have finished connecting however many motifs you need, you will continue the last round to the end.
JAYGo for Granny Motifs Videos
Right Handed JAYGo for Granny Motifs Video Tutorial
If you can’t see this video, try watching it on YouTube HERE.
Left Handed JAYGo for Granny Motifs Video Tutorial
If you can’t see this video, try watching it on YouTube HERE.
Now you can make that Granny Blanket you have been putting off because you hate joining motifs!
Did you enjoy what you found here at Jessie At Home? Then sign up for my newsletter and like my Facebook page, so you’ll get all the updates on new tutorials, other posts, sales, and coming events.
If you have any questions, want to share pictures of your work, or just want to chat with Jessie and other crafty individuals, than join one of our free Zoom Sit & Stitches. Find them on our Events Calendar.

© Copyright 2014 Jessie Rayot / Jessie At Home®, LLC All my videos, patterns, charts, photos and posts are my own work, so you may not copy them in any way. If you want to share this information with someone, then share the link to this post.










Thank you so much for sharing your work.
I just started working on the hexagon flowers with the extra center. I would never have been able to do some of the rounds without your videos. Watching how to join as you go now.
Thank you again!
It’s so nice to hear that the videos are helpful! Thank you.
This was very helpful I stop doing blocks just for that reason I hated to put in all that time and then have to join them altogether.
Just wondering why you only joined the chain stitches? When I sew a granny together I join every stitch not just the chains.
I like it that way. But either way works! 🙂