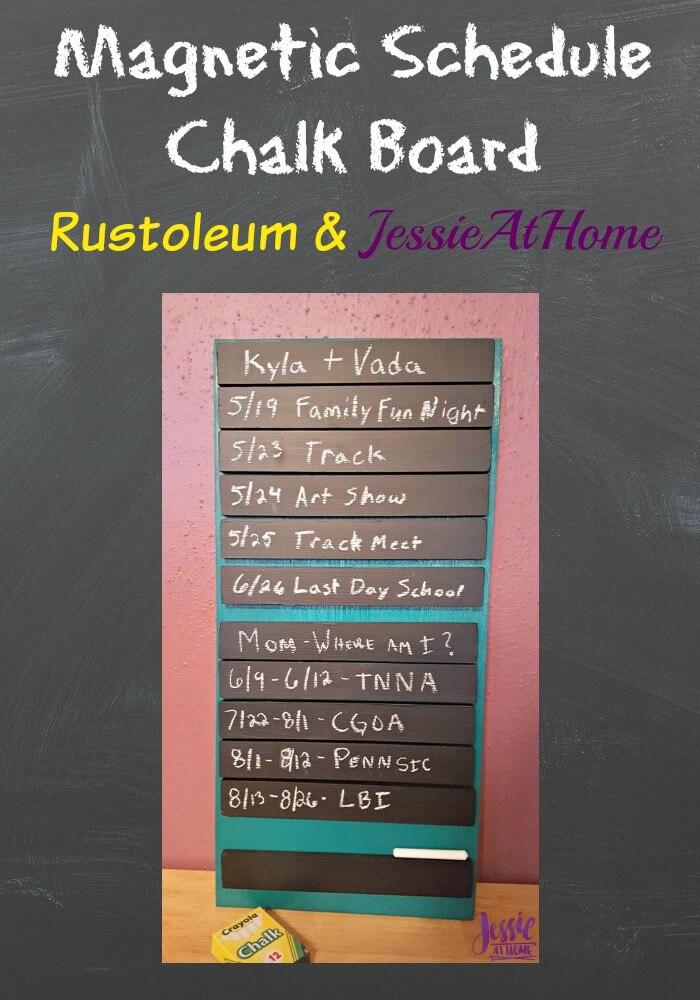
Learn to make this magnetic schedule chalk board to keep track of your family!
Products used were provided by Rustoleum.
This schedule board is easy and fun to make and very useful! The back board is magnetic and the black strips are little chalk boards with magnets on the back; so as things change and move around, you can move them on the board!
Supplies:
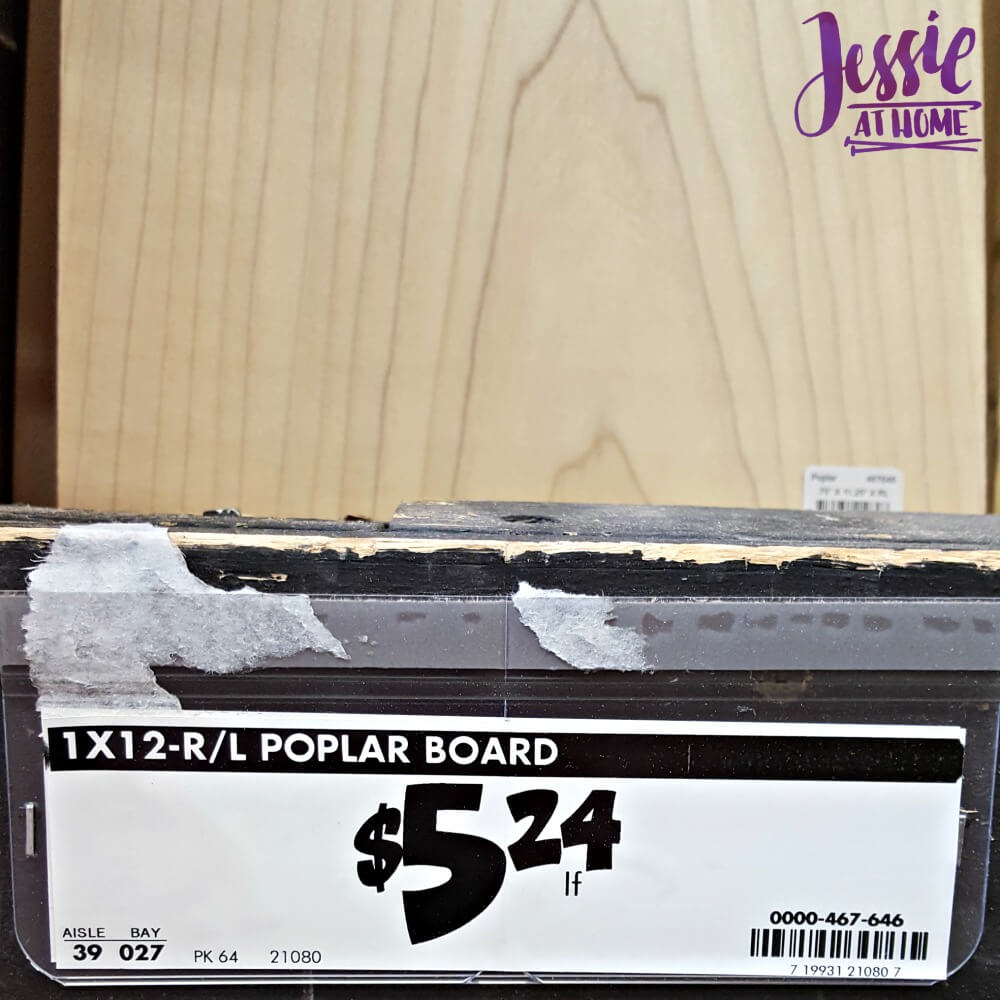
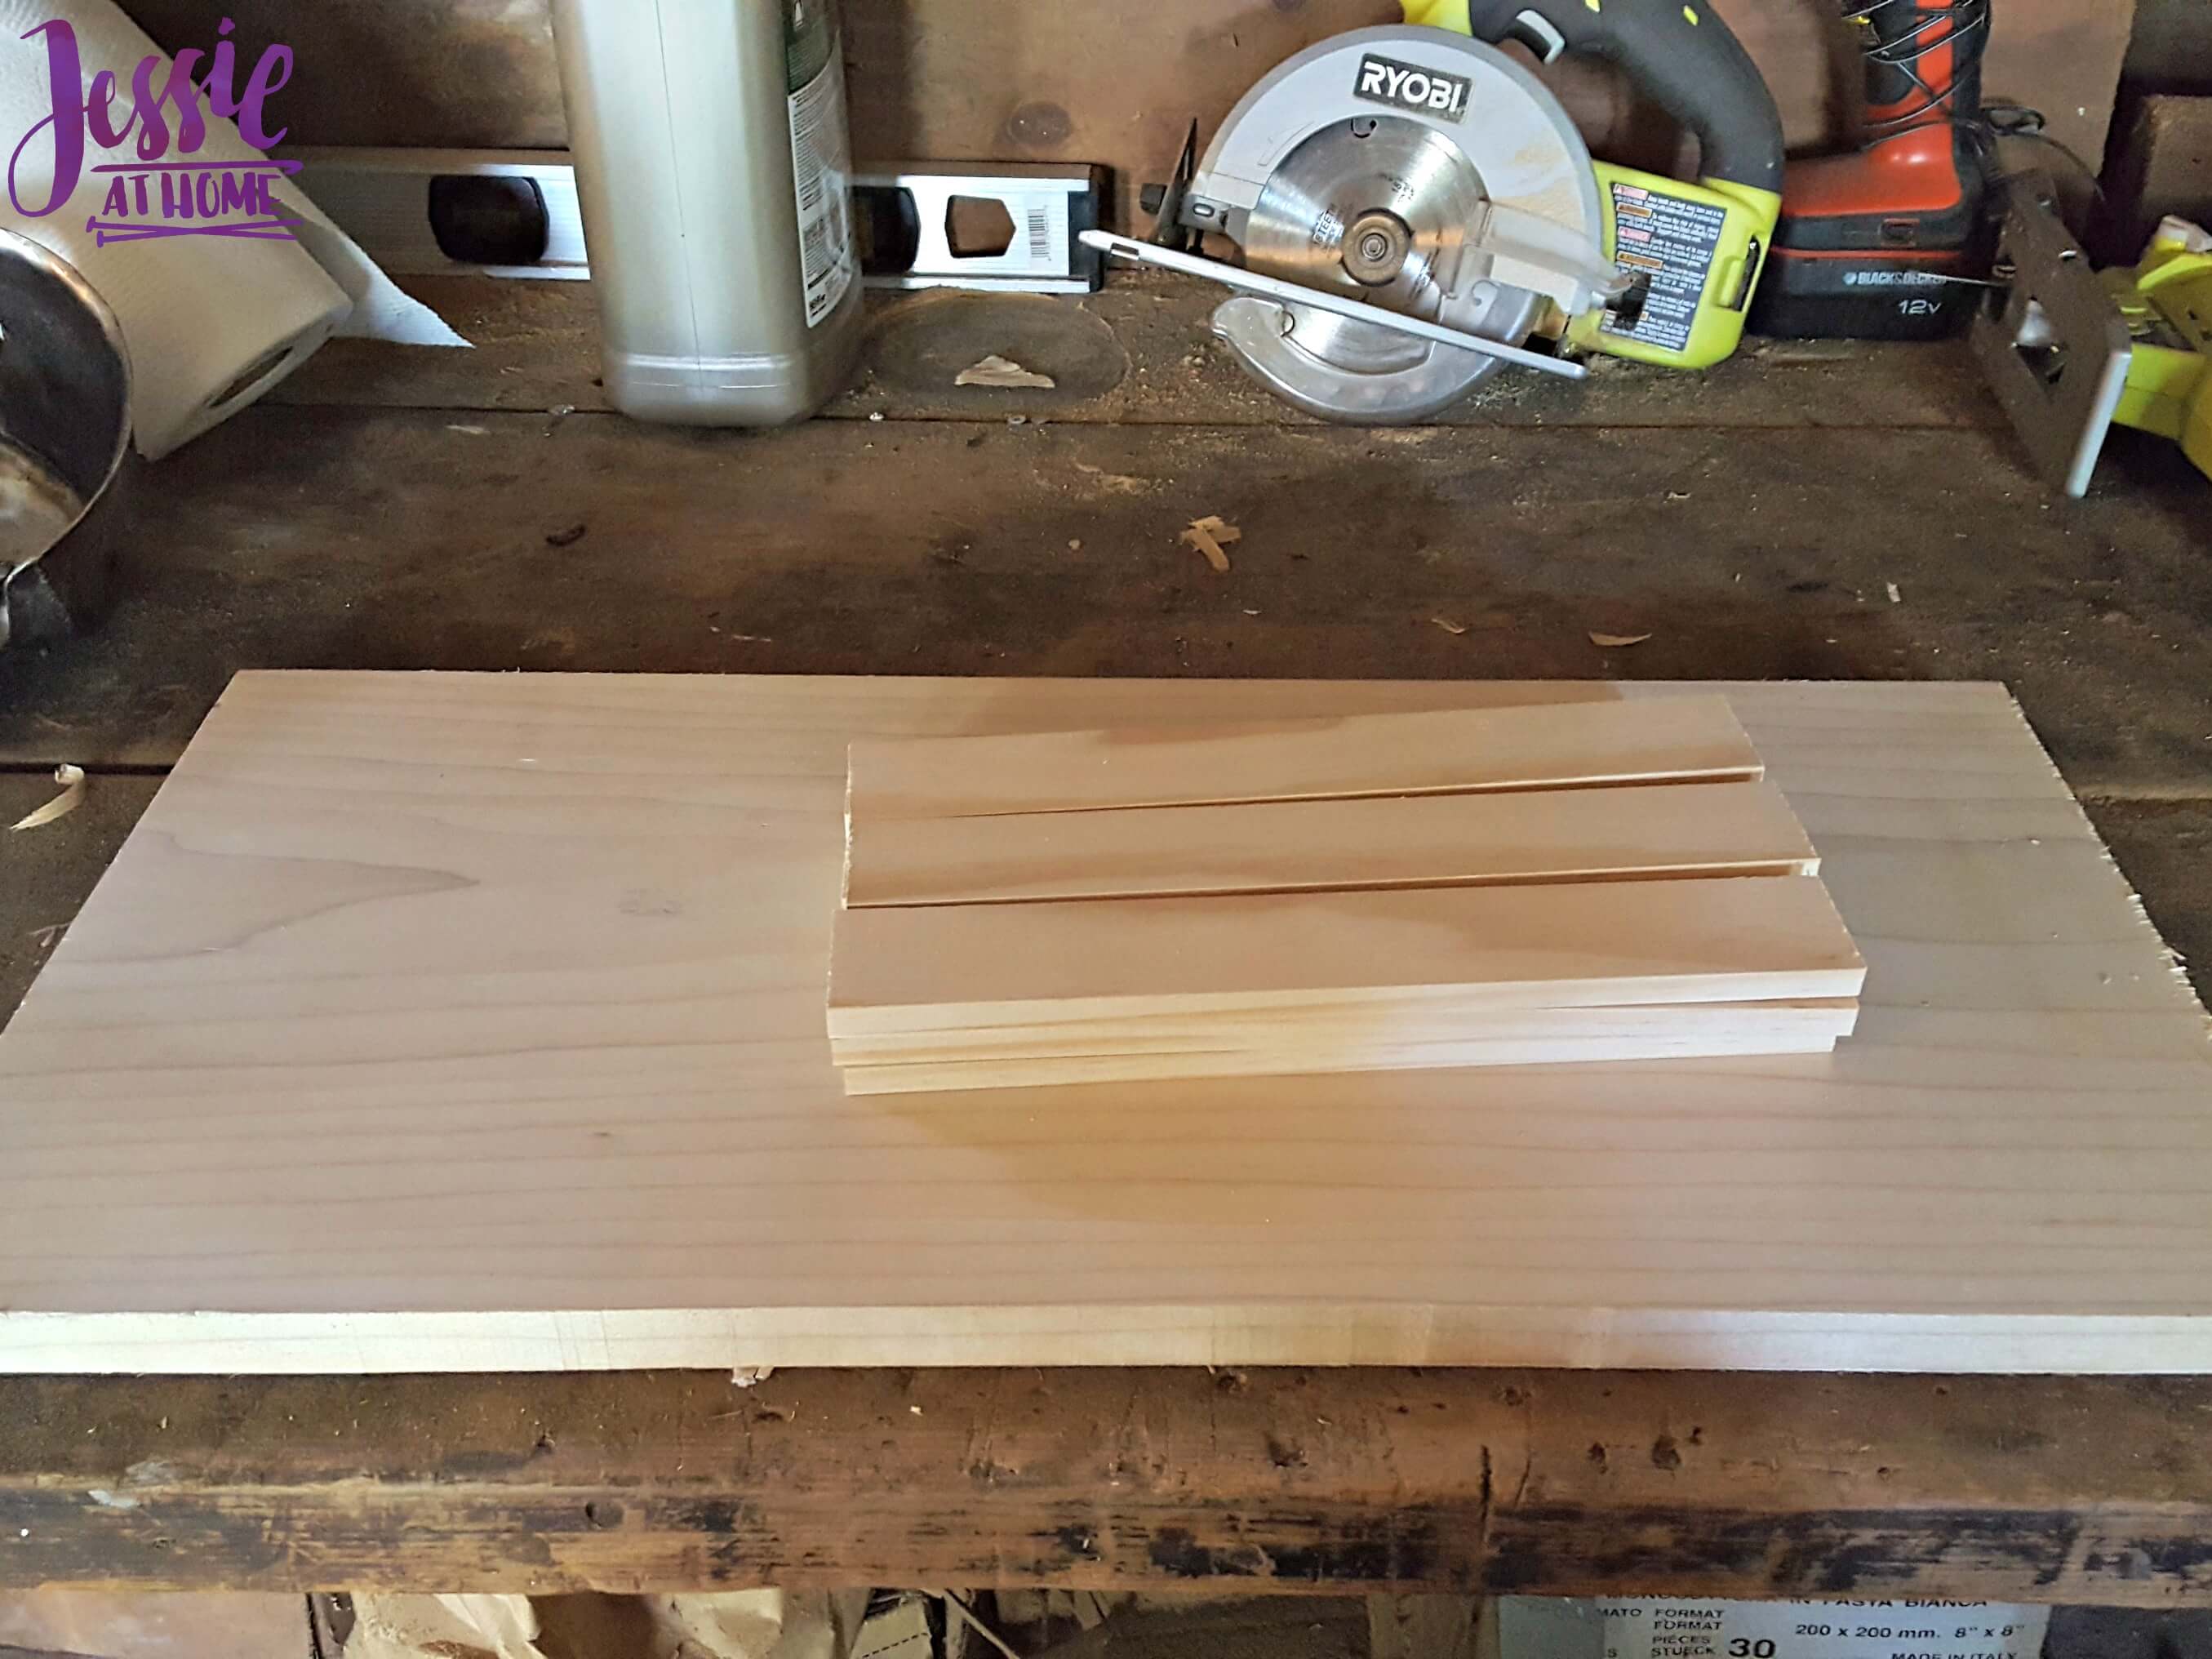
Back Board – 1 x 12 cut down to 2′ (see image above)
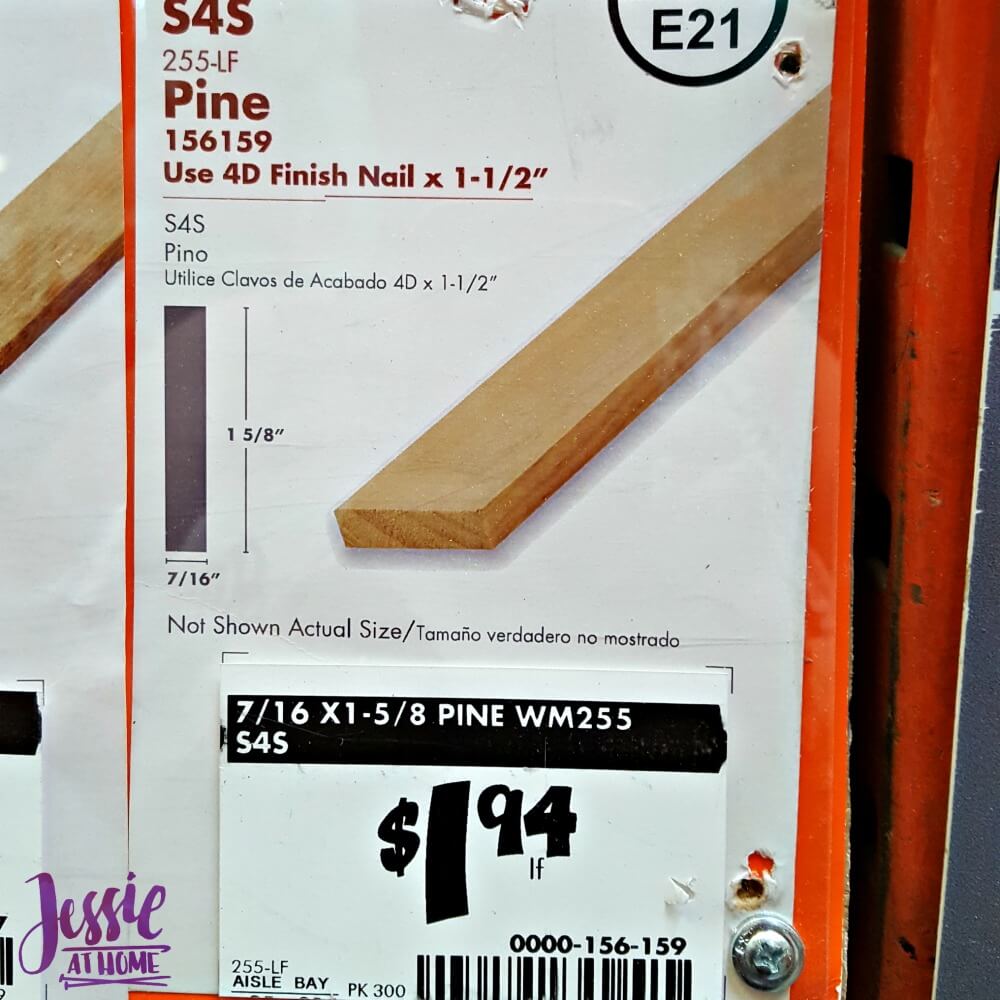
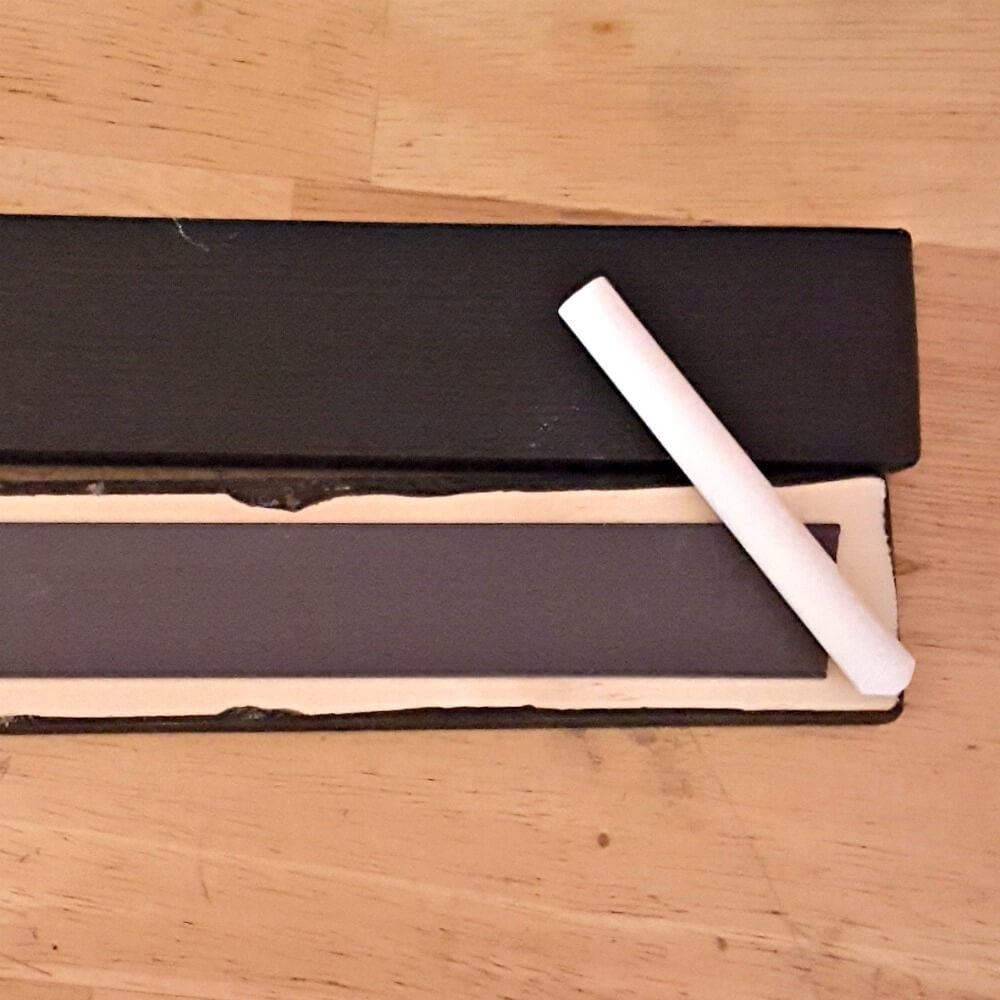
12′ of trim 1 5/8 x 7/16 (see image below) – 12′ (2 six foot pieces will fit in your vehicle!)
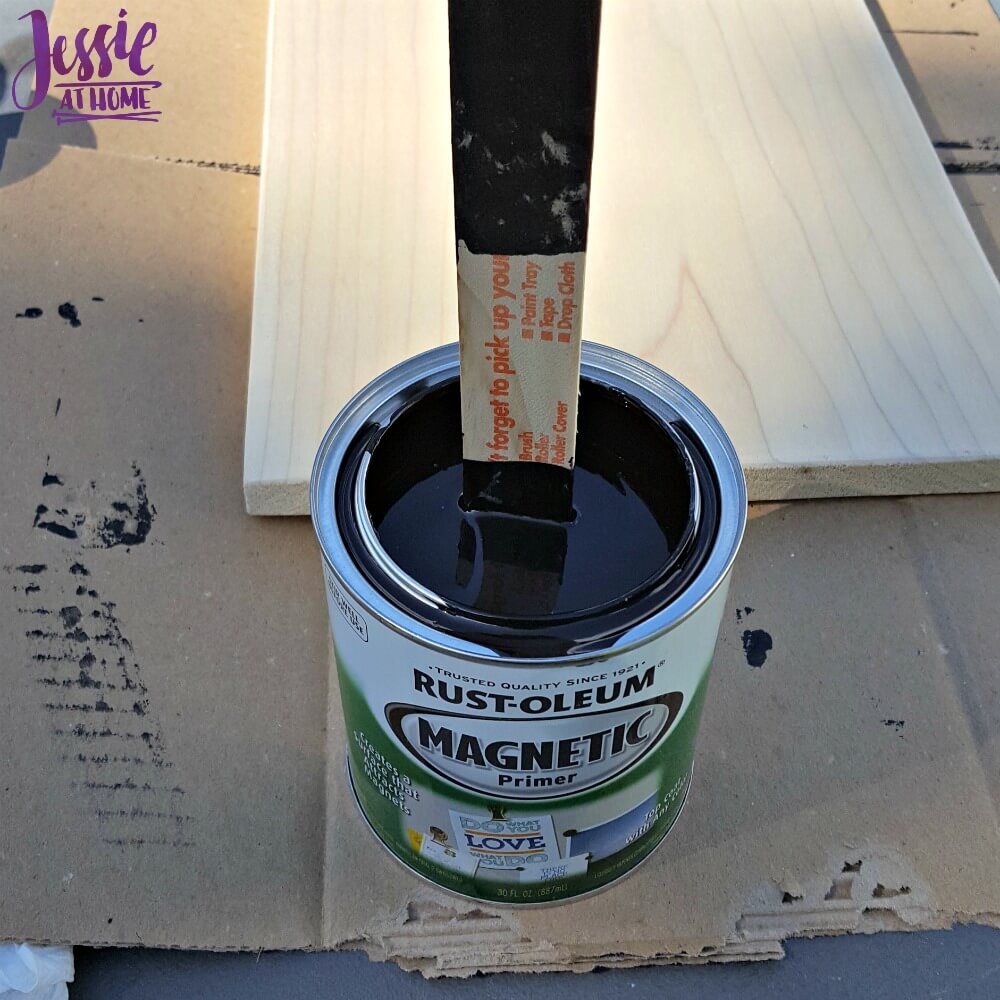
Rustoleum Magnetic Primer – 1 quart
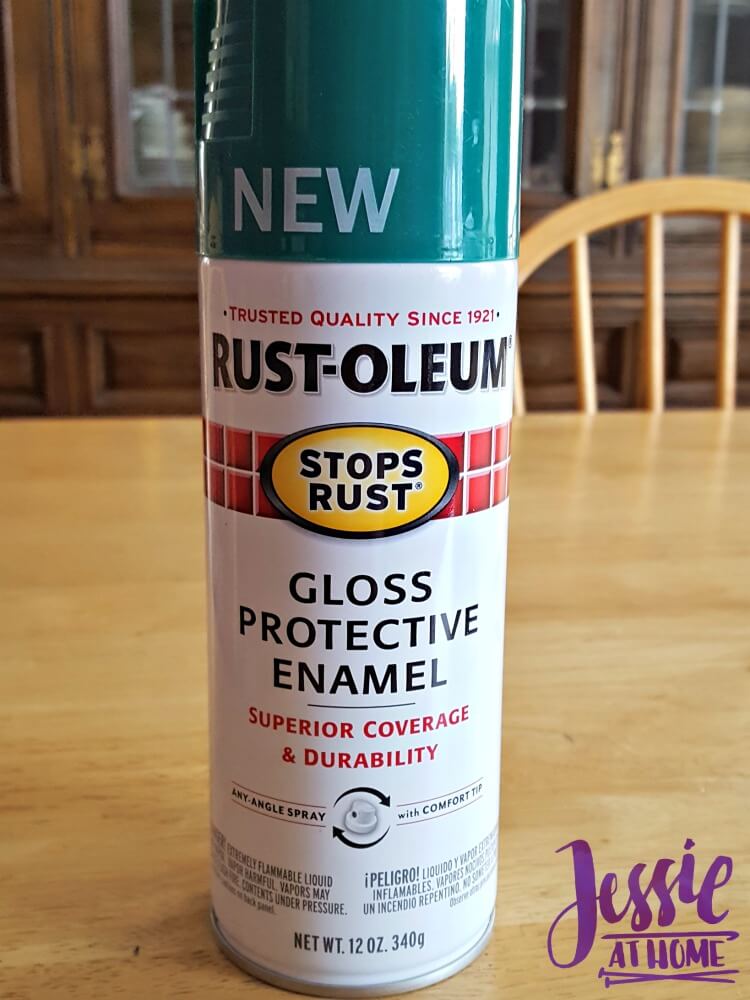
Rustoleum Gloss Protective Enamel – 1 can in color of choice
Rustoleum Chalk Board Brush-on – 1 quart Black
10′ of 1″ magnetic tape – do not buy thinner or less, it will not hold!
Hanging supplies
Sponge Brushes
Gloves
Chalk
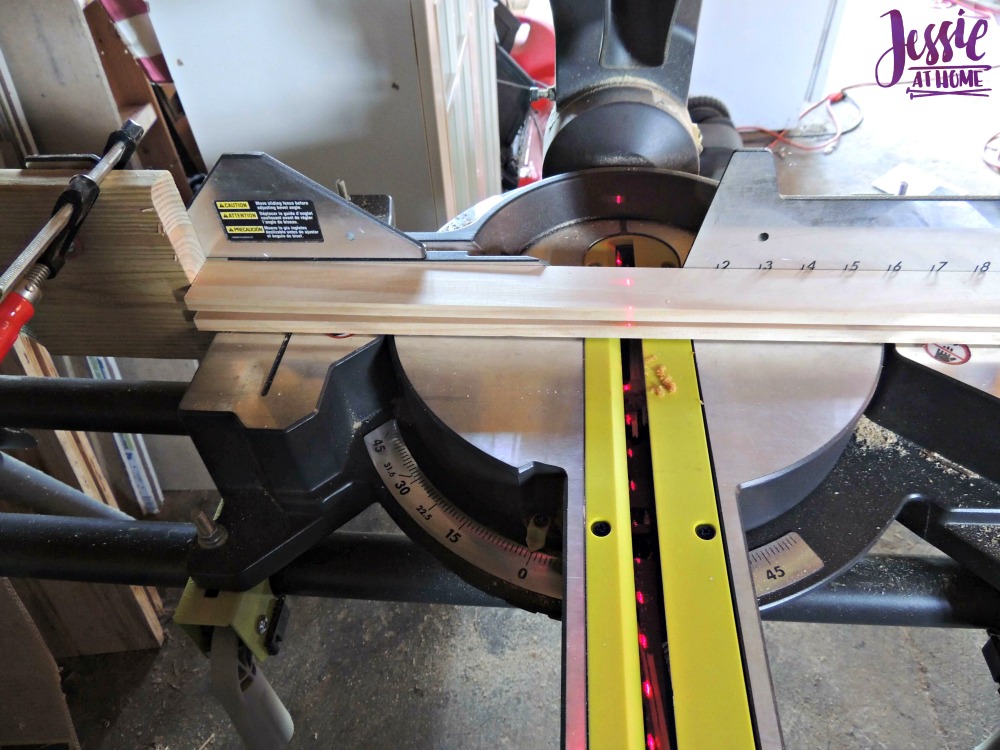
Now it’s time to prep the wood. Measure the width of your 12″ x 2′ board – it won’t really be 12″. Subtract 1/2″ and that is how long you want your trim strips to be. Cut the trim strips to length. I clamped a stopper board onto my miter saw so that all the strips would be exactly the same length.
Now it’s time to give all the boards a sand so that there are not sharp edges/corners.
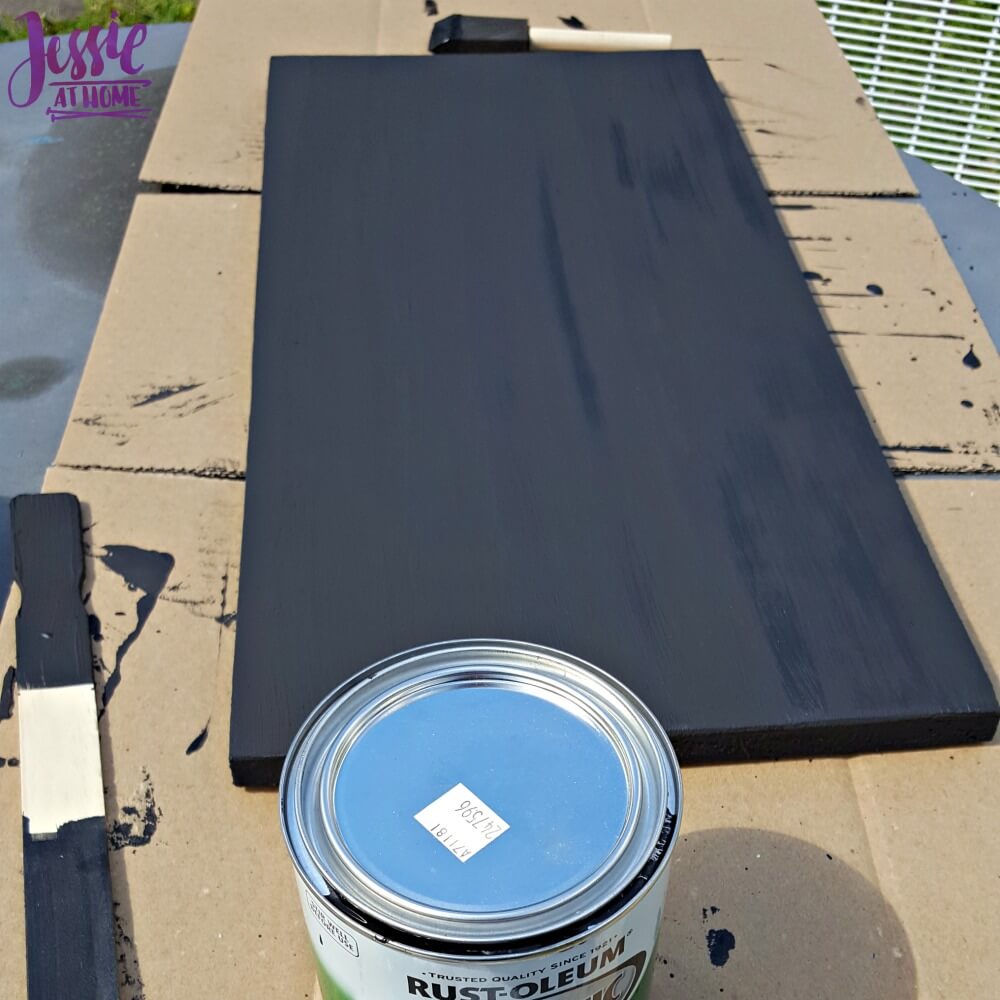
OK, painting time! Read your paint. Be sure to wait the proper times between coats. I started with the chalk board paint because it had the longer time to wait between coats (4 hours) so I did my first coat of that and it was clear I would need a second. Be sure to paint all surfaces on the boards otherwise they could warp over time. For the back you need only use 2 coats of primer or any other paint you have on hand.
Next I went onto the magnetic paint. You will have to stir a LOT. It is really thick and it separates in the can, so stir until it is really mixed well. As you can see from the image, I’m not kidding about the thick part.
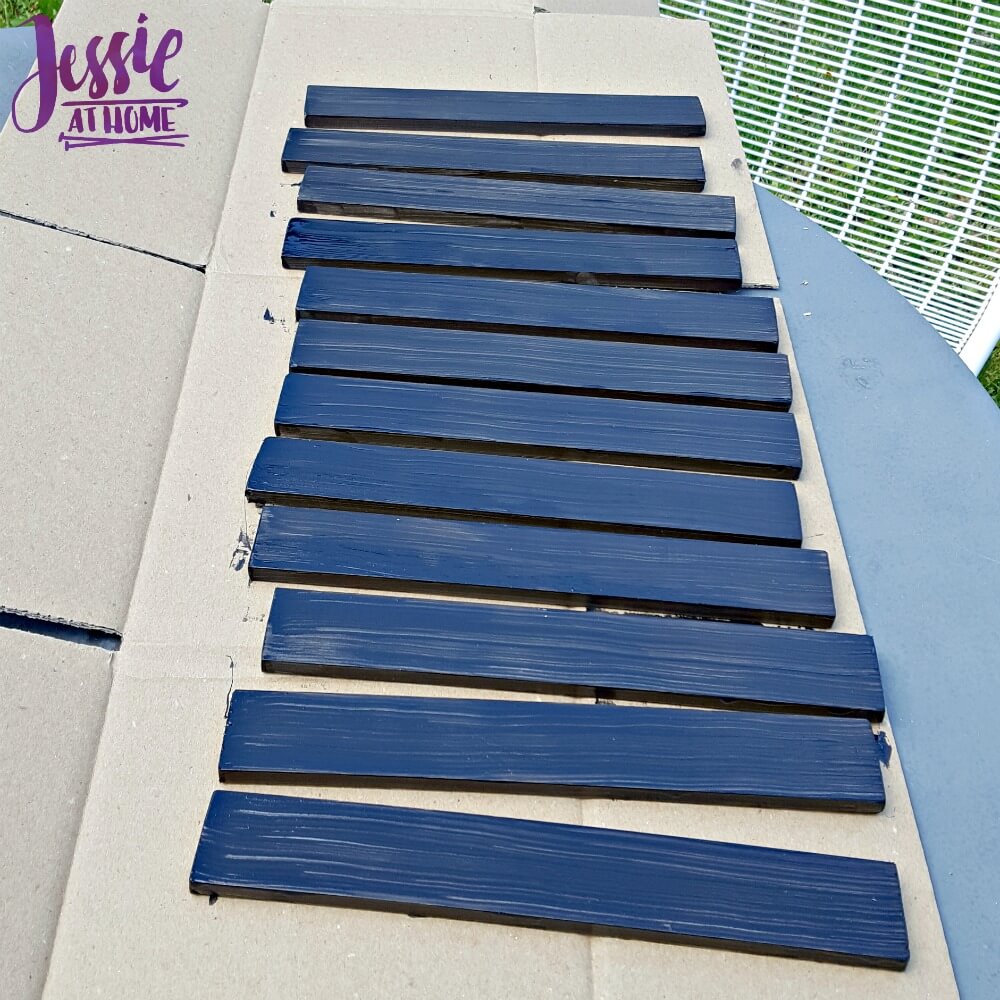
Next I painted on a coat of the magnetic primer. It only has a half hour wait to recoat, so I was able to do 3 coats while waiting to do the second coat of the chalkboard paint. I did 3 coats because I wanted to be sure it was REALLY magnetic! Then I let it dry for it’s full drying time. I painted the second coat on the chalk board strips and let them dry for the full drying time.
Lastly for painting, I sprayed the back board (the magnetic one) with gloss protective enamel on the front, sides, and back. You could use another Rustoleum spray paint, I happened to have this one and liked it, so that’s what I used.
Now your done with painting! Once everything is completely dry you are ready to assemble. Cut your magnet strips into pieces about 1″ shorter than your chalk board strips and attached them to the back of the chalk board strips – the magnet strip has an adhesive back, so it’s super easy!
Now it’s time to consult your schedule and get writing!!
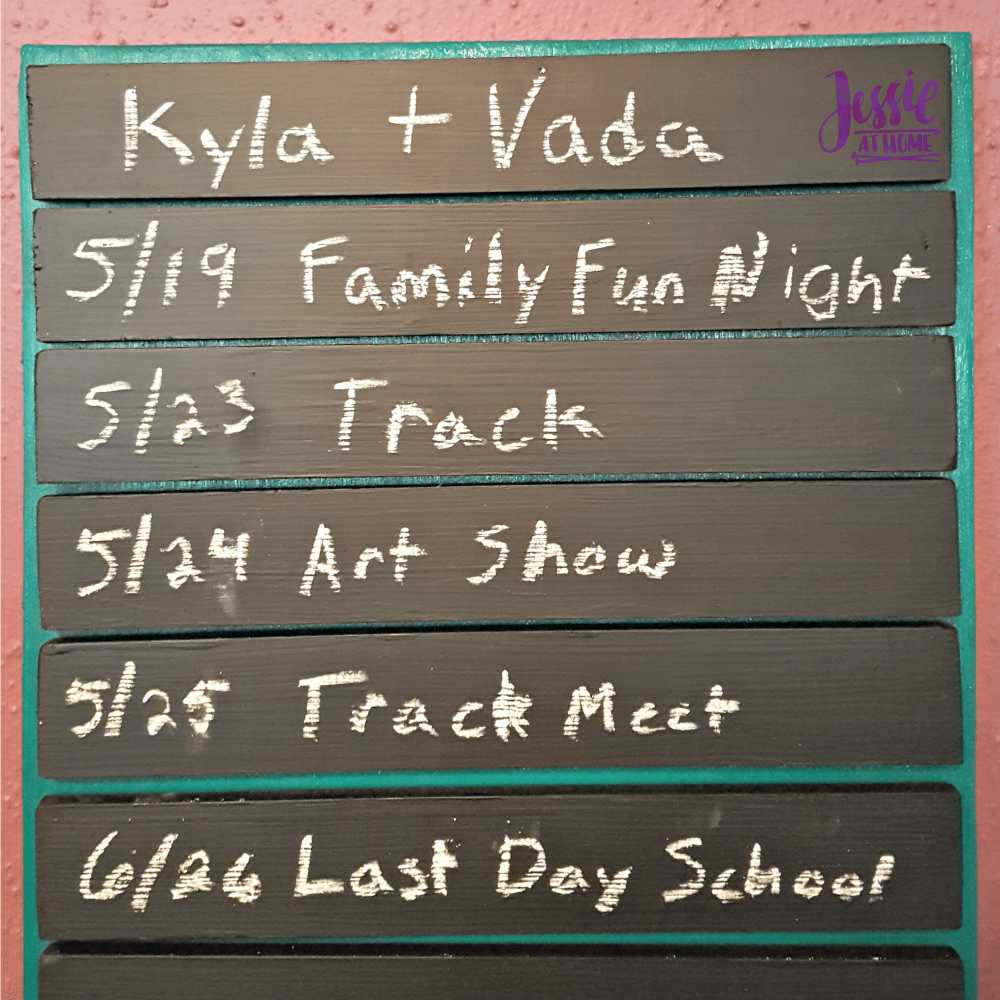
It’s close enough to the end of the school year that the girls don’t have a lot left on their schedule, so I was able to add on my travel schedule as well. After all, the girls are always asking where I’m going next.
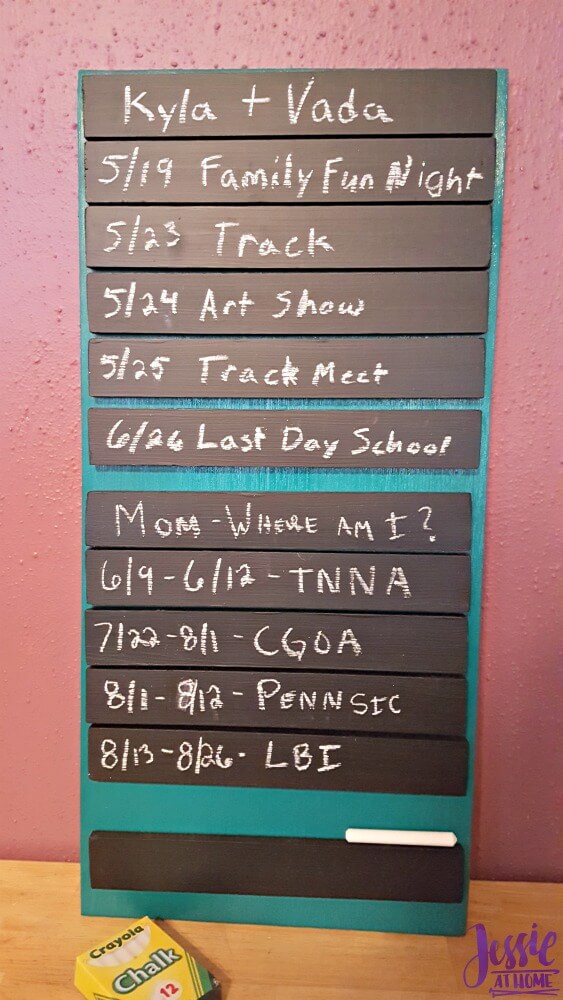
There you have it, your magnetic chalk board schedule! Enjoy.

©Copyright 2017 Jessie Rayot / Jessie At Home All my videos, patterns, charts, photos and posts are my own work. Do not copy them in any way. If you want to share this information with someone, share the link to this post. If you want to share on your own blog / website, then you may use the first photo in this post and link back to this post. You may not give away printed copies of this post. Thank you.


