
Inside: This simple eyelet row knitting pattern will help you create a stunning shawl to keep you cozy and stylish all season long.
This pattern was originally published on 8/1/2019. The most recent update was made on 12/13/2022.
Take your knitting game to the next level with this free pattern. This beautiful “Connect the Dots” eyelet row shawl is perfect for beginners and experts alike. Let the delicate eyelets give your shawl a sophisticated touch, while the simple knitting pattern ensures a smooth and easy knit. Enjoy creating something special and unique, no matter your level of knitting skill.
Table of contents
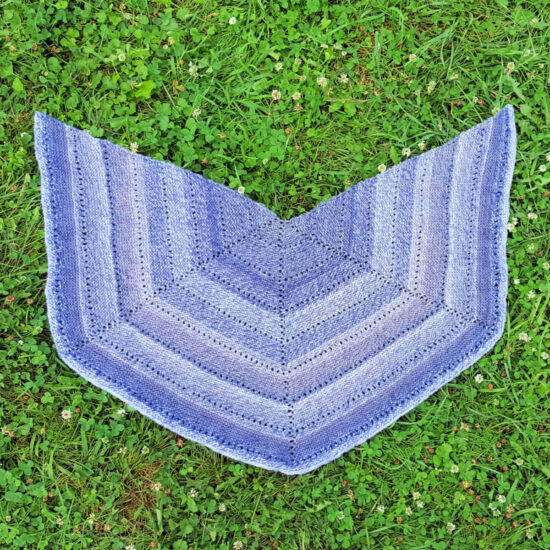
Connect the Dots is just the right size for tweens to adults. Of course, you can always use more or less yarn to make it bigger or smaller to suit your needs.
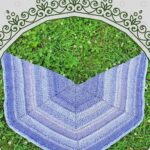
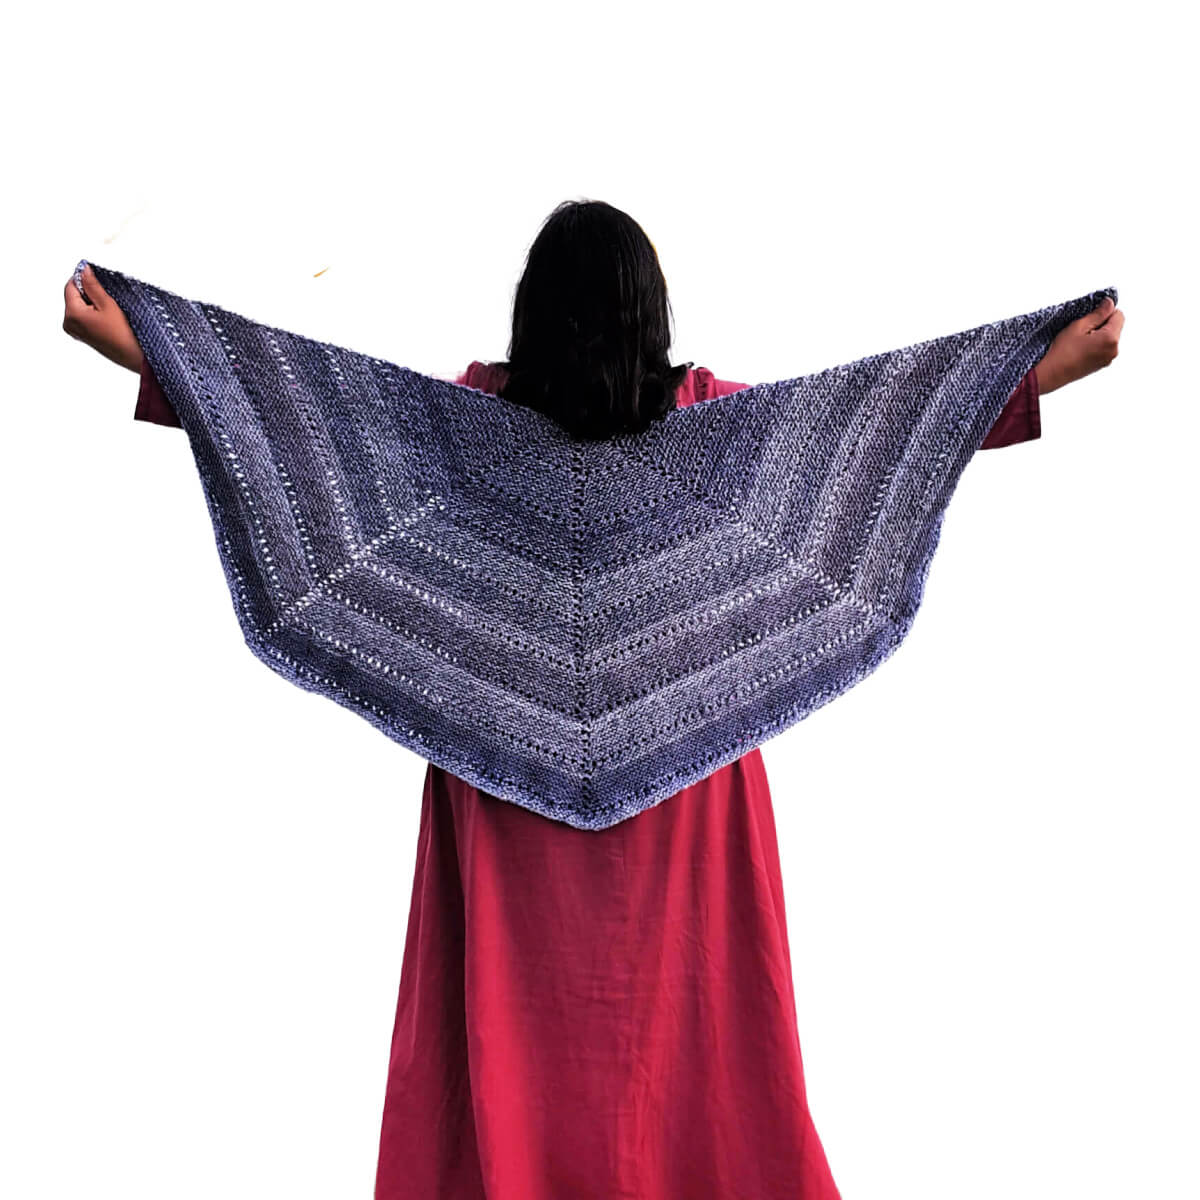
The shawl features stripes of about 1.5 inches of garter stitch and then a row of eyelets. Connect the Dots is a great way to conquer your first eyelet row knitting pattern.
Connect the Dots
Knit Pattern
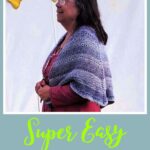
Easy Skill Level
Designed by Jessie Rayot
Supplies
Size
20″ x 36″
Yarn
Red Heart Roll With It Tweed: (100% acrylic), Size 4 – Medium/Worsted/Aran, 311 yds / 150 g, (2.07 yds/g)
2 Skeins (approx. 600 yds) used in sample
– OR –
Lion Brand Cobblestone: (100% Acrylic), Size 4 – Medium/Worsted/Aran, 219 yds / 100 g, (2.19 yds/g)
3 skeins
Knitting Needles
US 8, (5.0 mm) 24” or longer circulars
Gauge
Learn about gauge HERE
18 sts x 38 rows = 4” [10 cm] in garter stitch
Other Supplies
Yarn Needle
3 Stitch Markers
Stitches and Abbreviations
click on highlighted sts for tutorials
bo: bind off
co: cast on
k: knit
k2tog: knit 2 together
pm: place marker
rs: right side
sm: slip marker
st(s): stitch(es)
ws: wrong side
yo: yarn over
( ): work step in parentheses in indicated stitch
[ ]: work step in brackets number of times indicated
Get the Ad-Free Printable PDF at These Sites
- Jessie At Home – Buy directly from me, you can also get bonus printables!
- Ravelry
- Etsy
- LoveCrafts
Pattern Notes
- Read through all instructions before beginning
- Row counts are at the end of each Row after the period, if the count has changed from the previous Row. {count here}
- In order to make the shawl longer or shorter, increase or decrease the number of times Rows 21-40 are repeated. Keep in mind that this will change the amount of yarn used.
Eyelet Row Knitting Pattern
CO 10
Row 1: K1, yo, [k2, yo, pm] 3 times, k3. {14 sts}
Row 2: K1, yo, [k to marker, yo, sm] 3 times, k to end. {18 sts}
Rows 3-4: K to end, slipping markers as they are reached.
Rows 5-6: Repeat Row 2. {26 sts}
Rows 7-18: Repeat Rows 3-6 three more times. {50 sts}
Row 19: K1, [(k2tog, yo) to marker, sm] 3 times, (k2tog, yo) until 1 st remains, k1.
Row 20: Repeat Row 3.
Rows 21-22: Repeat Row 2. {58 sts}
Rows 23-24: Repeat Row 3.
Row 25-26: Repeat Row 2. {66 sts}
Rows 27-38: Repeat Rows 23-26 three more times. {90 sts}
Row 39: Repeat Row 19.
Row 40: Repeat Row 3.
Rows 41-160: Repeat Rows 21-40 six times.
Rows 161-165: Repeat Rows 21-25 one more time.
Finishing
- Bind off knit wise
- Weave in all ends
Happy Stitching!
FAQs
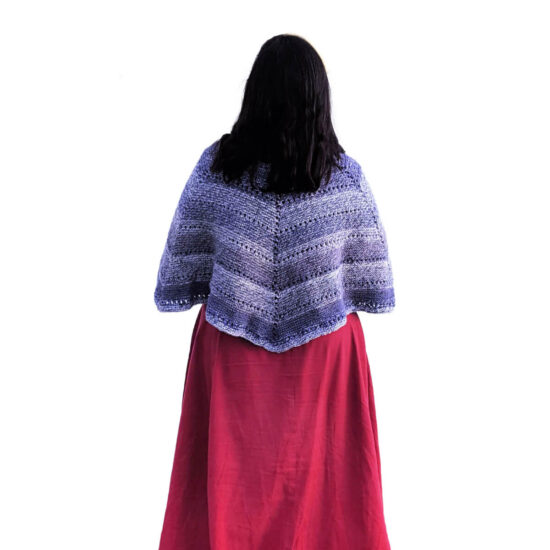
The yarn used in the sample had built in color changes, there are no color changes listed. If you want to make yours with stripes you can use a yarn with long color changes like the one in the sample, or change color yourself when you like. I bet it would look nice with a color change right in the middle of the garter stitch sections!
No worries, use the stitch markers as written into the pattern and you’ll get everything right where it should be. 🙂
Did you enjoy what you found here at Jessie At Home? Then sign up for my newsletter and like my Facebook page, so you’ll get all the updates on new tutorials, other posts, sales, and coming events.
If you have any questions, want to share pictures of your work, or just want to chat with Jessie and other crafty individuals, than join one of our free Zoom Sit & Stitches. Find them on our Events Calendar.

© Copyright 2019 Jessie Rayot / Jessie At Home®, LLC All my videos, patterns, charts, photos and posts are my own work, so you may not copy them in any way. If you want to share this information with someone, then share the link to this post.


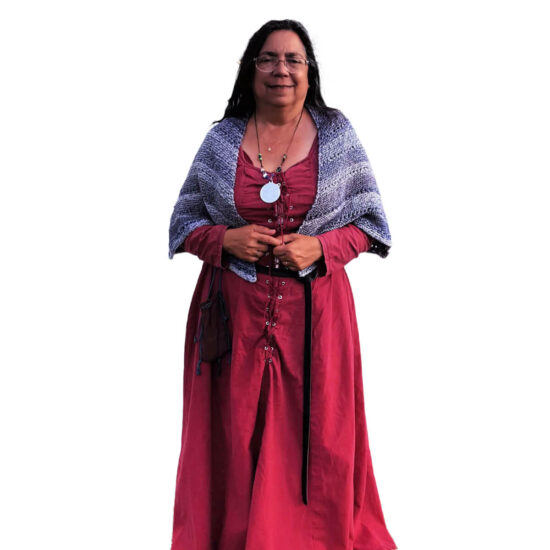
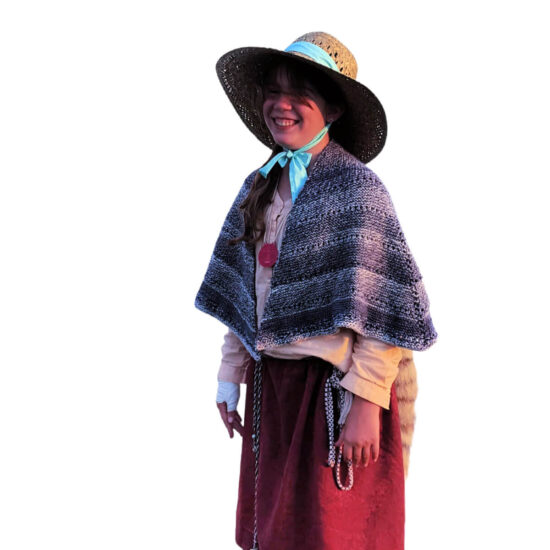
Very nice shawl, and a very nice modest dress. Where did you get your dress or the pattern for the dress. Thanks so much.
It’s actually my mom in the photo (and my daughter is the child in some of the photos). The photos were taken while we were at a medieval event, so they are wearing medieval costumes. I made them. 🙂
Thanks for your patterns; nice work.
I noticed in the pattern that stitch markers are required, but they are not on the materials list, do you know how many and what type are needed, please?
Ooops! I’ll add those. You will want 3 stitch markers that will fit around your needles. Thank you for letting me know!
Lovely shawl.
the pattern does not seem to specify color/yarn changes. Is this just random by knitter’s choice?
The yarn is written in the supplies at the top of the post. The yarn changes colors on its own, you don’t change colors.
Great pattern
Thank you!
This looks like a wonderful project for a gift to someone you care about. I hope when I try it that I do it justice. Thank you so much for the free pattern.
Thank you! I’m sure your’s will be lovely. 🙂
Sorry am stuck on row 19, how can you repeat knit 2 together yarn over to marker three times? I have just knit 1 then knit 2 together yarn over till end where I’ve knit 1 but it doesn’t look right, please can you clarify for me? Many thanks
There are 3 markers, so you do that step 3 times. Did you place the markers in Row 1? I may be able to help better if I can see what you have. You can join my Facebook group linked just above my signature. Then you can post your questions with images in the group, and make sure to tag me. 🙂
Love this pattern but wish the yarn you suggested was still available.
I completely understand the problem Paula was having, because I am also having a problem at row 19. After row 18, I have 50 stitches: 12, marker, 13, marker, 13, marker, 12. The directions have the first and last stitch knitted, leaving 48 stitches left for the k2tog/yo groups which should work as 24 k2togs and 24 yos, but because the four groups have odd numbers of stitches (11-13-13-11), that means the first and third stitch markers get hung up in the middle of a k2tog.
What to do? I assume I can take those two markers out to do that row, then replace them in their prior position so I am back to groups of 12-13-13-12 for row 20??
Yes, you can. I’ll put this on my update list so I can address yarn sub ideas and take another look at that problem to see if I can make it easier. Thank you.
Here’s a few yarns that will sub well: http://shrsl.com/3dqrk , http://shrsl.com/3dqrq , http://shrsl.com/3dqrs , http://shrsl.com/3dqru
The row should work out, since 48 is equally divisible by 3 sections, it’s 16 stitches per section, it takes 3 stitches to complete each k2tog yo, making it an even number of 2 stitches for each on the needles. I’ve made the shawl 5 times now and have never had a marker get hung up. It may be easier to read the row as k1, k2tog, yo to the last stitch, k1.
Found my problem!!
I saw an inconsistency in one of my eyelets on about row 5-6, so frogged and redid the first 19 rows, and this time it came out perfectly. I had allowed a SM to slide on the wrong side of a YO before I got the rhythm down.
Thanks for sharing these beautiful patterns.
I’m so glad you found it! Stitch markers can be your best friend, but when they don’t behave they sure can cause trouble. 🙂