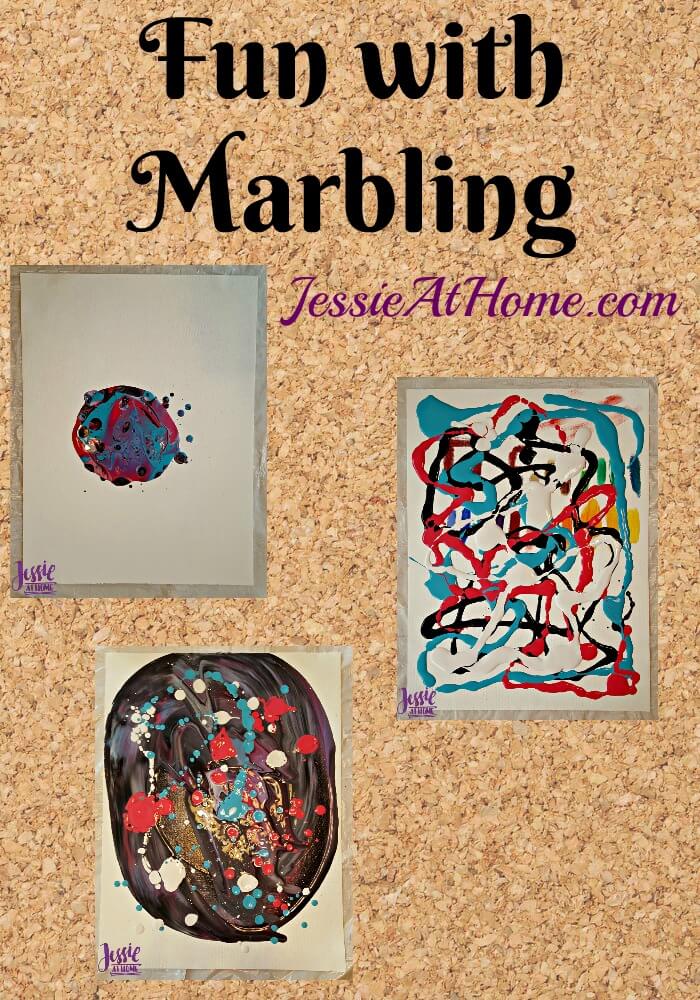
Mahvalous marbling darling! Marbling, let me show you what everyone is “mahvaling” about. Being the artsy type I just happened to have some marbling paint (oh big surprise there!) and decided this was a great way sate my creative impulses today. Of course, being me, I couldn’t do it the same way as everyone else, so here it is, Mahvalous Marbling, Jessie Style !!
The paints used in this tutorial were provided by Plaid.
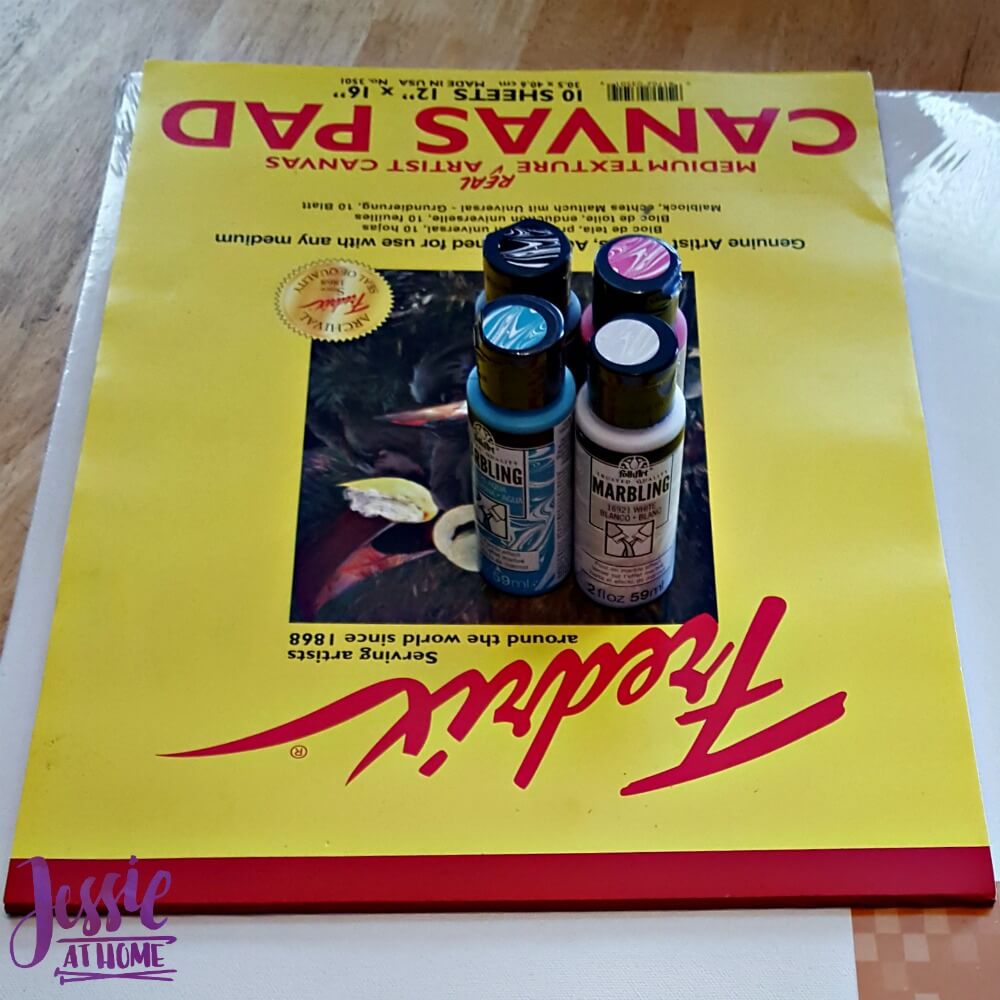
I used the Plaid Marbling Paints – find them on Amazon HERE – and some canvas I had left over from art school. It’s in a pad, but it’s just like the canvas stretched on a frame, just not framed. You certainly can use framed canvases, I just went with what I had.
I figured there are plenty of tutorials showing the same few techniques with this paint out there, so I would just improvise and see what I could come up with. I do have a couple art degrees, I should be able to do something, right?
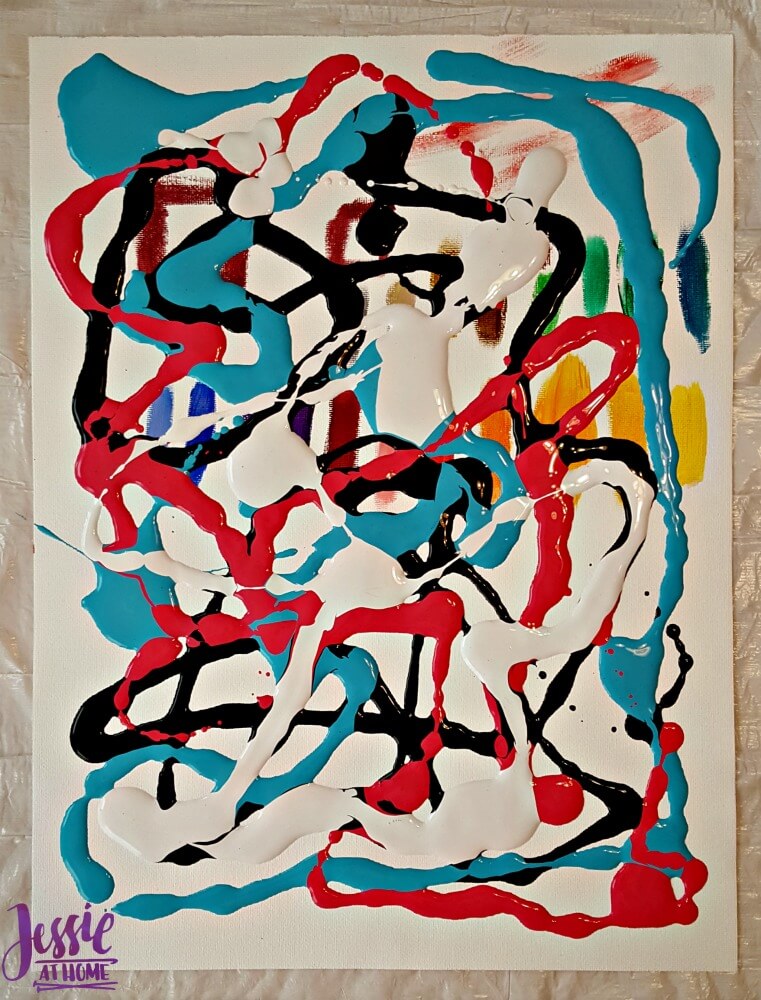
For my first go, I squeezed each of the 4 colors around the canvas randomly. You can see some paint below the marbling paint, I must have used this canvas for color testing at some point. I like recycling, so I just used it as the marbling paint would cover it up anyway.
Next I grabbed a toothpick and squiggled the paint around for a while. This was a lot of fun!
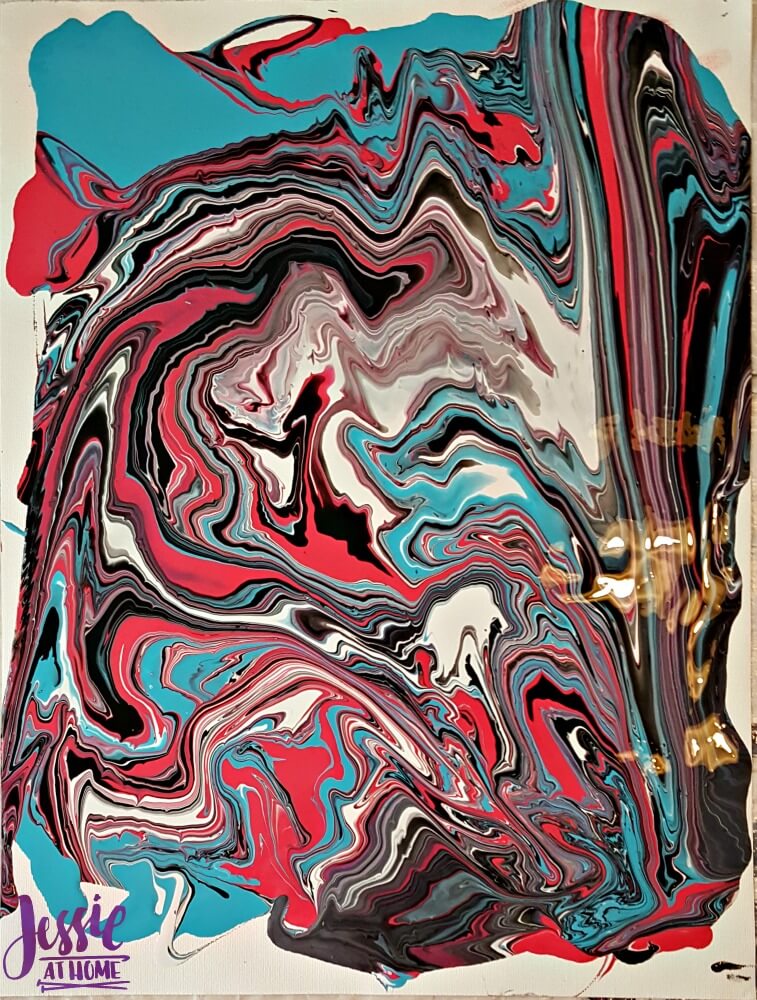
Then comes the super fun part, rolling the paint all over the canvas. I just lifted edges and rolled it around a while until I was happy. I thought about letting it all drip off the edges of the canvas, but I really liked the way it looked with only a few spots leaking off. I think it’s nifty! There we go, one down.
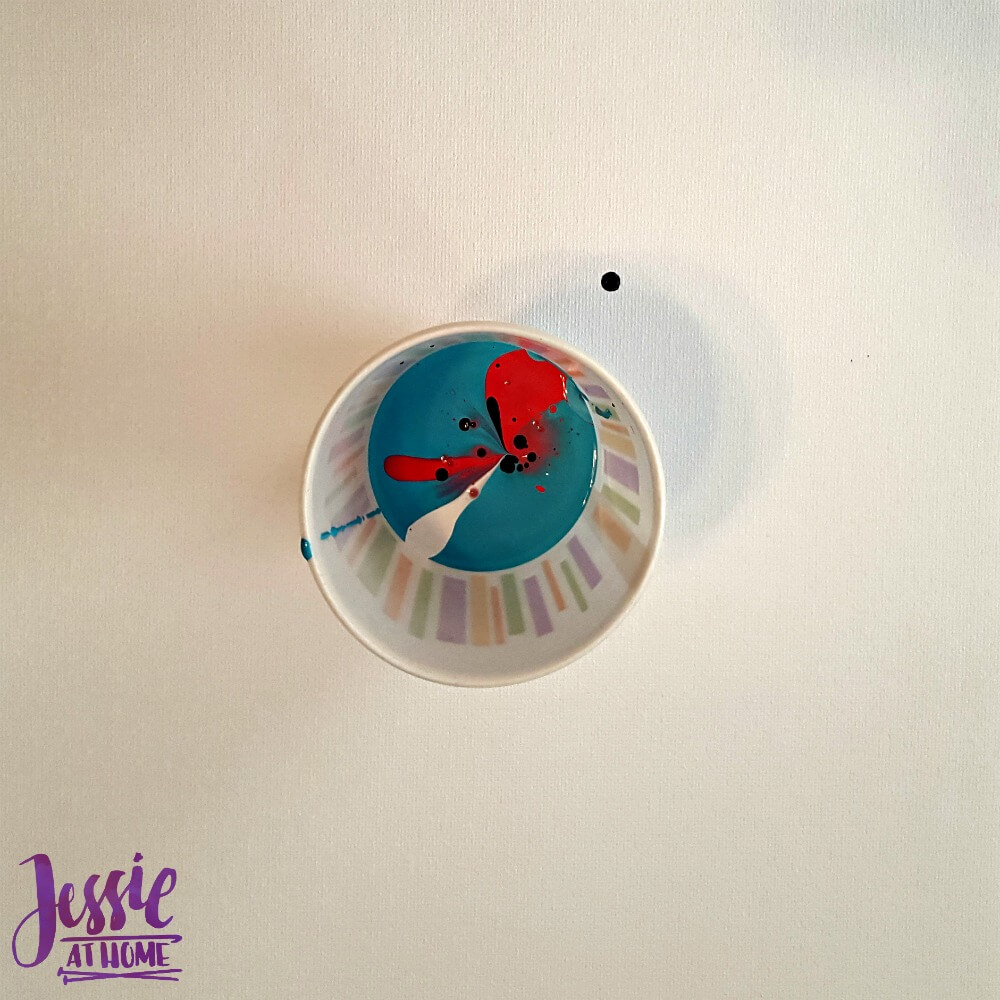
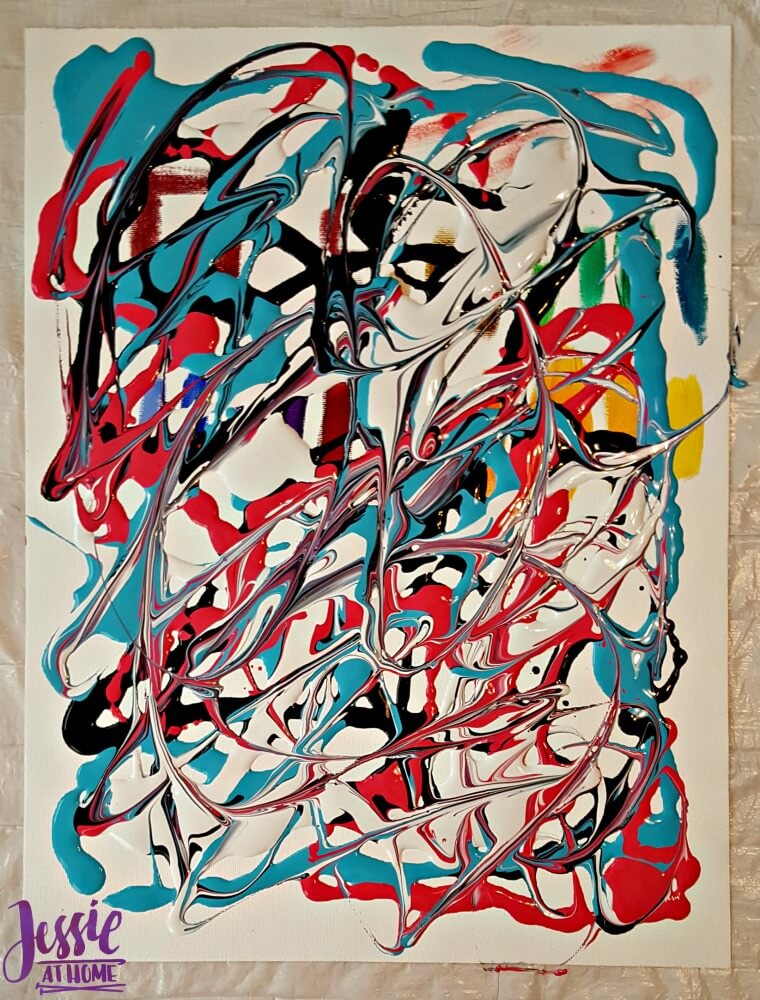
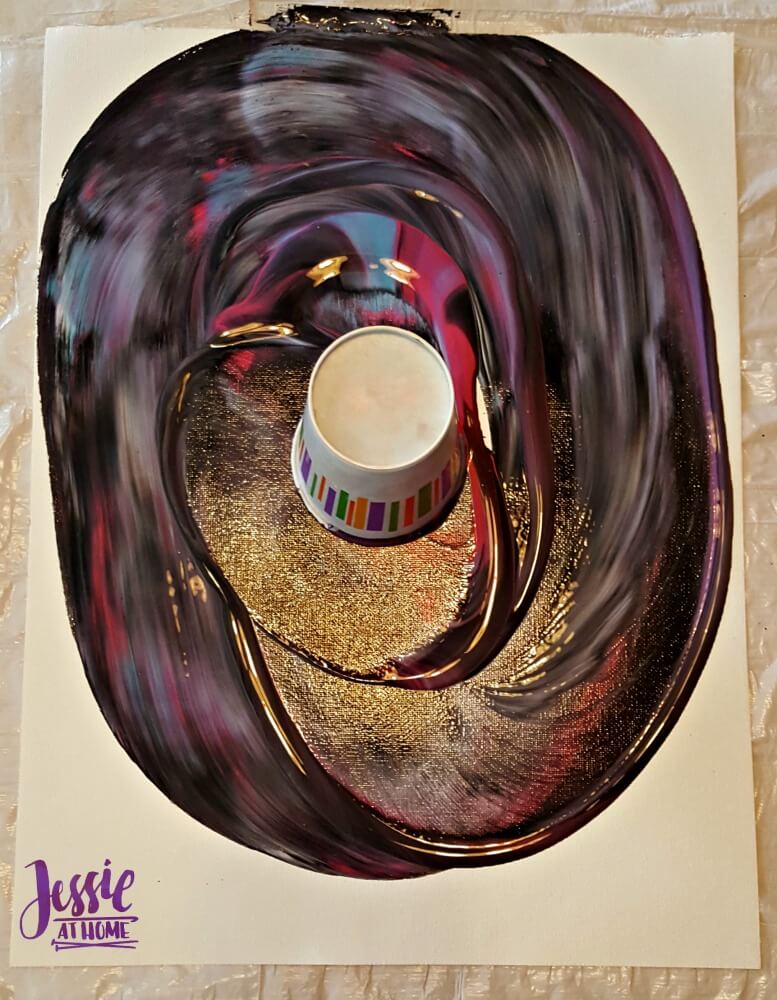
Next I decided to give the cup and dump method a try. I poured the 4 colors into a paper cup.
Then I dumped. It really wasn’t as much paint as I thought. If you want to totally cover your canvas, you need a lot of paint (my canvases were 12 x 16).
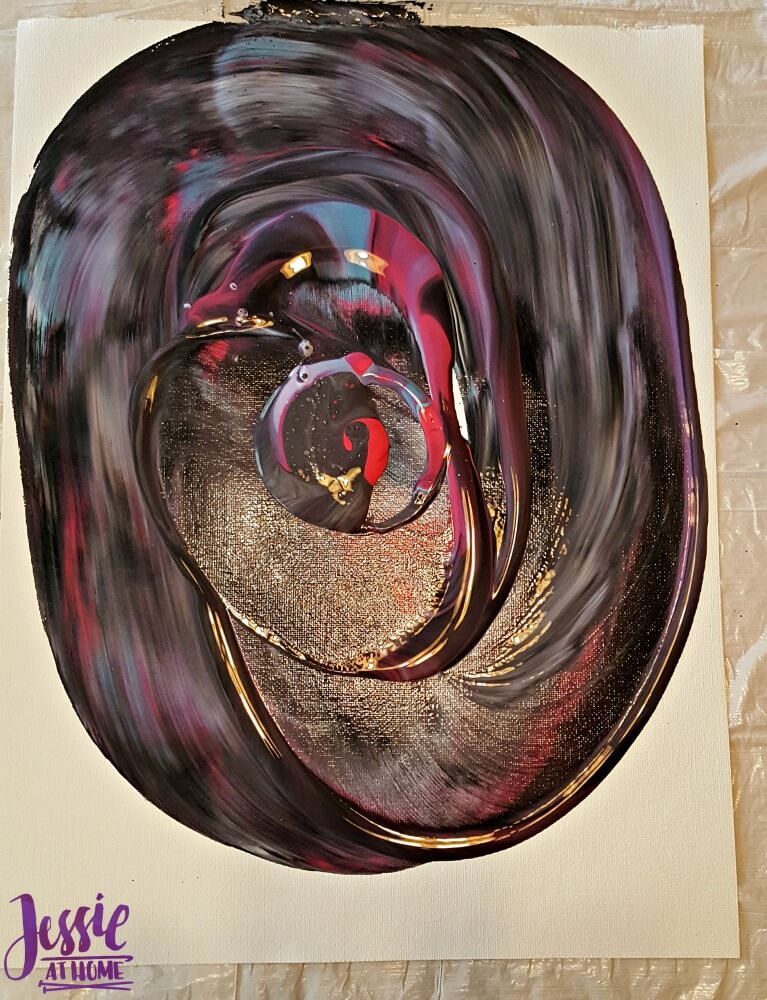
I lifted the canvas and swirled this one around a bit until I had an interesting shape. I thought about adding more paint, or taking toothpick to it, but in the end I just held the cup back over it and let the excess paint drip out of the cup all over the canvas.
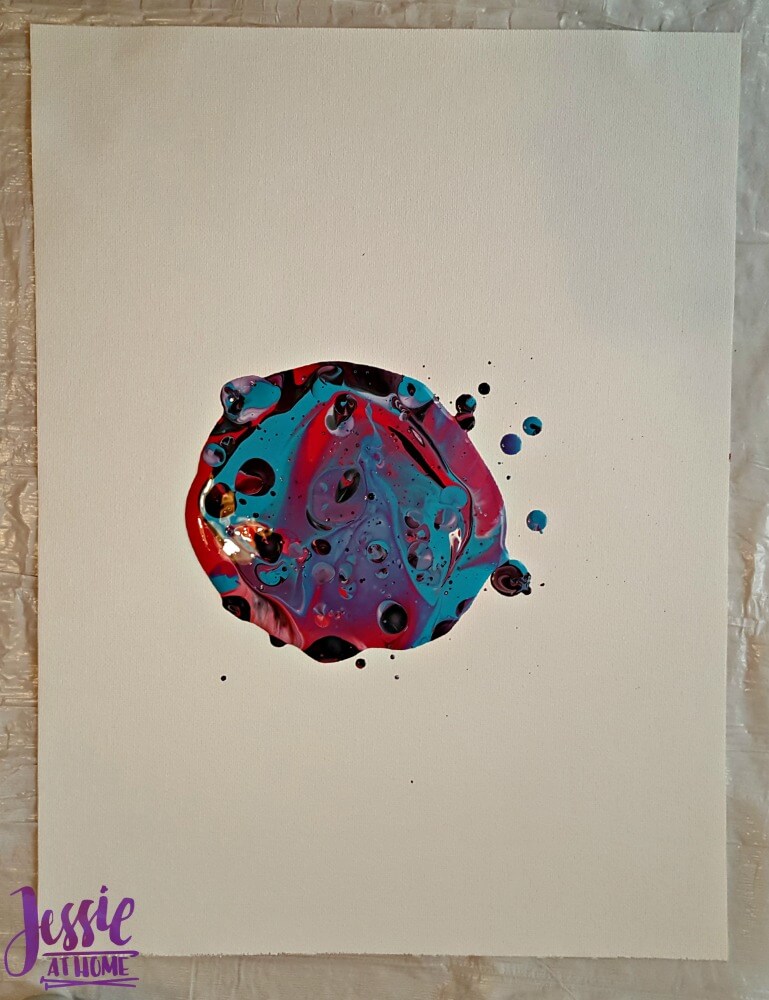
For my last one, I poured the rest of each color into a cup and dumped it again; but this time I didn’t pick up the cup right away, I swirled it around the canvas first.
Then I picked it up. I wasn’t impressed. This one was just not speaking to me and it needed more paint if I was going to let it run around. I did lift it and it ran a little, but not much.
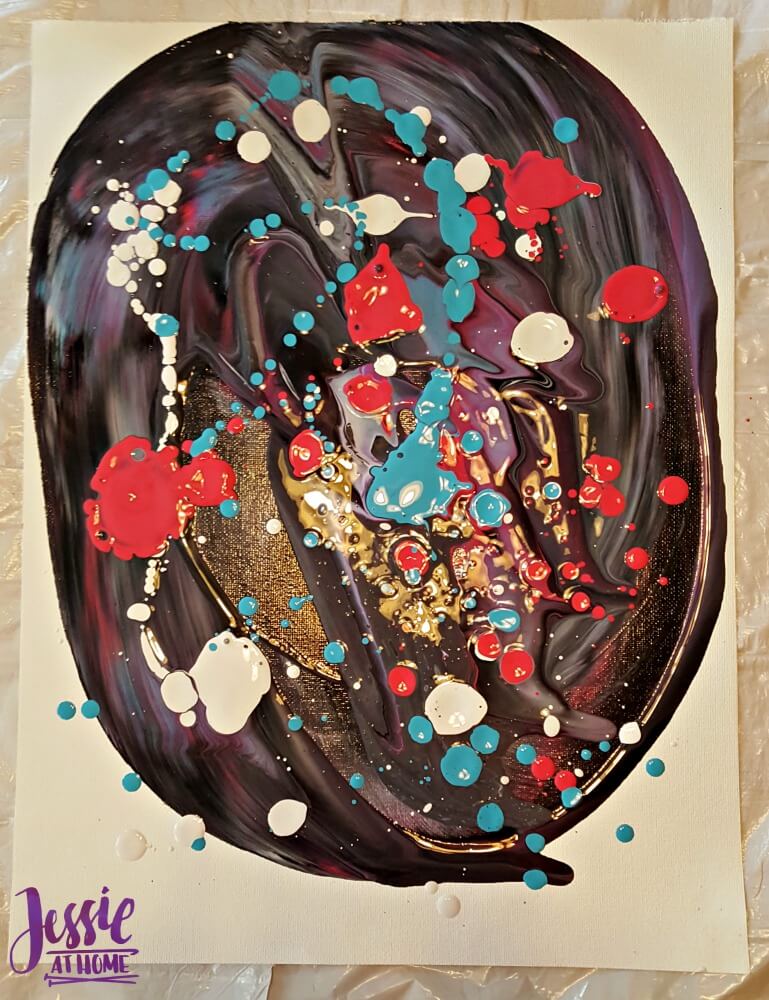
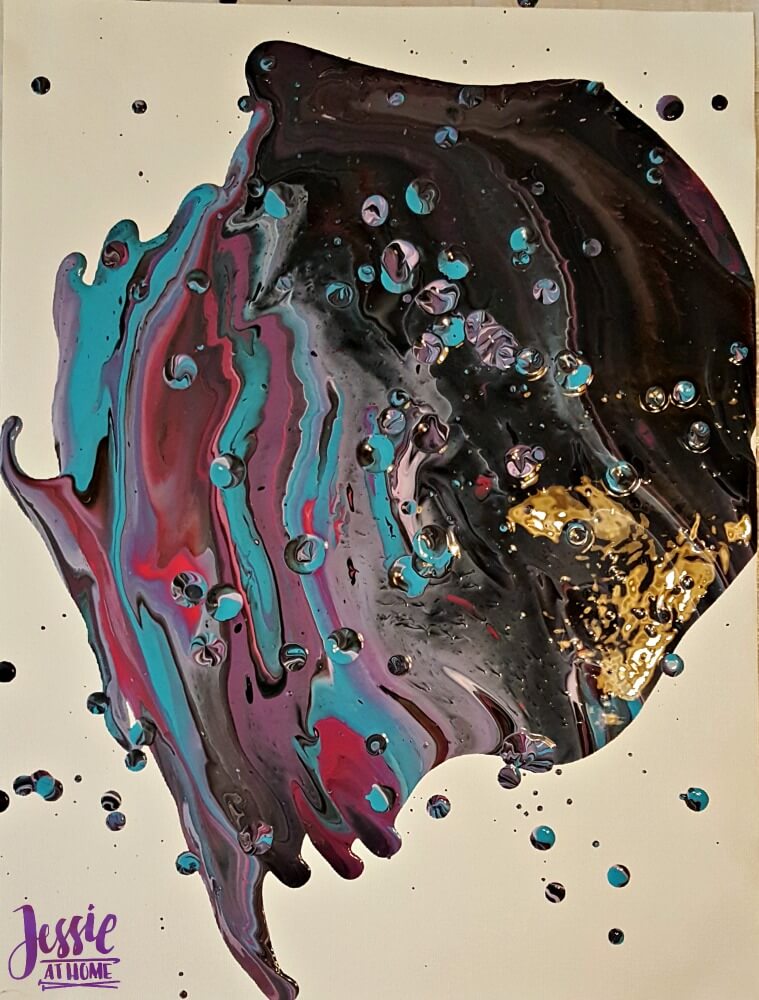
Finally I took the caps of 3 of the colors (it really didn’t need any more black) and was able to get more paint onto the canvas.
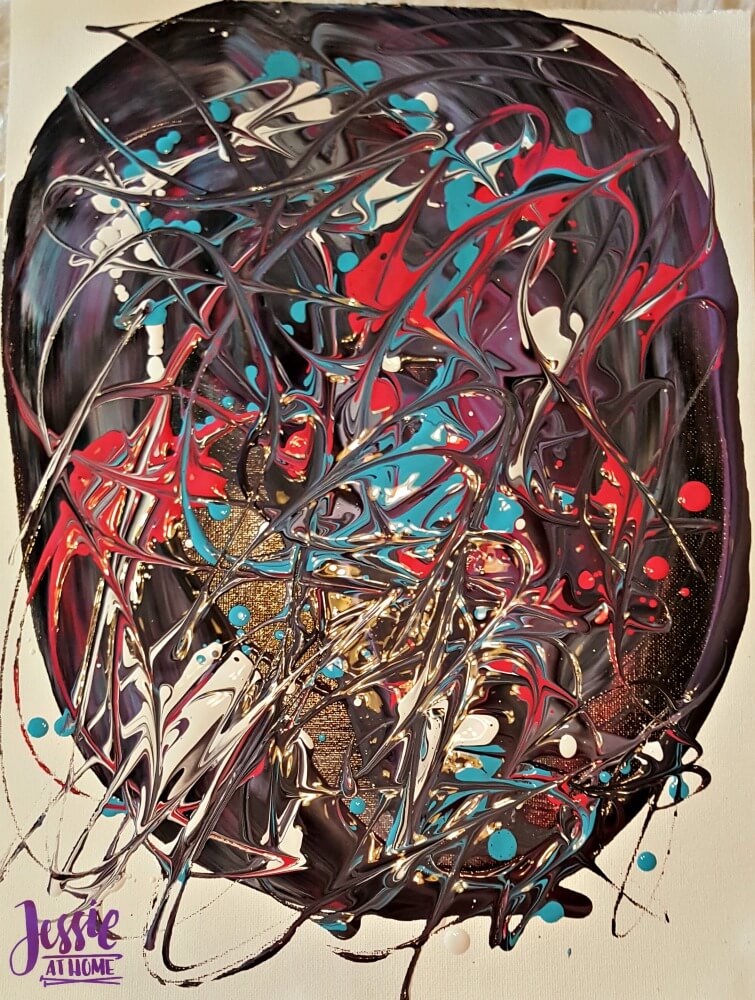
I took a toothpick to it and went to town. I’m pretty sure I could have tilted and and got it to swirl around a bit, but I liked it this way, especially next to the other two.
All together I made 3 canvas, each 12×16. I would say normally 4 bottles of paint would only make 2 of that size canvas, unless you like the empty space like I do. I’m pretty happy with the results.
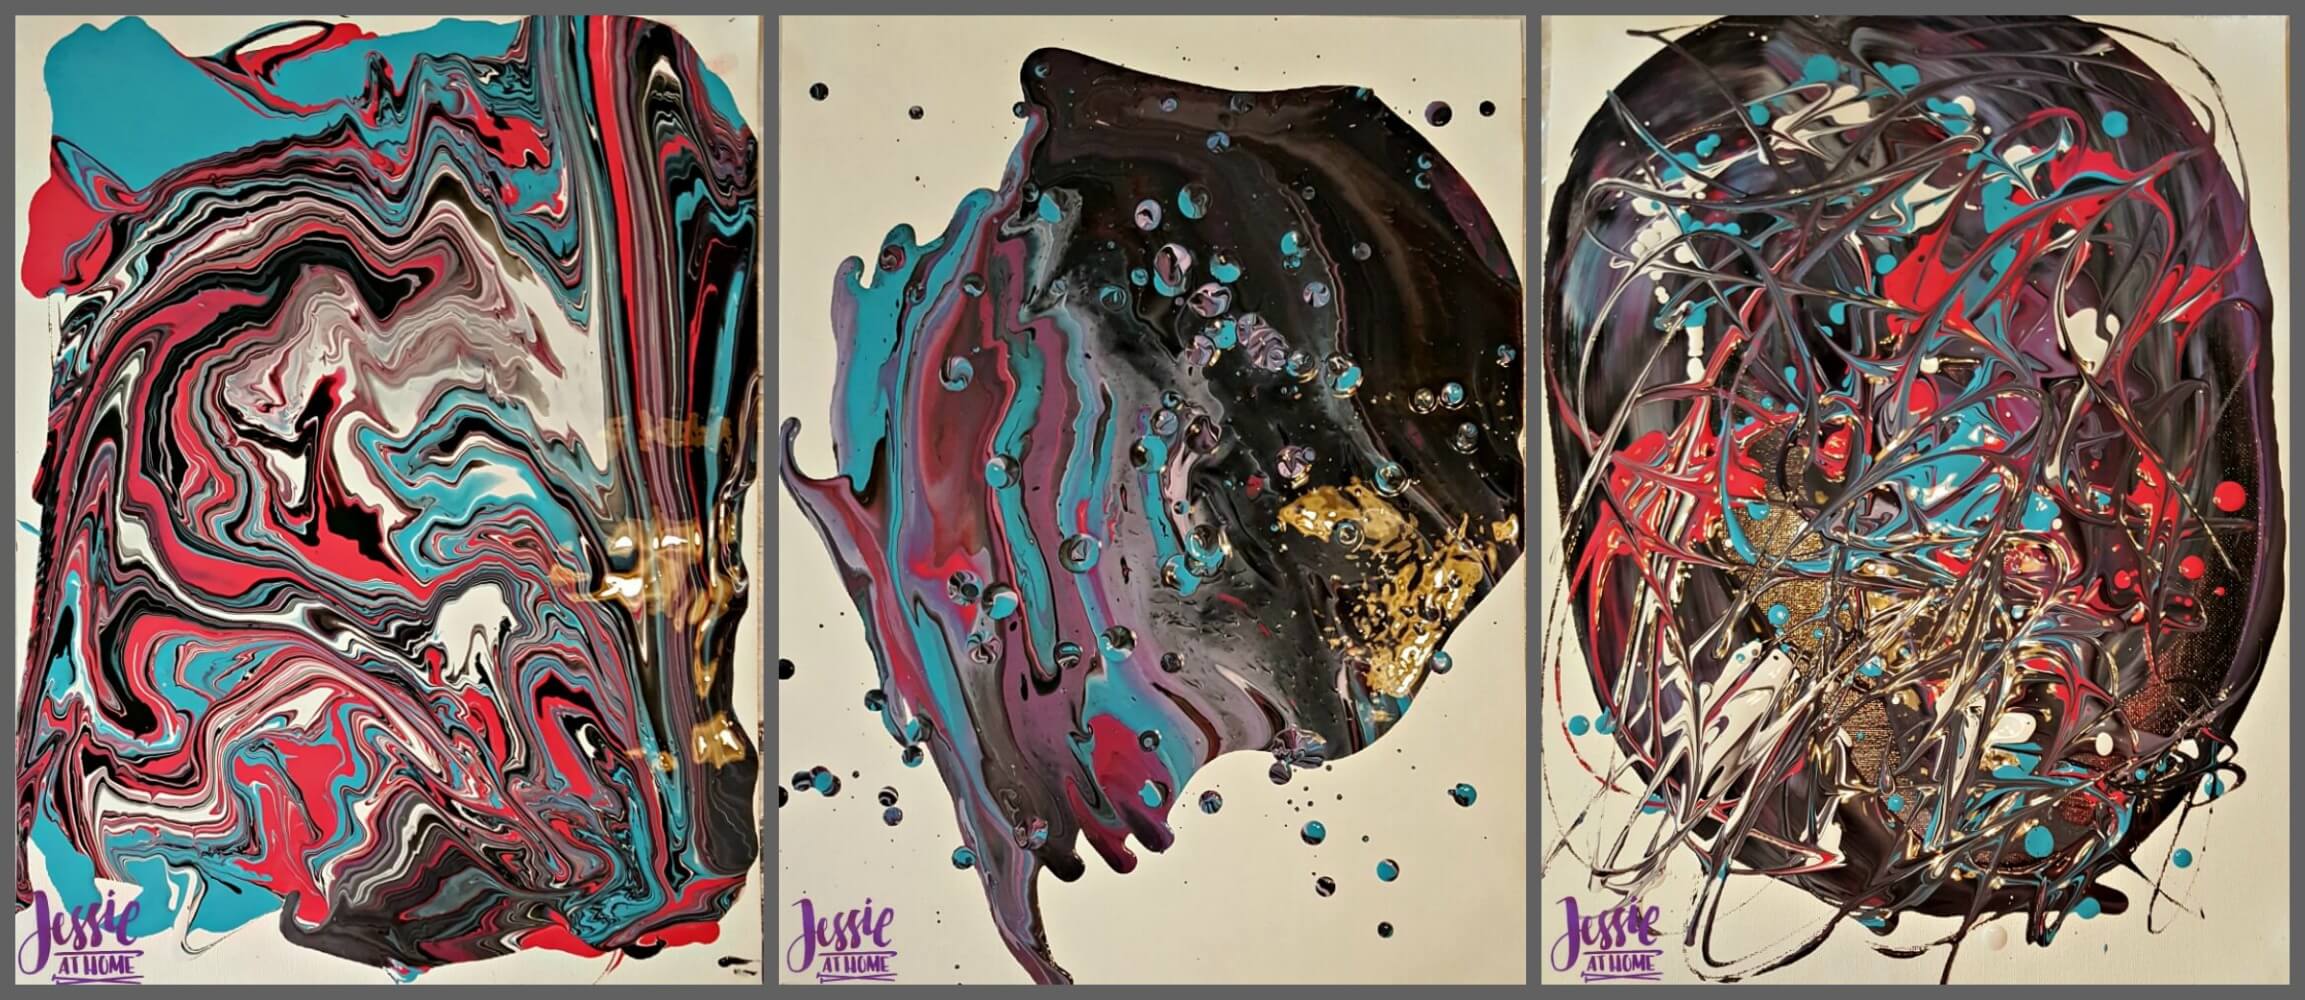
I think I will glue them to a piece of wood to make them a set and call them Chaos. They make a great visual representation of my life at the moment.
©Copyright 2018 Jessie Rayot / Jessie At Home All my videos, patterns, charts, photos and posts are my own work. Do not copy them in any way. If you want to share this information with someone, share the link to this post. If you want to share on your own blog / website, then you may use the first photo in this post and link back to this post. You may not give away printed copies of this post. Thank you.


I like the one with the dots best.