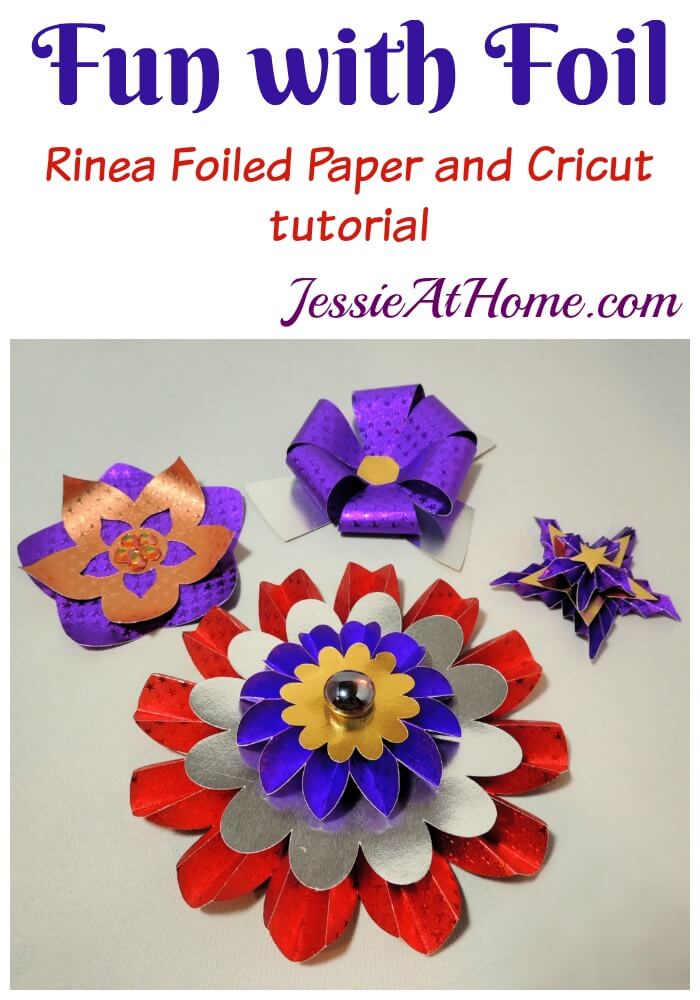
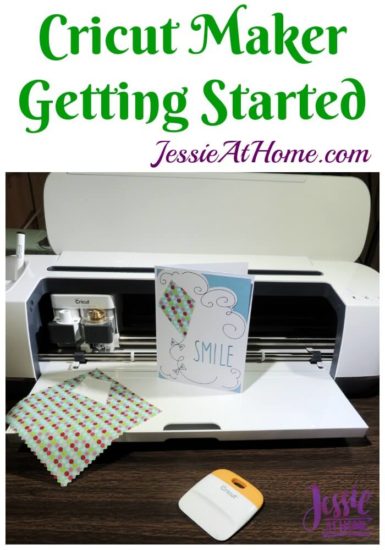
I finally have a Cricut Maker and I can’t wait to cut All-The-Fabric! Today I’m going to share the Maker set up with you, and you can expect plenty of awesome Maker projects in the future. This is going to be fun!
Products used in this post were provided by Cricut. All opinions are my own.

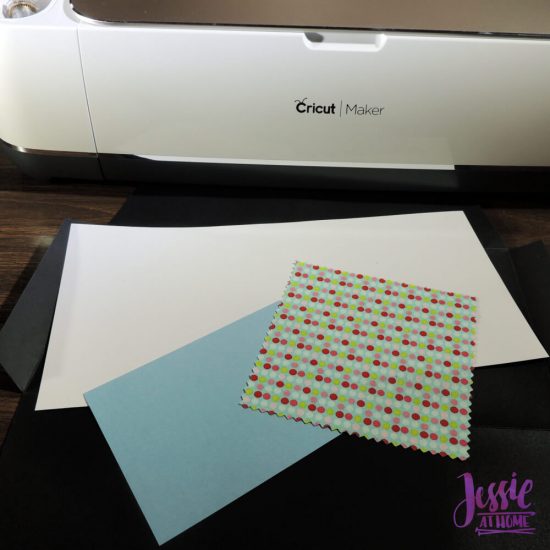
The first thing I did after unpacking my new Cricut Maker was get it all plugged in, grab some coffee, and grab the instruction book and first project materials.
You will want to make sure you Maker is plugged into the wall and into your computer. You will also need to set up your Cricut Design Space if you have not already. I already have mine set up as I have other Cricut machines.
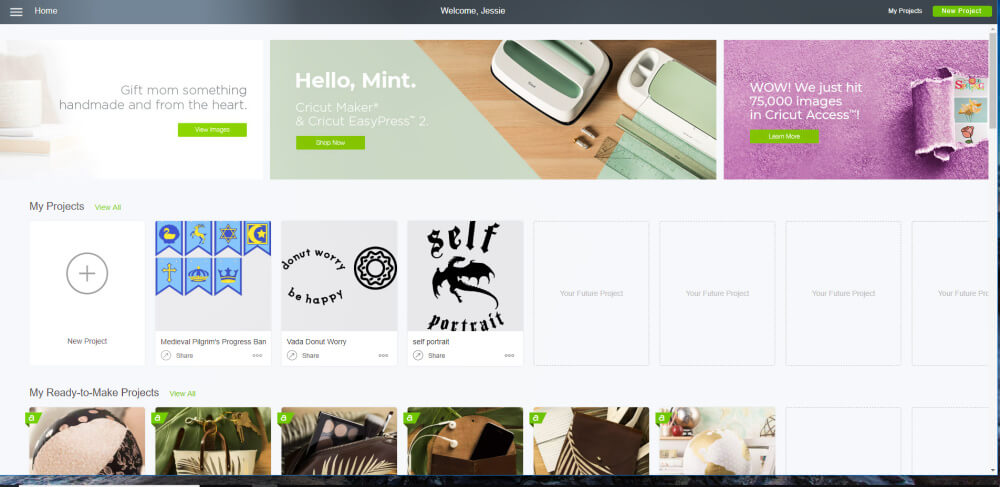
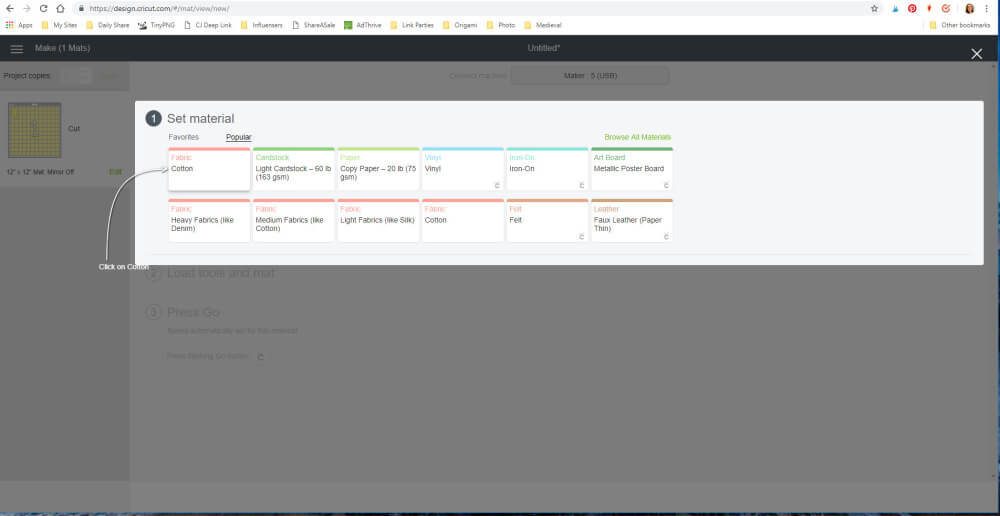
Once in Design Space there is an icon with 3 horizontal lines on the top left. Click that for your menu.
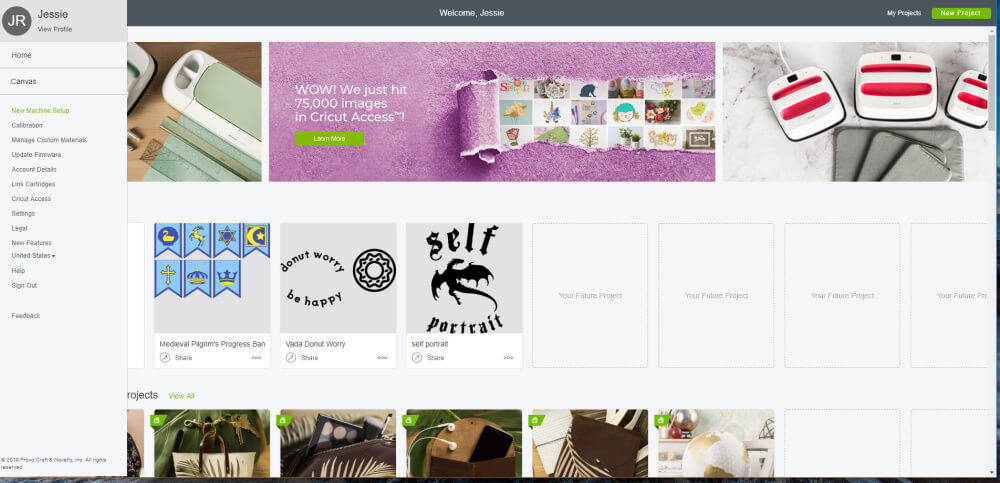
Close to the top of the menu is “New Machine Setup”. That would be us! Click it.
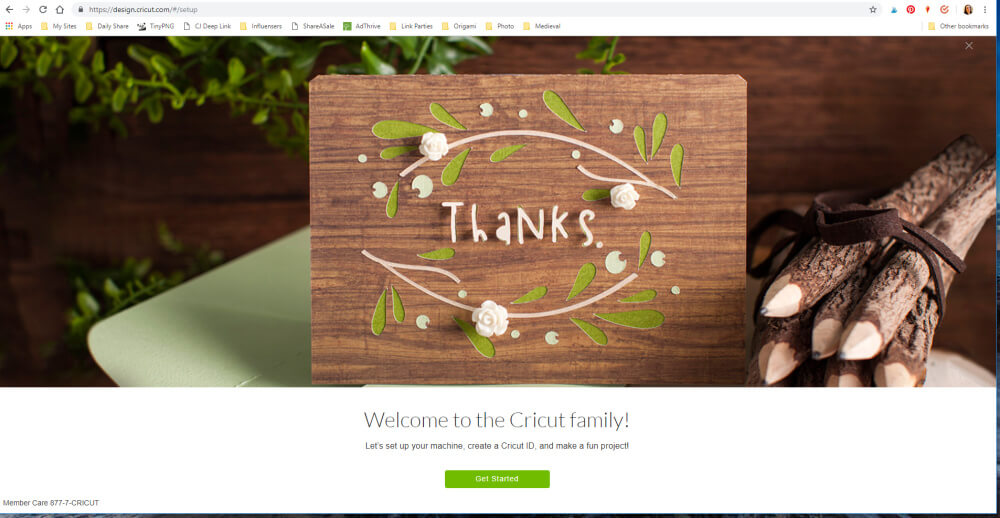
Aww, they are so polite. Cricut says Thanks and Welcome. Really, welcome, it’s so much fun here!! Click on “Get Started”.
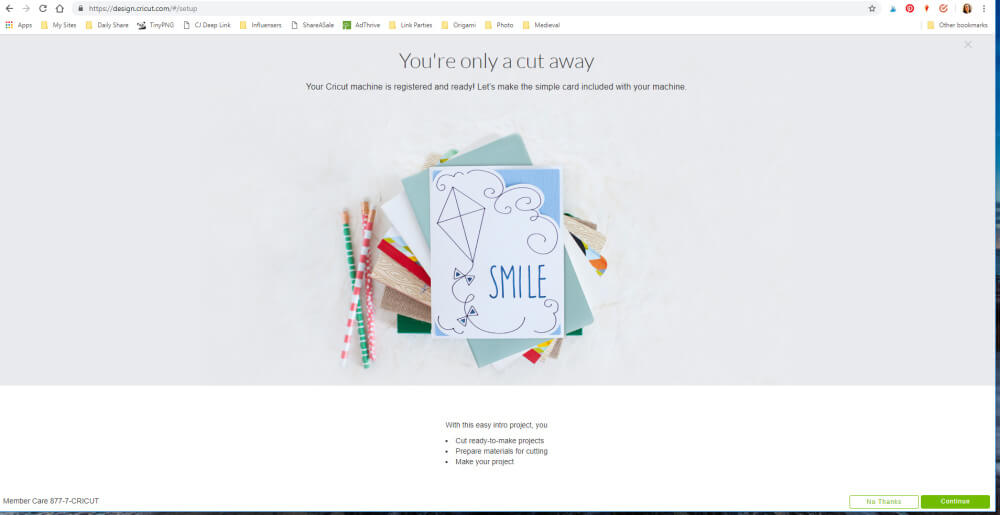
Now we get to make our first project. All the materials came with the Maker. They’re in that black envelope. Click “Continue”.
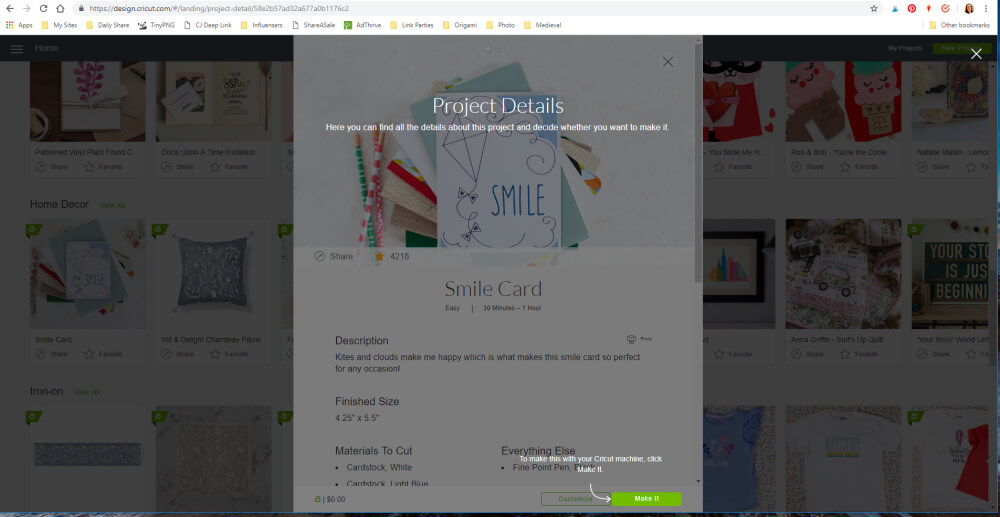
I love this. You will now be walked through all the steps of making your first project. Just follow the promps. It’s super easy!
Oh, and with the Maker you get so many awesome ready to make projects added to your Design Space library. However, I still highly recommend getting a subscriptions to Cricut Access. It rocks!
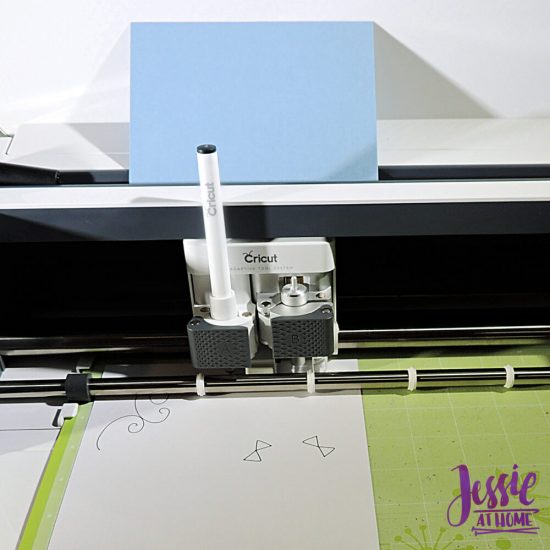
I love watching the Cricut go! The little groove in the top of the Cricut where I have my blue paper is new on the Maker. It’s so handy. I slip my materials for my current project in there and they are always on hand. OK, fabric isn’t really stiff enough for that, so it has to sit next to me, but the stiffer materials fit in there!
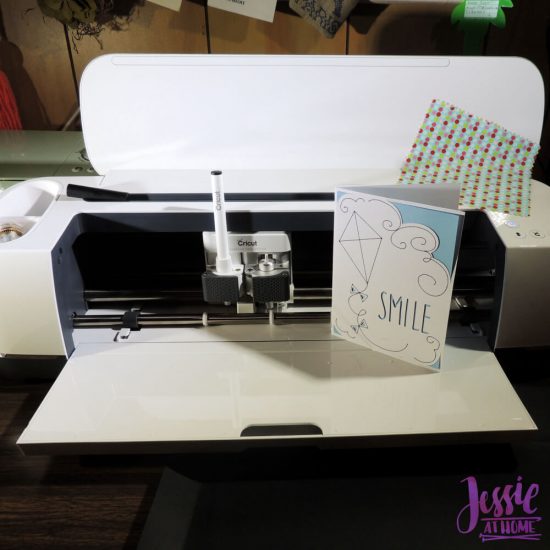
Look at that, we followed along and ended up with a pretty card. Now we could stop there, but if you keep following along you can add fabric. FABRIC!! I’m so excited the Cricut Maker cuts fabric! There are so many ways I can use this!
Now when you cut fabric you will have to switch to the rotary blade. Please don’t try touching the sharp parts of any of the Cricut blades. I promise, they really are sharp. Really.
There are little spaces in the door of your Maker that opened down where you can store the blades you aren’t using. Be sure to keep those blades safe and secure, especially if you have kids or pets.
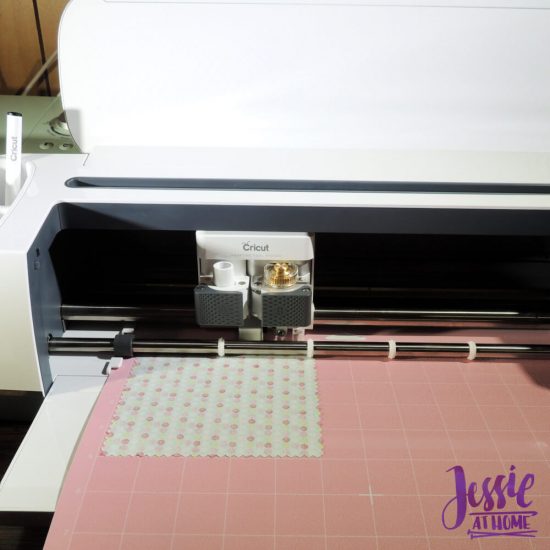
This is so cool. It’s cutting the fabric!!
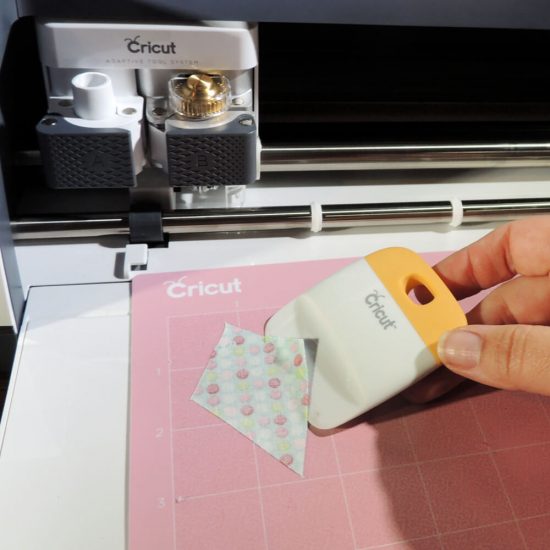
Here is your reminder to buy yourself the Cricut tool set. There are a variety of them, but you at least want the Basic Tool Set. There is a Sewing Set for the Maker as well. I happen to think the Trimmer is just awesome! And then today I saw THIS, so nifty!
OK Did I mention there is a big FLASH SALE happening right now?!! I mean, you can get the Cricut Maker EVERYTHING BUNDLE for the price you usually pay for just the Maker. That’s 33% off!!! I have no idea when this sale ends, don’t miss it!
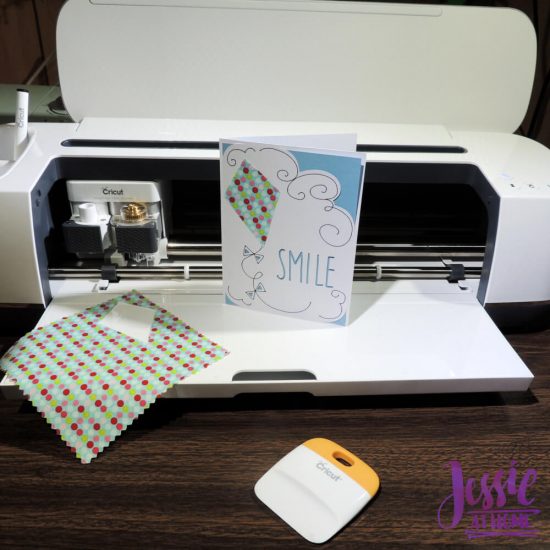
So, now we’ve added some fabric to our card. I am so very in love with this machine. I think the Cricut Maker is my new best friend.
Here are some links for your Cricut shopping and sharing needs. Don’t miss that sale!

©Copyright 2019 Jessie Rayot / Jessie At Home All my videos, patterns, charts, photos and posts are my own work. Do not copy them in any way. If you want to share this information with someone, share the link to this post. If you want to share on your own blog / website, then you may use the first photo in this post and link back to this post. You may not give away printed copies of this post. Thank you.