

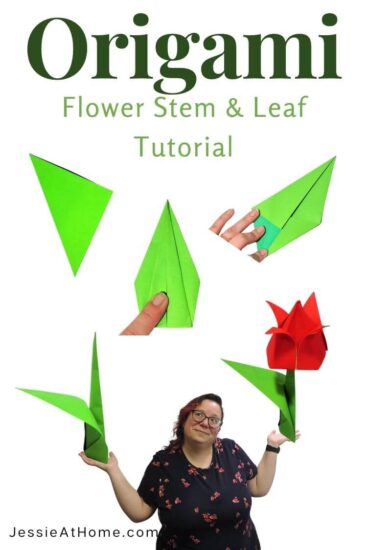
The Origami Flower Stem and Leaf is so quick easy to make and can be used to display nearly any of your origami blooms!
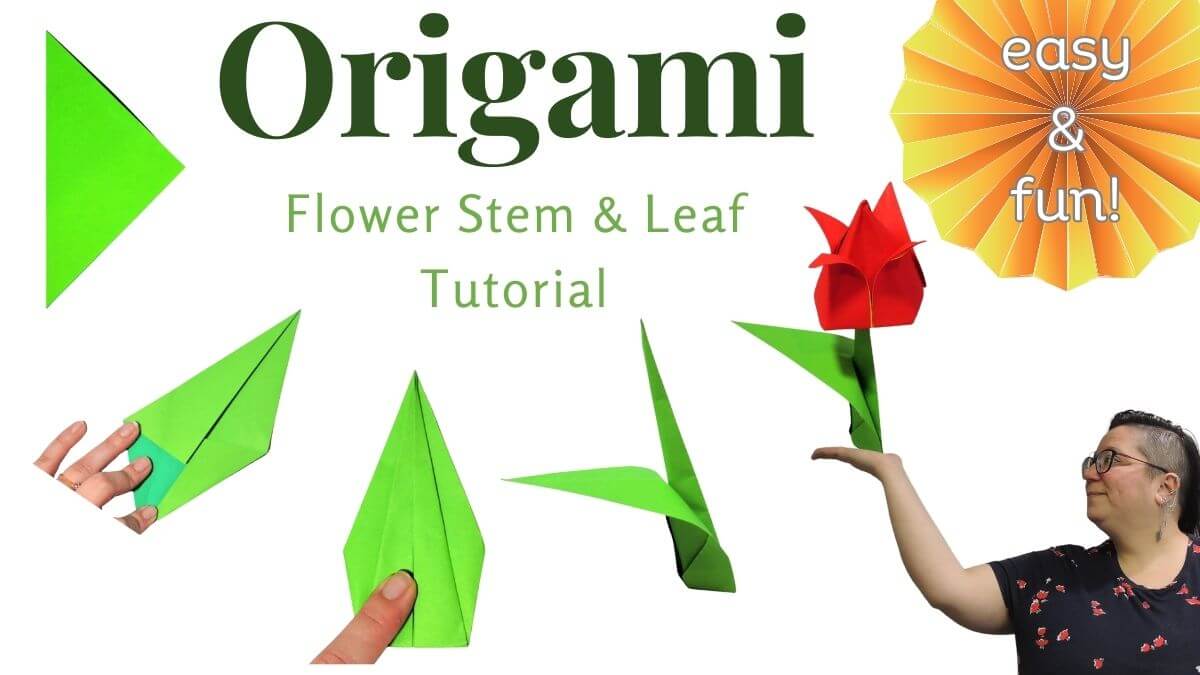
It takes just one square piece of origami paper to make both the stem and the leaf. Though it may look delicate, it’s surprisingly sturdy. The Origami Flower Stem and Leaf will quickly become a regular in your origami repertoire.
This tutorial is so easy, you can make one of these in just a couple of minutes.
If you want to change the size of your stem and leaf, then change the size paper you use, a larger square sheet of paper will make a taller and larger stem, and a smaller sheet will make a smaller one.
If you’re making multiples, try using different colors, such as various shades of green paper.

Only one side of the paper will be visible when the Origami Flower Stem and Leaf is completed, so the color of the back side of the origami paper does not matter.
Be sure to crease well after each fold.
Step-By-Step Instructions: Origami Stem & Leaf
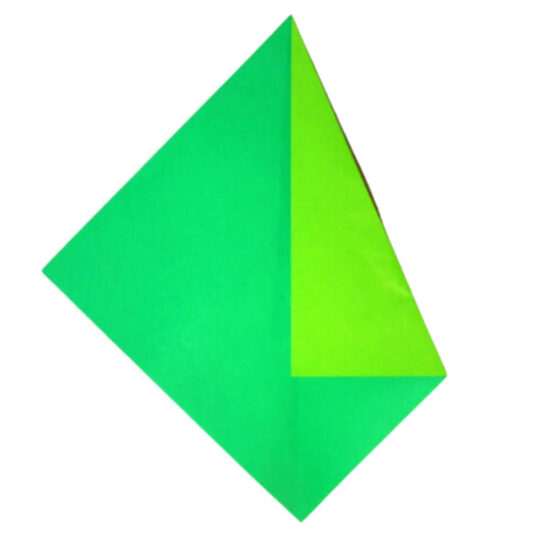
Fold the square of paper in half on the diagonal so the colored side is on the outside, then unfold.

Fold each of the top sides in to the center.

Fold each of the bottom sides in to the center.
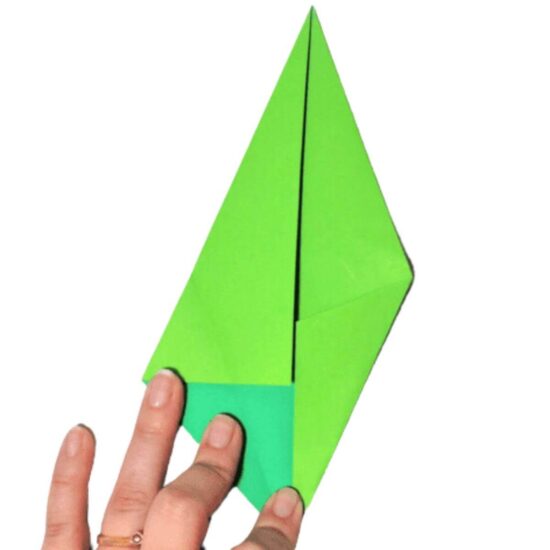

Fold each of the bottom sides in to the center one more time.
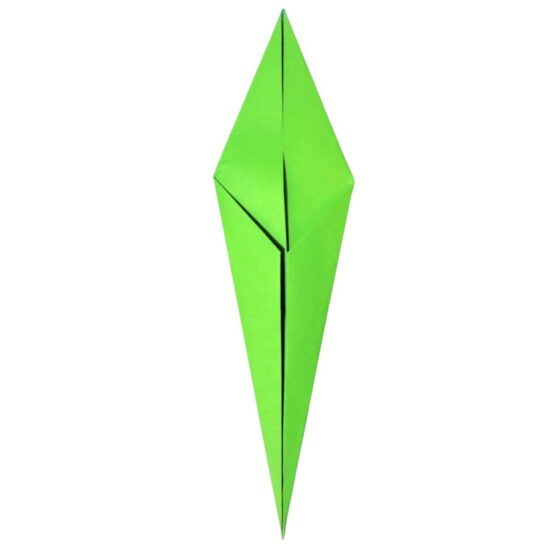
Now turn the piece over.
Fold the bottom point up to the top point.
*to make the stem a bit taller and the leaf a bit shorter, fold so the thin point is taller than the thick one. Just be sure not to make the fold above the points on the sides.

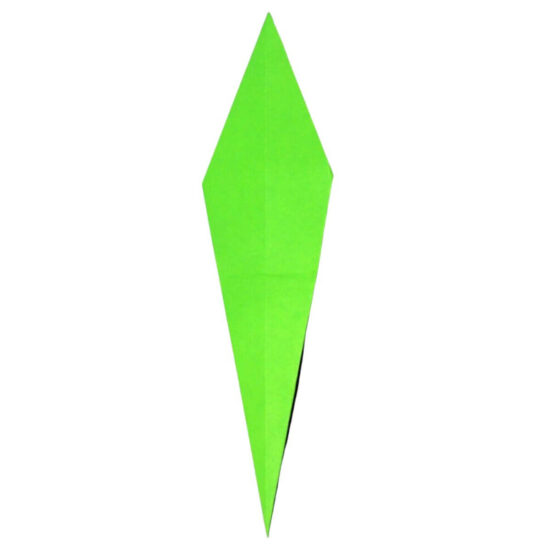
Fold in half lengthwise.
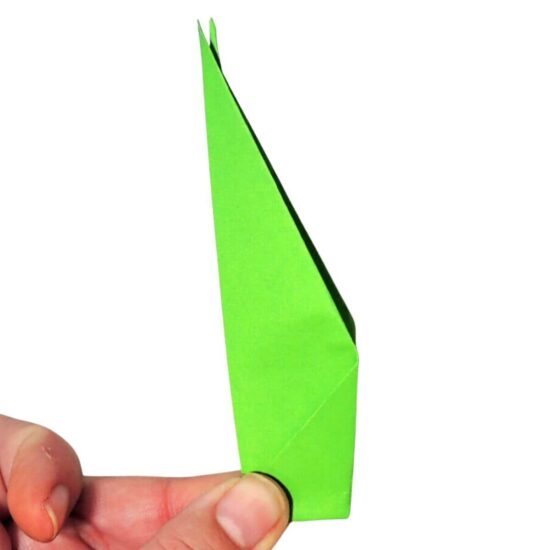
Peal back the outer half to form the leaf. Now your stem and leaf are all done and they will stand on their own.
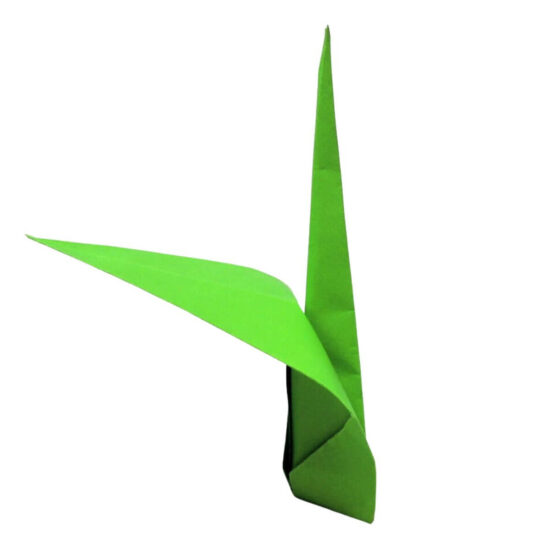
Now you can add your bloom to the top and enjoy your beautiful creation!
Most origami flowers have a small hole at the base of the flower. You may want to use a little glue to keep the flower head on the stem.
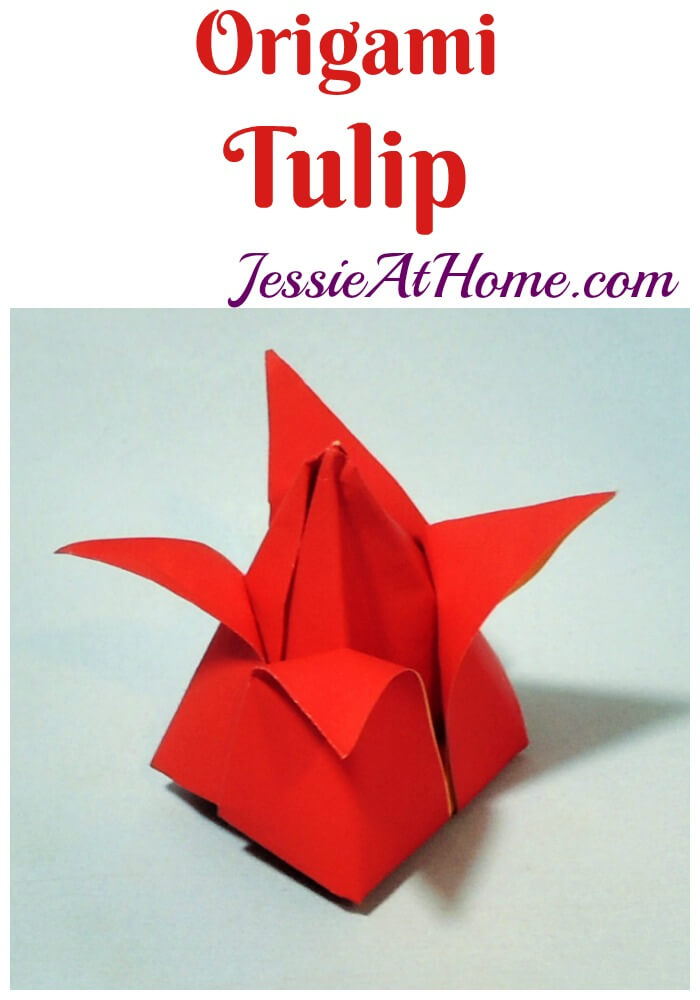
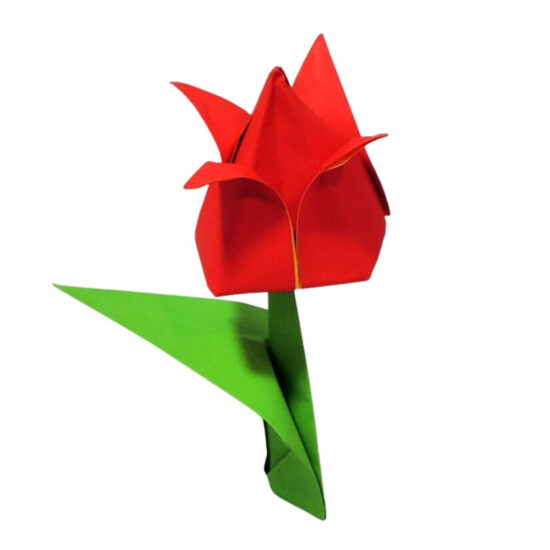
Below is an origami tulip flower on the stem and leaf.
Find more Origami crafts at: https://jessieathome.com/origami/
Did you enjoy what you found here at Jessie At Home? Then sign up for my newsletter and like my Facebook page, so you’ll get all the updates on new tutorials, other posts, sales, and coming events.
If you have any questions, want to share pictures of your work, or just want to chat with Jessie and other crafty individuals, than join one of our free Zoom Sit & Stitches. Find them on our Events Calendar.

© Copyright 2019 Jessie Rayot / Jessie At Home®, LLC All my videos, patterns, charts, photos and posts are my own work, so you may not copy them in any way. If you want to share this information with someone, then share the link to this post.