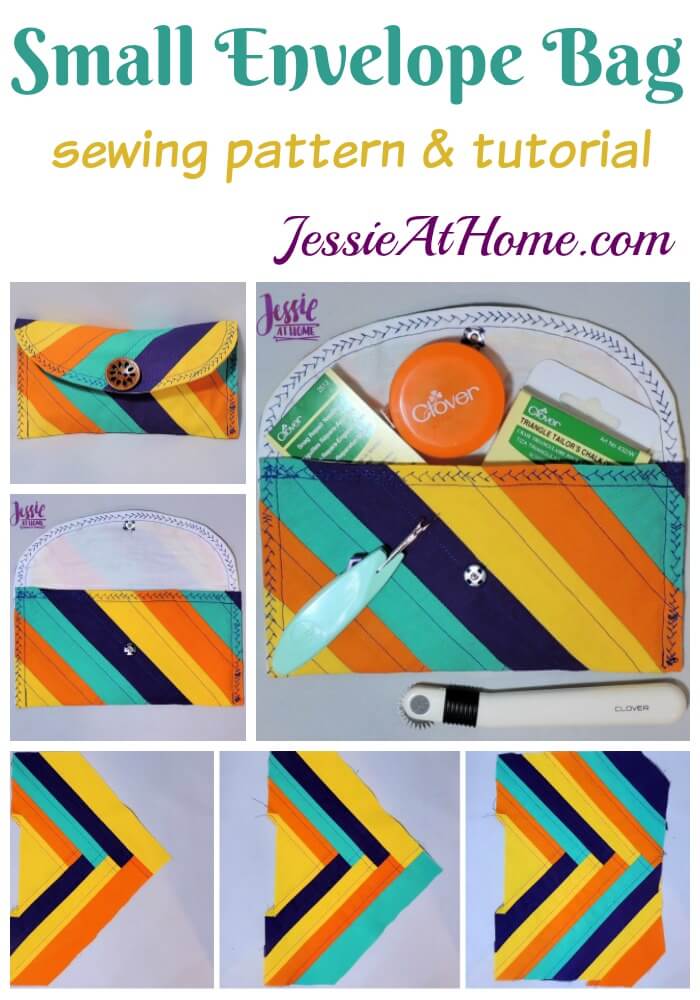
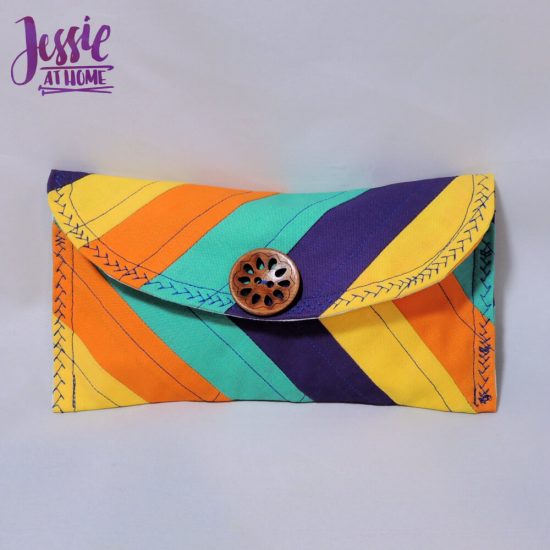
I have a quick and easy sewing pattern and tutorial for you today. The Small Envelope Bag can be made with just two 9×12 inch rectangles of fabric. You can even use scraps of fabric sewn together to make one or both of the rectangles if you would like. Add in one snap and one button, and create a great little gift!

Some products used in this pattern were provided by Clover. All opinions are my own.
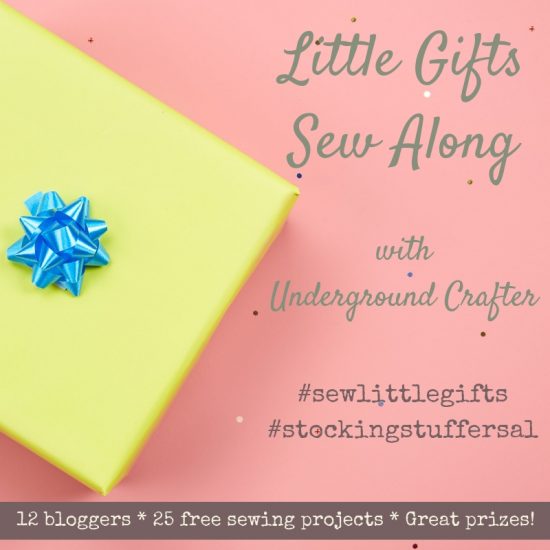
This pattern and tutorial is part of the Little Gifts Sew Along. Here’s some info on the Sew Along (SAL) so you can join in the fun!
How the Little Gifts Sew Along Works
Every other Tuesday from January 1 through December 3, 2019, we’ll share a free sewing project for a little gift! These gifts are small enough to be “stocking stuffers” if you’d like to get a head start on holiday crafting, or you can gift them for birthdays and other events throughout the year. Each little gift will be made from 1-4 fat quarters of cotton fabric (or a yard or less of fabric, if you don’t have precut fabric on hand).
And, because sew alongs are more fun with prizes, we’ve reached out to some of our favorite companies to get some amazing end-of-SAL prizes. You can find out more about the prizes and enter for your chance to win here on Underground Crafter!
How To Join the Little Gifts SAL
- You can join in by sewing the projects as you have time.
- Share your progress and post pictures of your finished projects. Tag your projects and posts #sewlittlegifts and #stockingstuffersal on all social media.
- If you’d like to chat with other sewists, join the Underground Crafters Facebook group.
- By the end of the SAL, you’ll have up to 25 handmade gifts.
Visit Underground Crafter to learn more about the prizes, enter the end-of-SAL giveaway, and to get links to each Little Gifts Sew Along project as it is released.
Tutorial
To get started with this little bag, you will need a few supplies:
- 2 rectangles of fabric each 9″ x 12″, or enough scraps of fabric sewn together to make the 2 rectangles
- 1 snap, 1/2″ – 1″
- 1 decorative button around 1″
- thread to match fabric
- fabric scissors
- fabric chalk, pencil, or marker
- tape
- 1 piece of paper 8 1/2″ x 6 1/2″
- The Envelope Bag Flap pattern (below) printed and cut out leaving about 1/2 – 1″ extra on the flat edge.
This pattern is great for using the scraps left over from the other Little Gift Sew Along projects. I used scraps from 4 fat quarters I had on hand. You’ll notice the PDF pattern I had you print out had an extra page with a triangle. That is what I used to start my first rectangle.
Scrappy Rectangle Tutorial
I’m going to tell you how I made my scrappy rectangle first, then I will give you the directions on how to make the bag. If you are using solid pieces of fabric, or are just making a scrappy triangle however you want, go ahead and skip this bit.
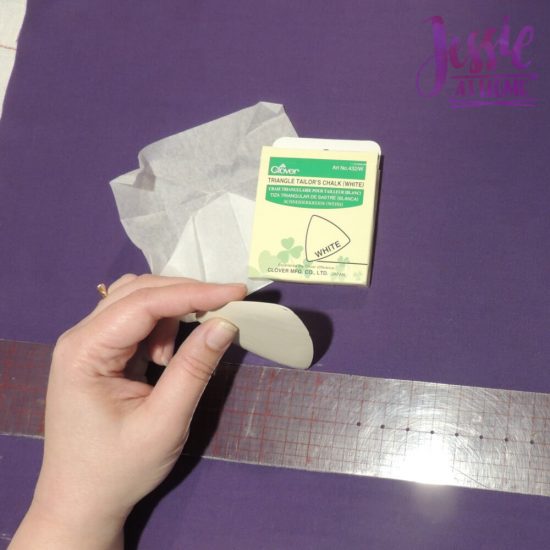
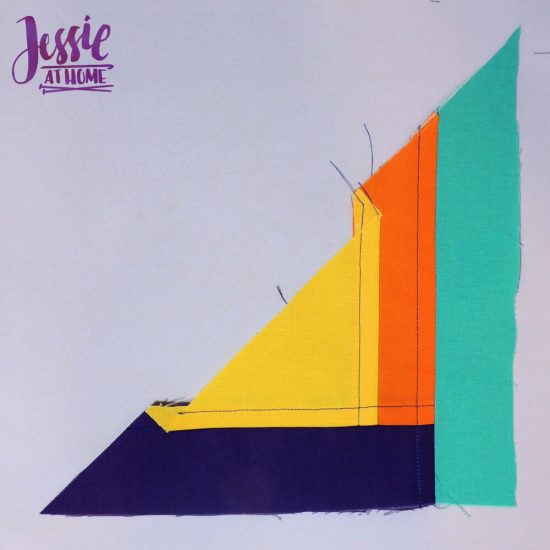
To start I traced out the triangle from the PDF onto a piece of fabric, then I cut out several 2″ wide strips of fabric from my scraps. I used Clover Tailor’s Chalk to draw on my fabric.
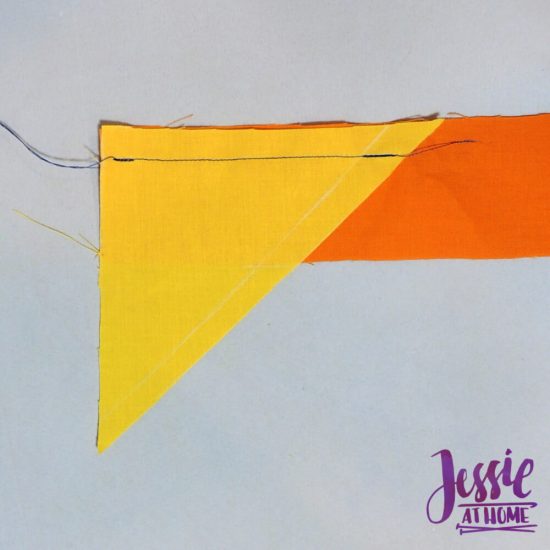
Next I sewed one rectangle to one of the edges of the triangle adjacent to the 90° angle using a half inch seam allowance as seen above. I then pressed the seam allowance toward the triangle and top stitched it about 1/4″ from the seam. You can top stitch closer if you would like.
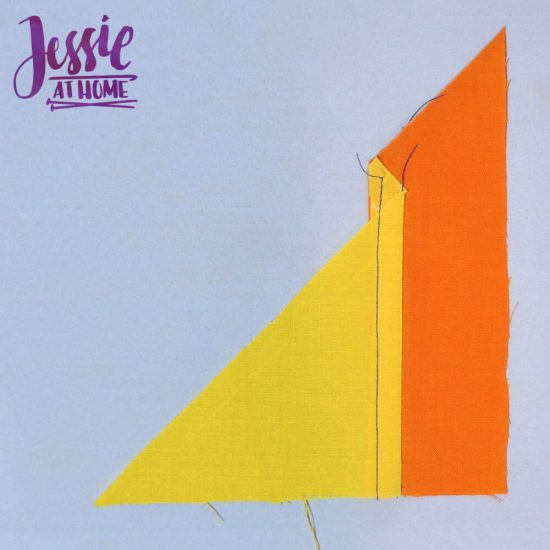
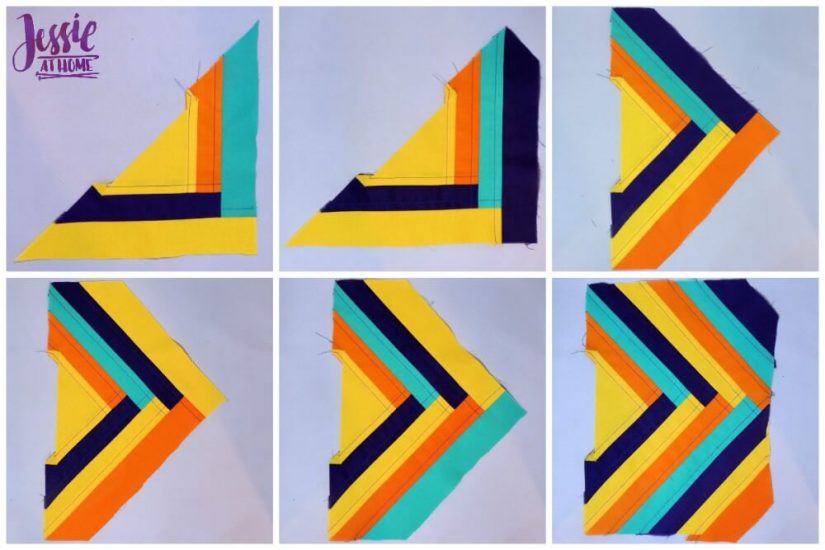
I made sure the end of the strip on the 90° side was straight across the the other end followed the angle of the triangle, with a little extra to spare (as seen above). Then I repeated the process on the the other side of the 90° angle with another 2″ strip of fabric.

I repeated the process again on the same side as the first strip.
I continued this process until I had a rectangle that was about 9″ x 12″, or big enough for the next step (keep reading for the next step).
Little Envelope Bag Tutorial
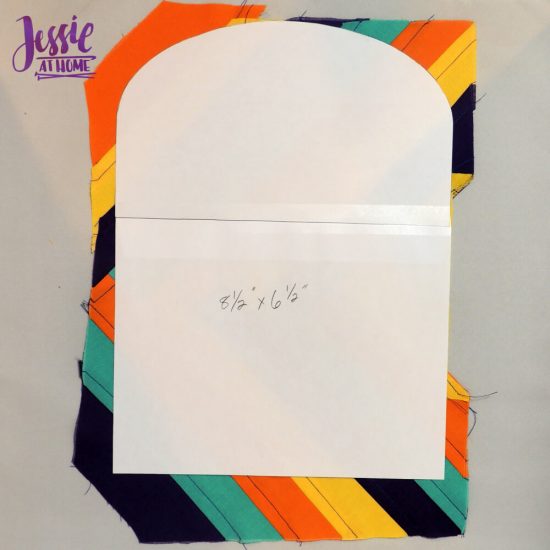
Tape the 8 1/2″ side of the 8 1/2″ x 6 1/2″ paper rectangle the the flat edge of the Envelope Bag Flap pattern.

Now take this pattern and cut out from each of your 2 rectangles of fabric.
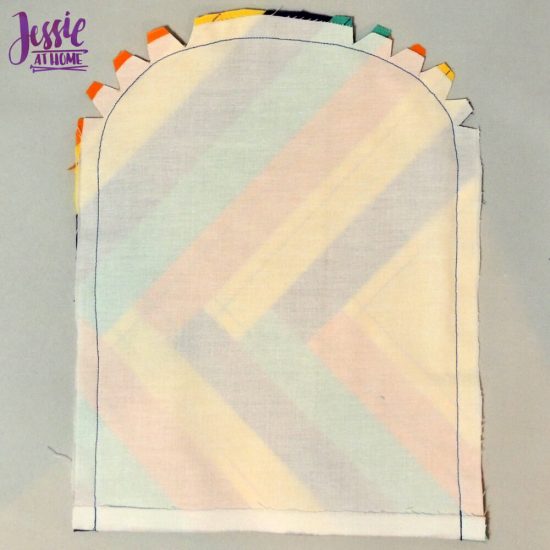
Fold the flat 8 1/2″ edge up 1/2″ towards the wrong side on both pieces of fabric and press. Lay the two pieces of fabric together with right (front) sides facing. Pin along the “U” shaped edge.
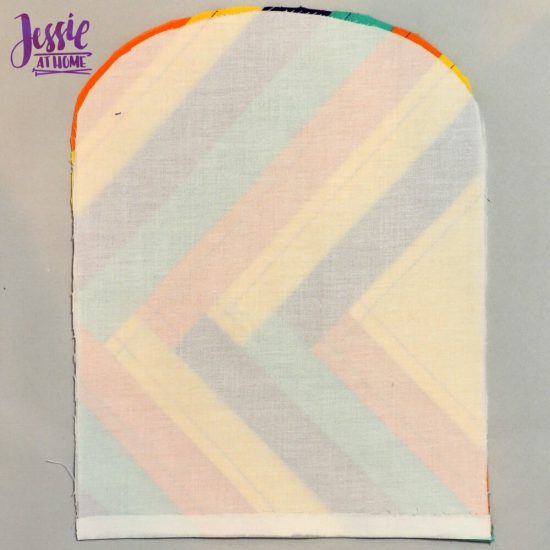
Sew along “U” shaped edge with a 1/2″ seam allowance. Clip seam allowance around the curves so that it doesn’t bunch when turned. Take care not to clip the sewing thread.
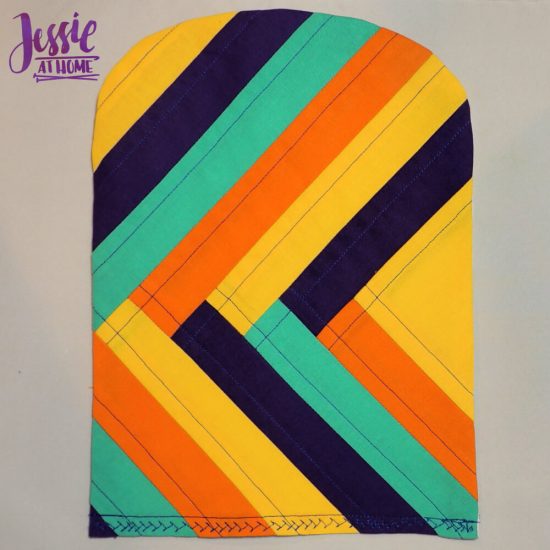
Turn bag right side out and press well. Take your time and be sure the bag is completely turned. Line up edges of folded ends and stitch down with about a 1/4″ seam allowance. Sew again just inside the seam allowance with a decorative stitch. If you do not have a decorative stitch on your machine you can just sew a straight stitch close to the edge.
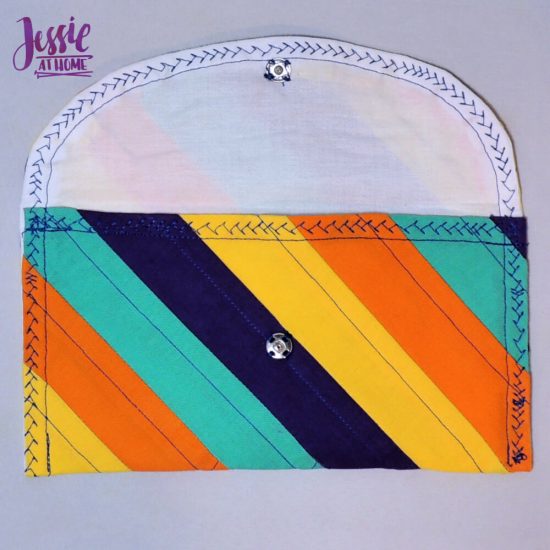
With the right side down, fold up the straight edge of the bag 4″. Press well and pin sides. Sew along “U” shaped edge with a 1/4″ seam allowance, then sew again with the same decorative or straight stitch as in the last step.
Fold the flap down at the folded up edge and press. Hand sew on a snap to keep the flap closed. Hand sew on a decorative button on the outside of the flap.
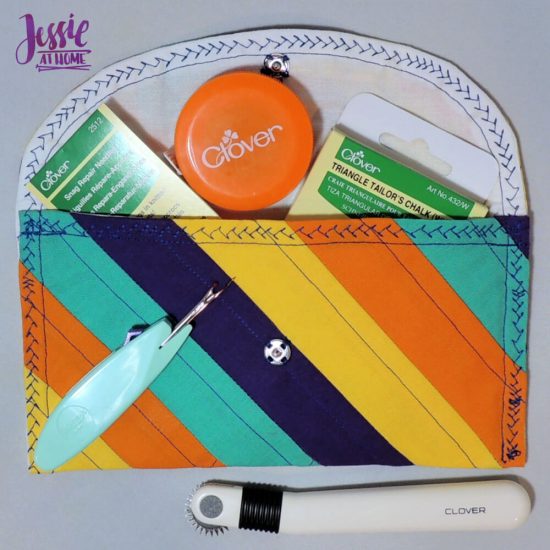
Ta-da!!! You have a really nifty little envelope bag to give away. You can even fill it up with cute little items before gifting it. I’m using mine for sewing notions!

©Copyright 2019 Jessie Rayot / Jessie At Home All my videos, patterns, charts, photos and posts are my own work. Do not copy them in any way. If you want to share this information with someone, share the link to this post. If you want to share on your own blog / website, then you may use the first photo in this post and link back to this post. You may not give away printed copies of this post. Thank you.