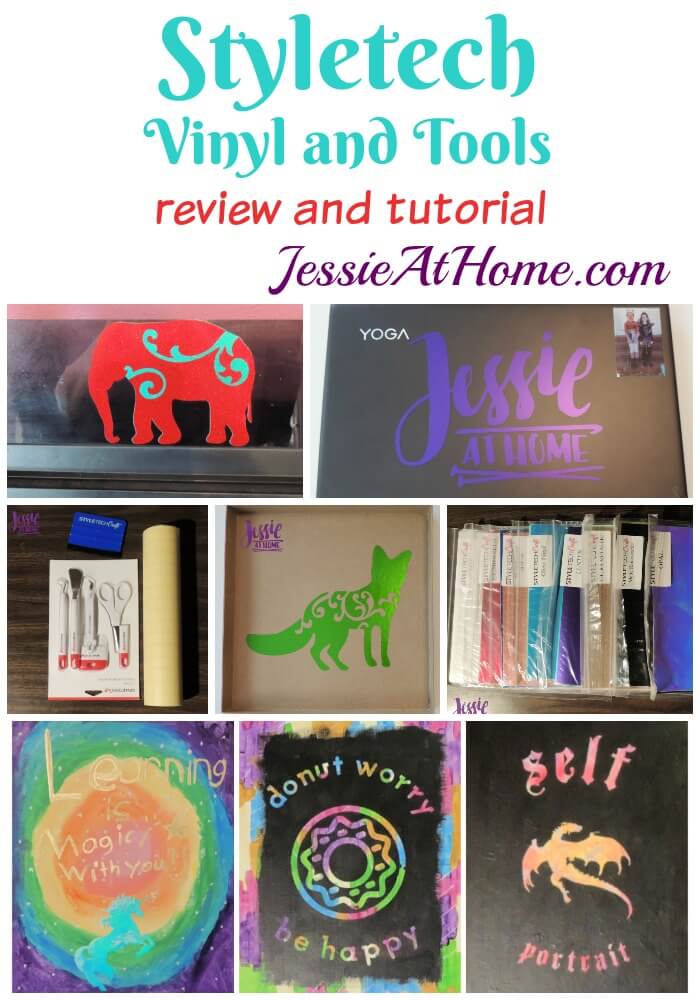
A while back I received a box full of vinyl and tools from StyleTech Crafts. Today I want to show you what was in that box, teach you a bit about how to use the items with your Cricut (or other cutting machines or tools) and even give you a chance to win a box of your own. You will not believe the amount of awesome products you can win!!

The products reviewed in this post were provided by StyleTech. The Cricut was provided by Cricut. All opinions are my own.
All of our craft vinyl is self adhesive/pressure sensitive and can be cut on any hobby cutter (Cricut, Silhouette, paper punch, die cuts etc). Since started in the automotive industry in the early 80’s our films are softer and easier to weed than most other manufactures films. All of our films have outdoor durability anywhere from about 6 months for our fluorescent films to 7-9 years for our Ultra Metallic and Ultra FX films.
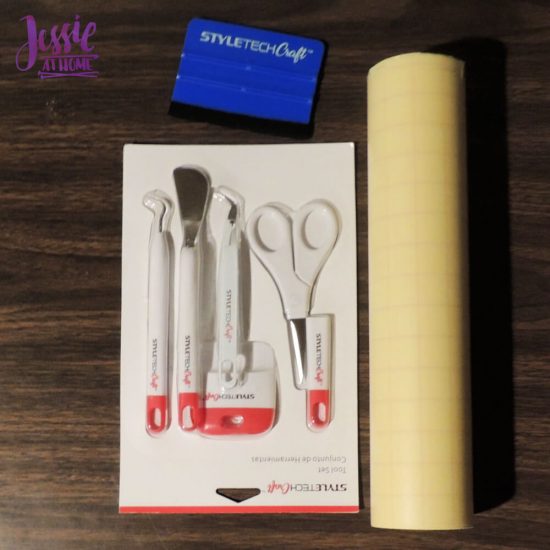
OMG – the products in this box. The first thing I noticed was the largest roll of transfer tape I have ever seen. If you’ve used craft vinyl before, you know there is no such thing as enough transfer tape! There was also a package of cutting machine tools that are useful with pretty much any materials that can be cut with the machines, not just vinyl.
I found the blue presser tool with a padded edge really nifty. I didn’t have something like this already, and I can’t fathom how I worked without it.
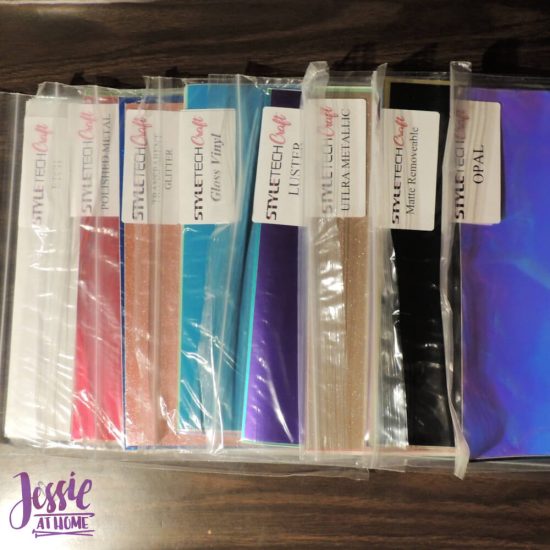
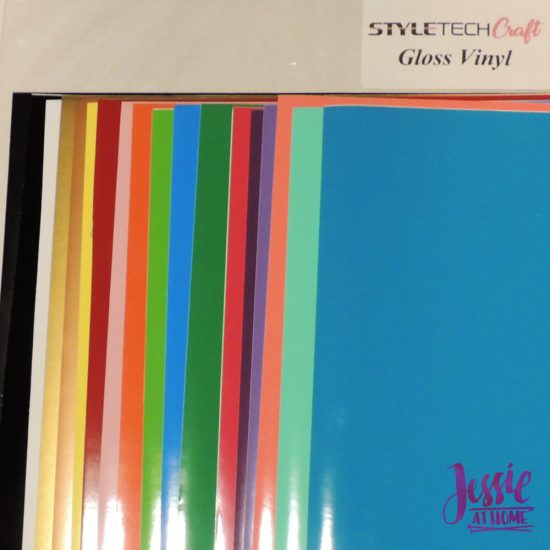
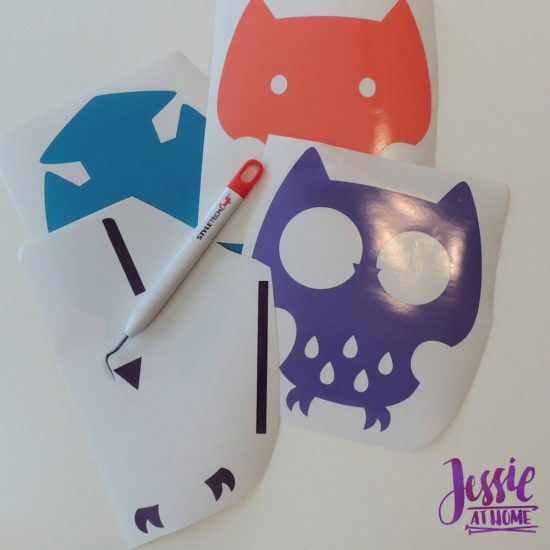
Of course, there was a lot of vinyl as well. As you can see below, the box included several varieties of vinyl, all with many colors to try.
Now I’m going to walk you through how I used some of the vinyl and tools. I will also give you a basic Cricut tutorial so you can make similar creations of your own.
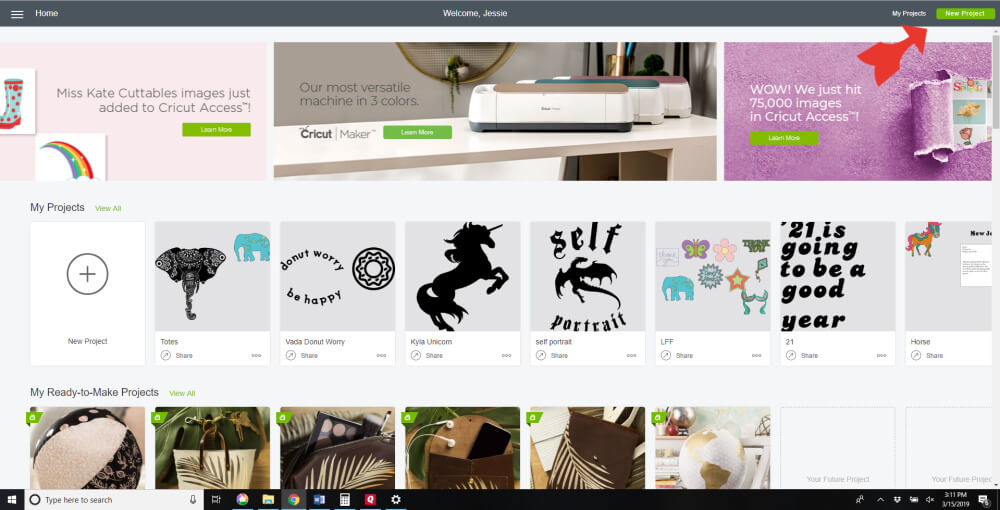
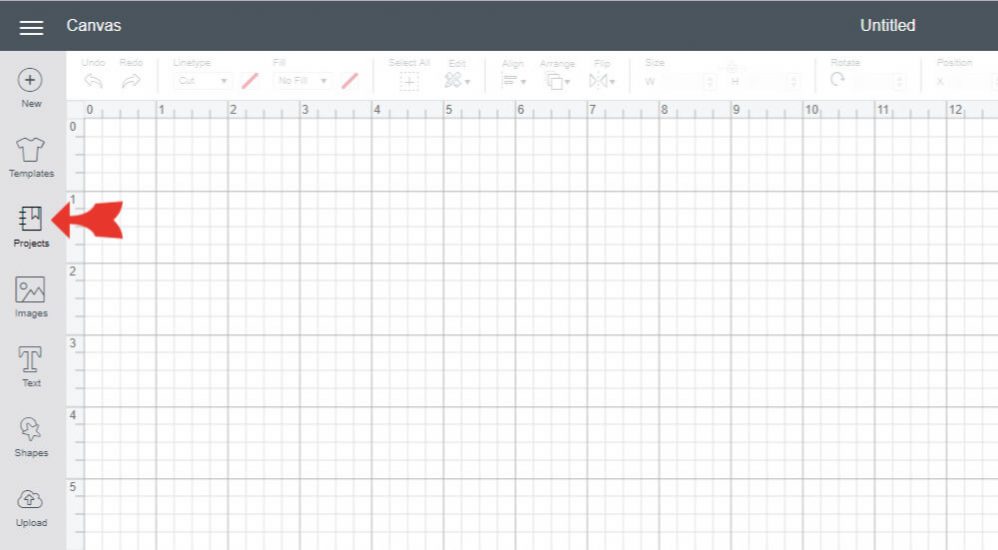
First you will want to log into the Cricut Design Space. Then click on “New Project” at the top right of your screen.
To make a pre-designed project, click on the “project” icon at the right side of your screen.
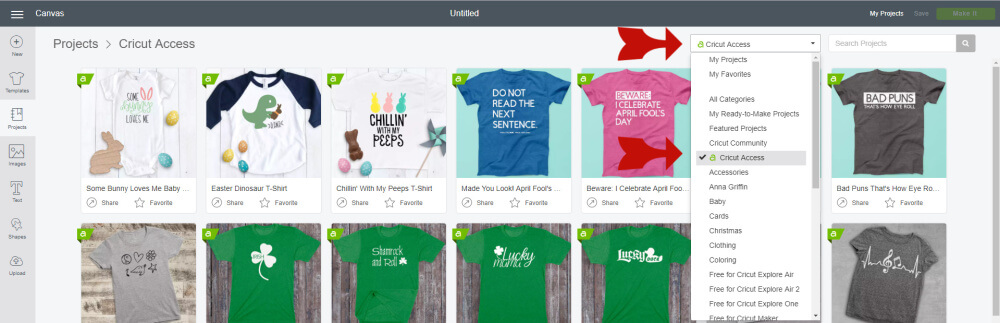
Now it’s time to choose your project category. I wasn’t sure what I was looking for, so I just chose “Cricut Access“, as I have a subscription so I knew I wouldn’t have to pay extra for any of the images in those projects. Then scroll through and choose which project you want to make.
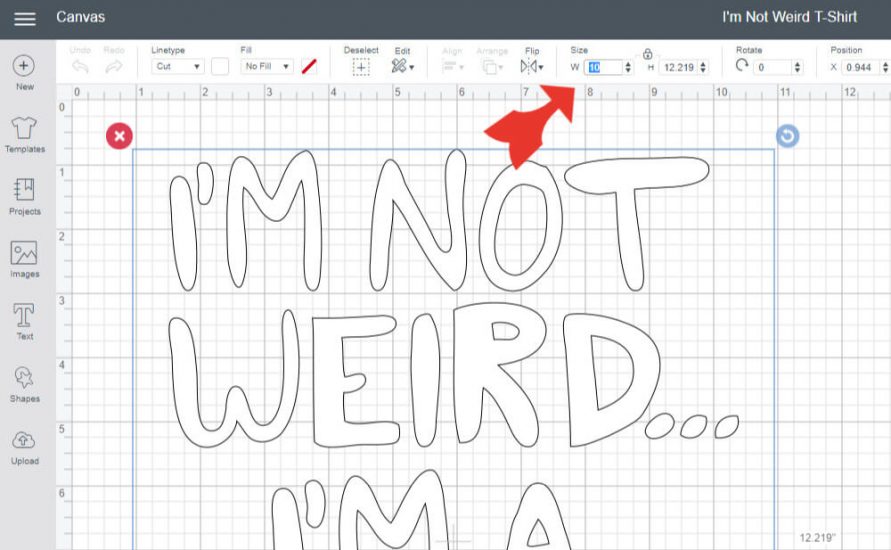
I chose this tee-shirt. I liked the quote and wanted to put it on the side of my bookshelf, so I thought I’d give it a go. If you want to make it as-is, just click on “Make It”. I needed to adjust the size, so I clicked on “Customize”. Both of those buttons are on the bottom right of the window.

Once you click customize, you can change the image as needed. I wanted to change the size, so I used the size controls in the tool bar. Just change the number by typing in a new number or using the up and down arrows.
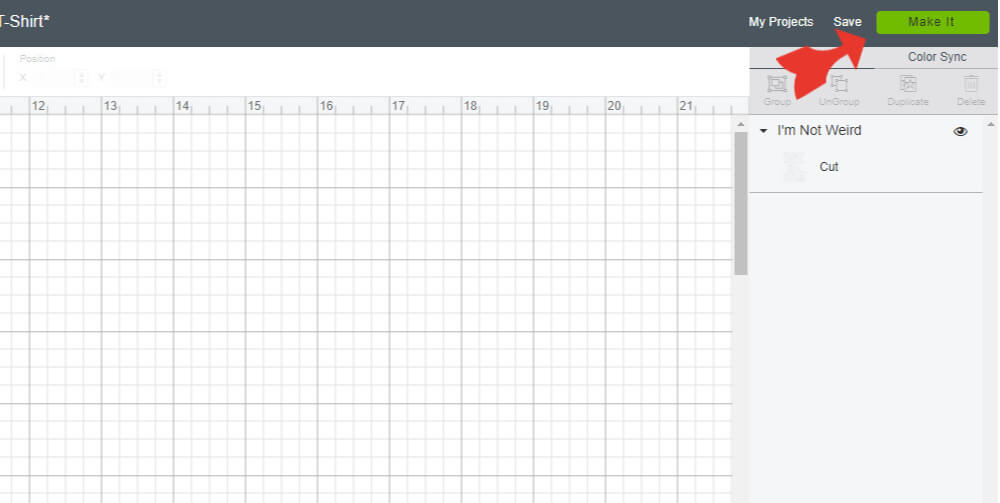
Once you are done customizing your image, click on “Make It” at the top right of your screen.
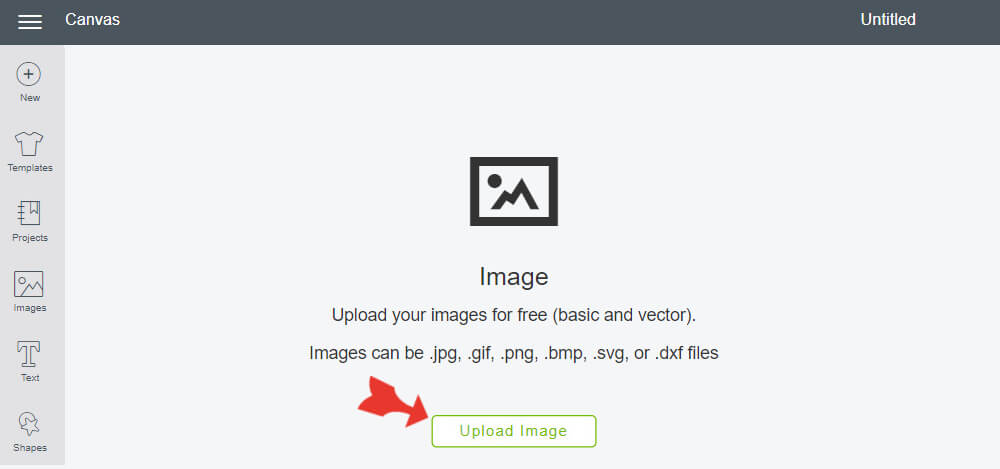
I’ll get into cutting and going from there in a bit. Now I want to show you some other options for images. If you want to use an image of your own, once you open a new project in your design space, you can click on the “upload” icon on the left of the screen.

Next click on “Upload Image”.
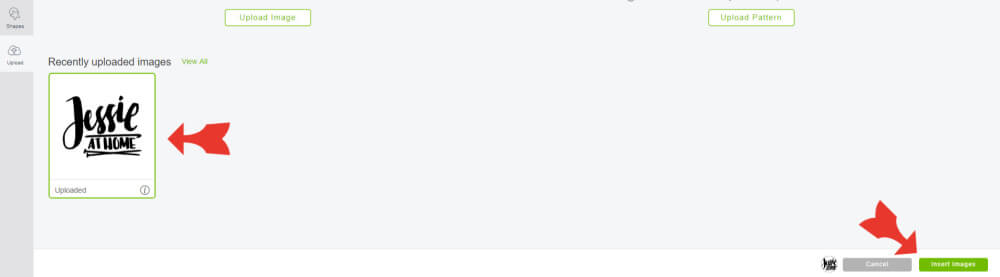
Once the image is uploaded, it will appear on the image screen. Click on the image you want, then click on “Insert Image” to add the image to your canvas (the screen with the graph).
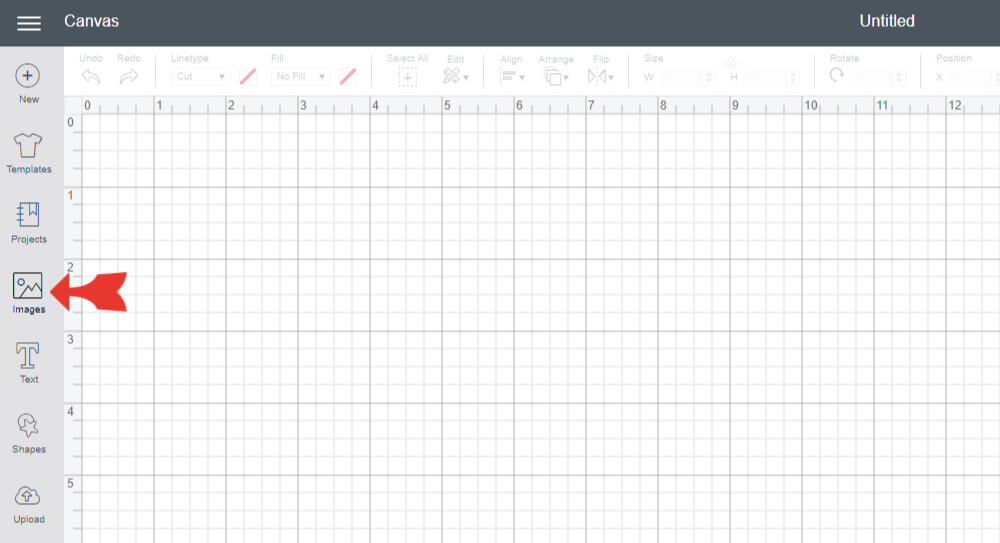
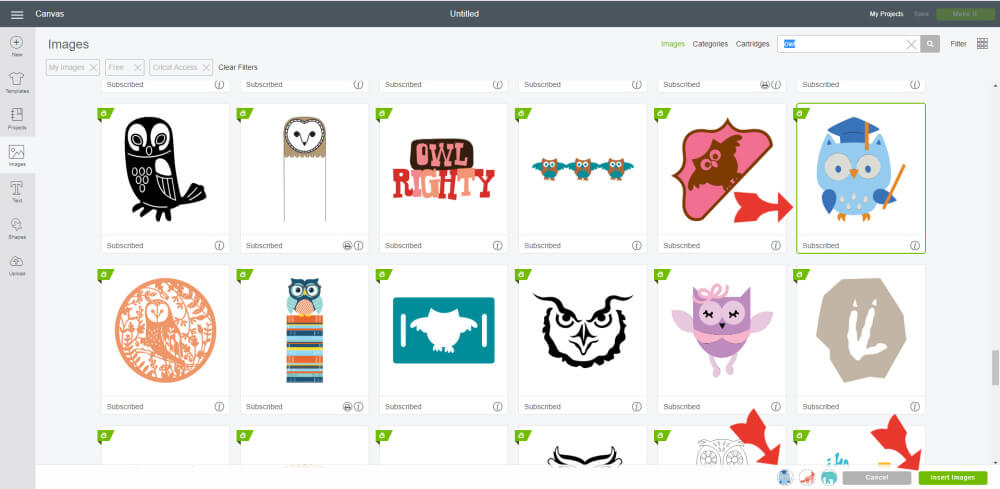
From the canvas screen, you can also add images that are already in the Cricut library. Just click on the “Images” icon at the left of the screen.
The Cricut library is pretty vast. Narrowing it down is a good idea. Click on “Filter” at the top right of the screen, then choose as many boxes as you would like. I chose “My Images”, “Free”, and “Cricut Access“.
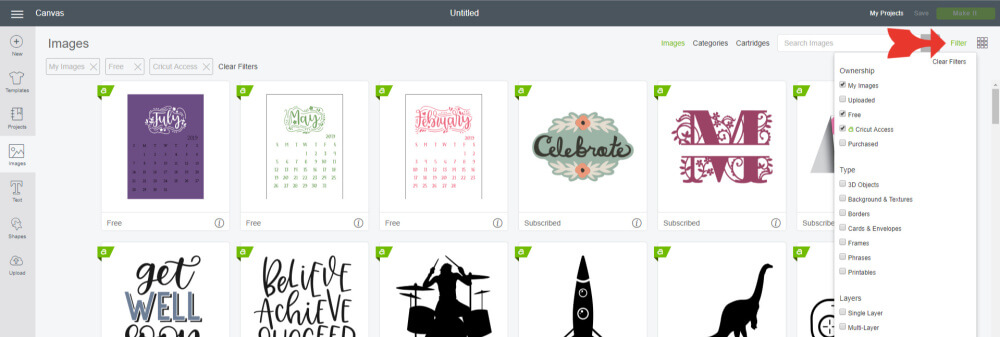
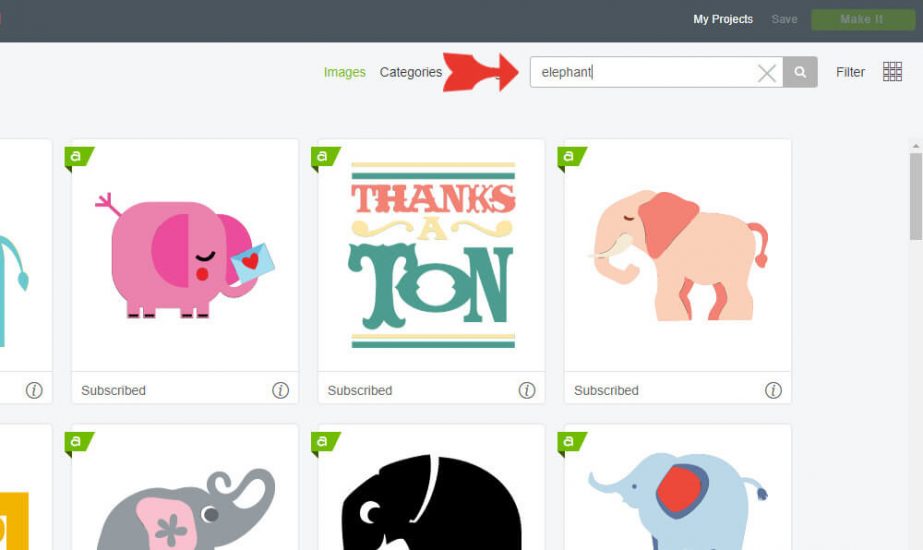
Now you can narrow your search down further by typing in the search box.
Once you have found an image you like, click on it and it will appear in the bottom bar. Keep searching and clicking as many images as you like. Once you have all the images selected that you want, click on “Insert Images” at the bottom right.
All your images will appear piled up on your canvas. I like to drag them all over to the right, then pull them out one at a time to adjust the size and color if needed.

Once you are done with your edits and ready to cut, click on “Make It” at the top right.

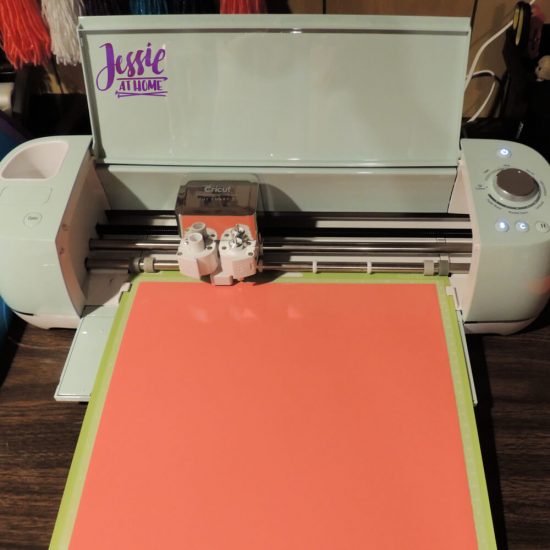
From here, just keep following the promps on your screen. When you are prompted to insert the vinyl, set your Cricut to one dot past vinyl, and use the regular mat. I found that the vinyl setting worked fine, but that one dot past vinyl was just a bit better.
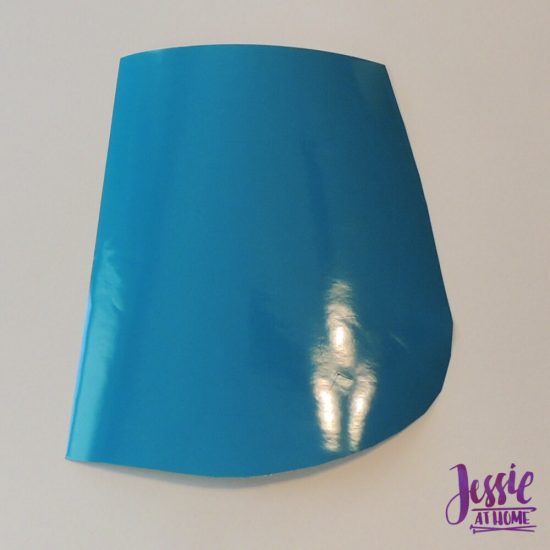
So let’s talk about how to use the vinyl from here, and what I made. First I used a few colors of the Gloss Vinyl.
The next few steps are the same for all of the vinyls in the box. Once it has been run through the Cricut or other cutting machine. Cut around the image so that the excess vinyl can be used at another time.
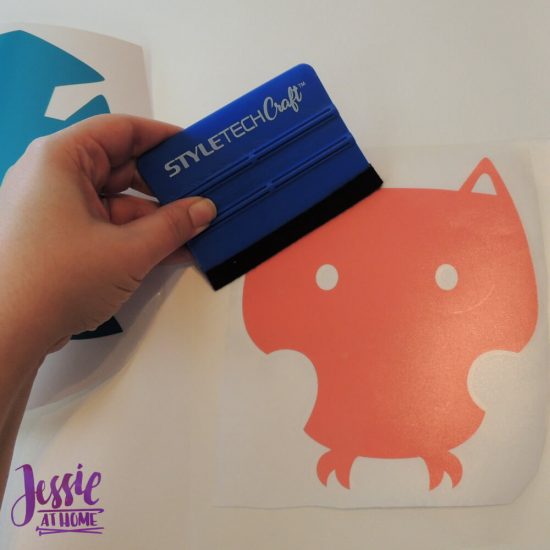
Now peel off the excess vinyl leaving the image on the backing. Start at one corner (I found the vinyl separated from the backing at the corner quite easily), pull the vinyl back flat as seen in the photo below, it separates at the cut lines better this way.

If there are any pieces of vinyl inside the image that need to be removed, use the pick tool to get them out. This is called weeding.
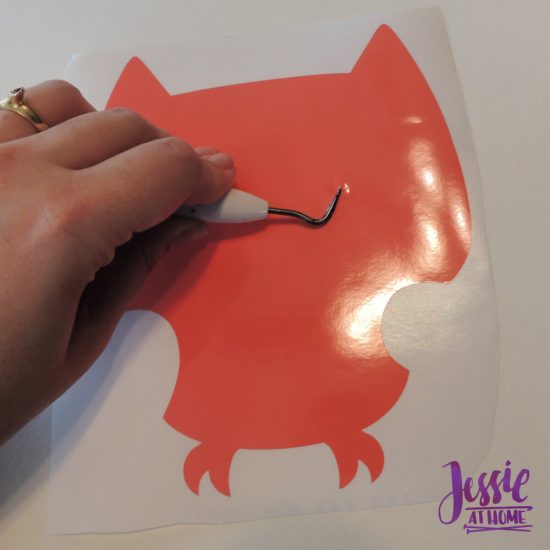
Weed all the layers of your image. If there are several separate pieces in any of the layers, be sure to leave them on the backing as they are. They are placed with the exact spacing needed.
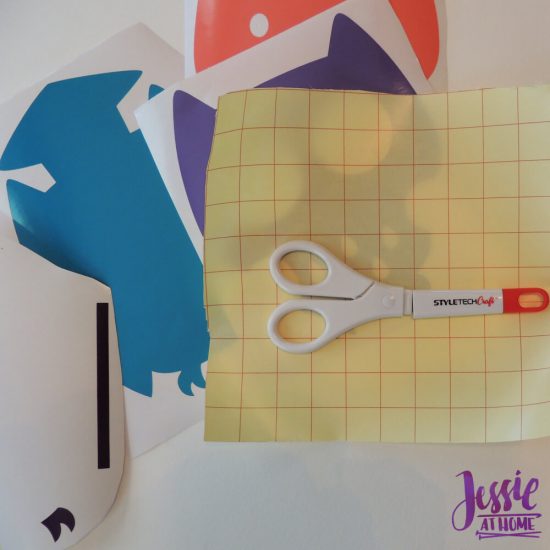
Cut a piece of transfer tape big enough to cover the largest layer of your image.
At this point you can either place the first layer of your image on the surface it will be adhered to, or you can add all the other layers to it first. With the Owl, I added the layers to the bottom layer. To do this, leave the first layer on its backing, then peel the transfer tape from its backing and lay it on top of the second layer.
Press the transfer tape down firmly using the presser tool.
Turn the second layer over and remove the backing so the vinyl is attached to the transfer tape only.
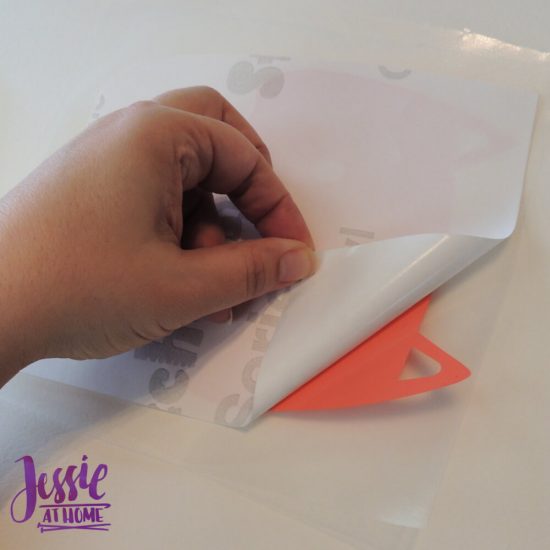
Carefully align and place the second layer on top of the first layer and press firmly with the presser tool. Peel off the transfer tape starting from a corner and pulling it flat in the same manner as you removed the excess vinyl.
The transfer tape can be used multiple times. Just keep using it until it doesn’t have enough stick left. I had no problem using one piece for all the layers of the owl.
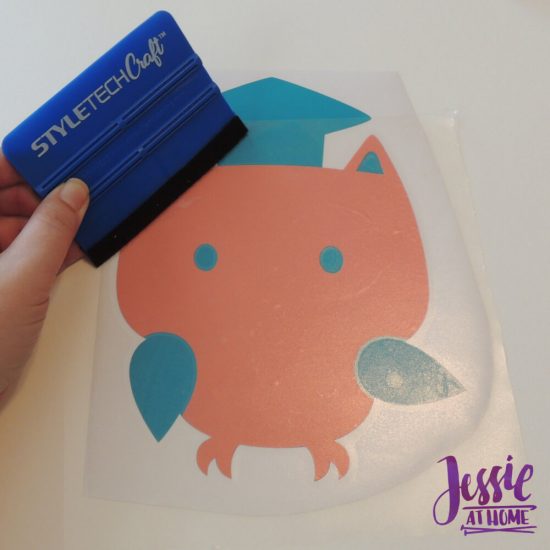
Here is my owl all stacked together. As you can see, the top layer was made of 5 separate pieces, but they are all in the correct spots because I left them spaced just as they were cut and used the transfer tape to move them without messing up the spacing.

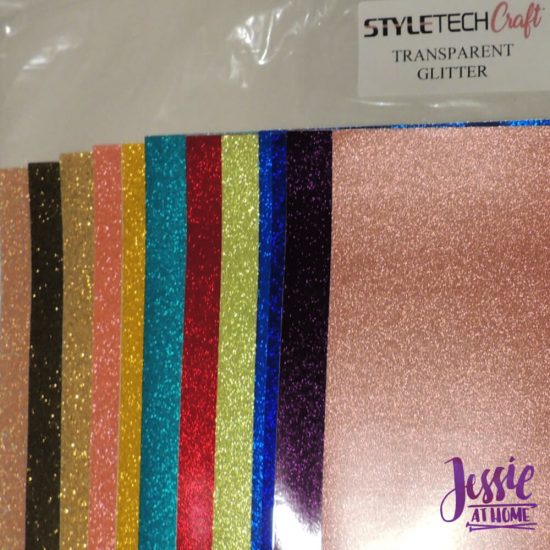
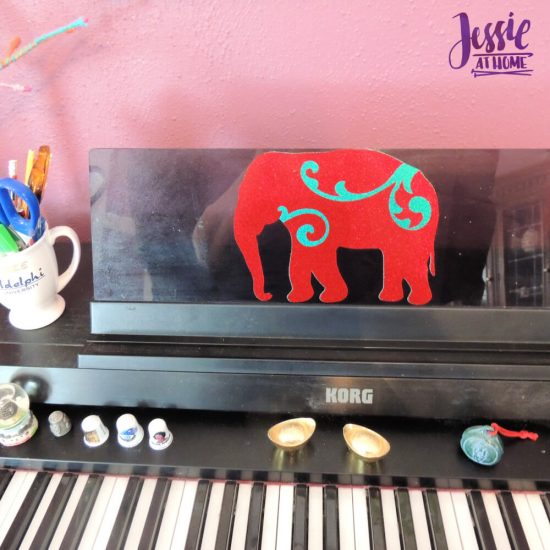
I used the Transparent Glitter for my elephant.
Once I stacked the two layers, I put the elephant on my piano music stand. It’s very pretty, and the vinyl weeded so easily!
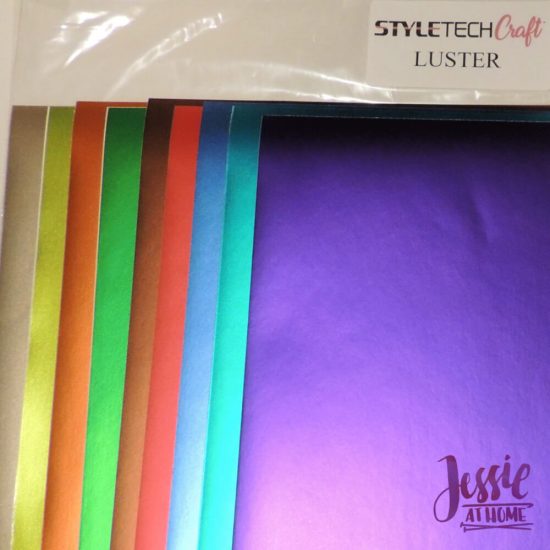
The Luster came in the perfect color of purple for my logo, it’s like it was meant to be!
Look how awesome my laptop looks now. When I was removing the backing from the vinyl after sticking it to the transfer tape, some of the letters wanted to stay on the backing instead of the tape. Don’t worry if this happens, just use the presser tool to press it a bit more and try again. Easy-peasy!
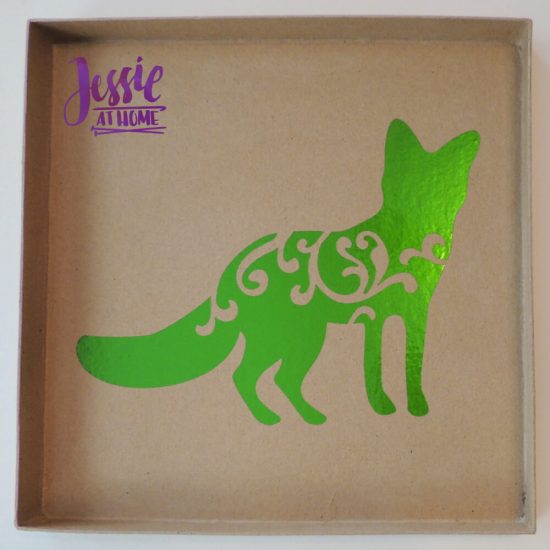
Polished Metal seemed like the perfect choice for my fox.

You’ll see more of this project in the future. That fox is on a paper mache box lid. It’s worth noting that even after firmly pressing down the transfer tape, removing it didn’t damage the box at all.
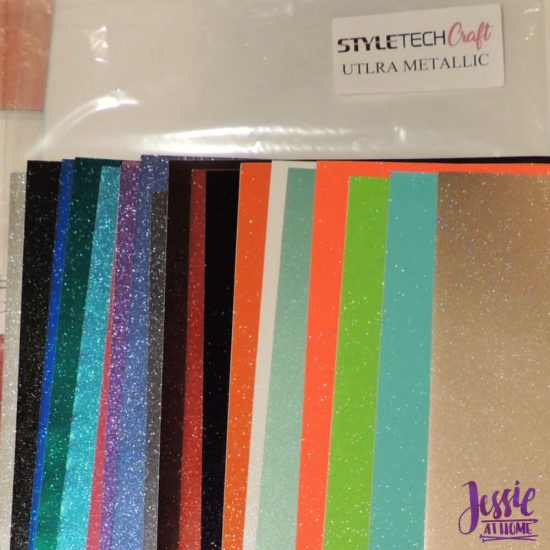
The Ultra Metallic is a metallic color with glitter. It comes in so many awesome colors!
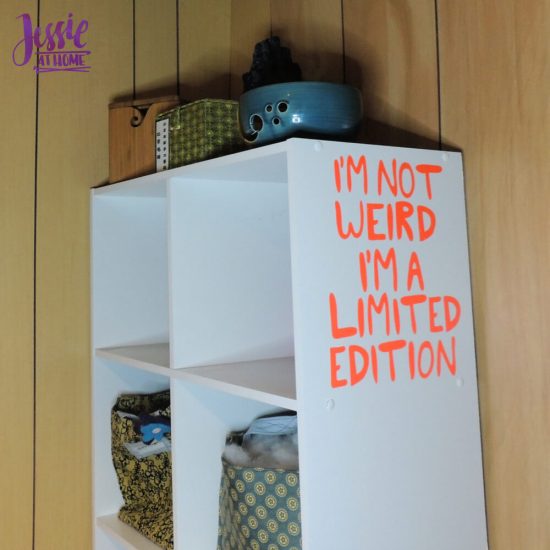
I thought the bookshelf by my desk needed a little sprucing up. This is one of those times when transfer tape is invaluable. Can you imagine trying to get all those letters in the right placement without just using the transfer tape? That would be maddening!
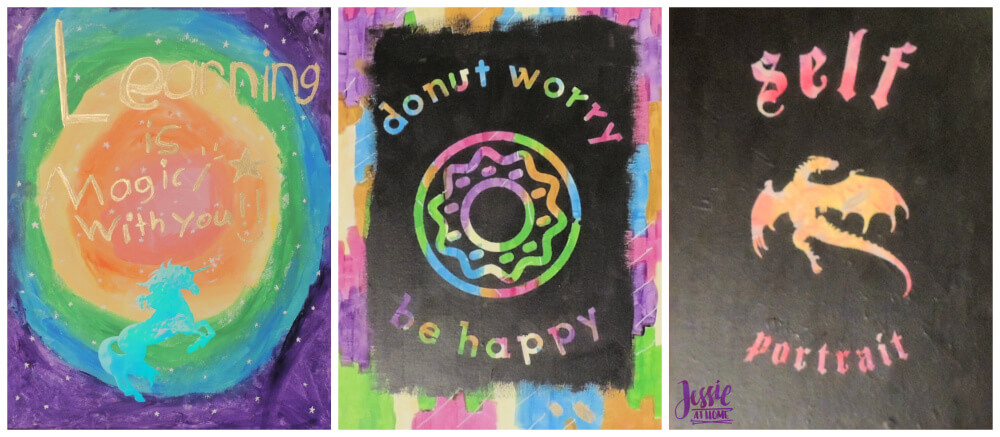
If you pop back to THIS post, you’ll see where I used the opal and the Removable Vinyl. The unicorn in Kyla’s painting is Opal Vinyl.
Vada and I both painted a background painting, then let it dry and attached our images in Removable Vinyl. Next we painted over the vinyl and let it dry just a little. We then used the weeding pick to carefully remove the vinyl and expose the painting beneath. I plan on posting a tutorial for this technique at some point in the future.
Find many of the awesome StyleTech products on Amazon HERE. Now how about that box of goodies you can win!
To enter the StyleTech Giveaway you must be at least 18 years of age and have a valid shipping address in the U.S. (including Puerto Rico and the U.S. Virgin Islands) or Canada. The giveaway ends at the end of day eastern time on March 31, 2019. Winner will be contacted by email and will have one week to reply with a valid shipping address or a new winner will be chosen. Void where prohibited. Any personal data collected on this entry form will be used solely for the purposes of administering this giveaway. The winner’s contact and mailing information will be provided to Sponsor, for the purposes of coordinating delivery of the prize. Other than that, no personal information collected will be shared with Sponsor.
a Rafflecopter giveaway


You really are a limited edition.